Easy Cherry Holiday Squares
Unbelievably easy recipe for a pretty, super yummy and festive holiday dessert loaded with cherry pie filling. These Easy Cherry Holiday Squares or Bars are perfect to make for that last-minute holiday baking or summer entertaining. Serves a crowd!
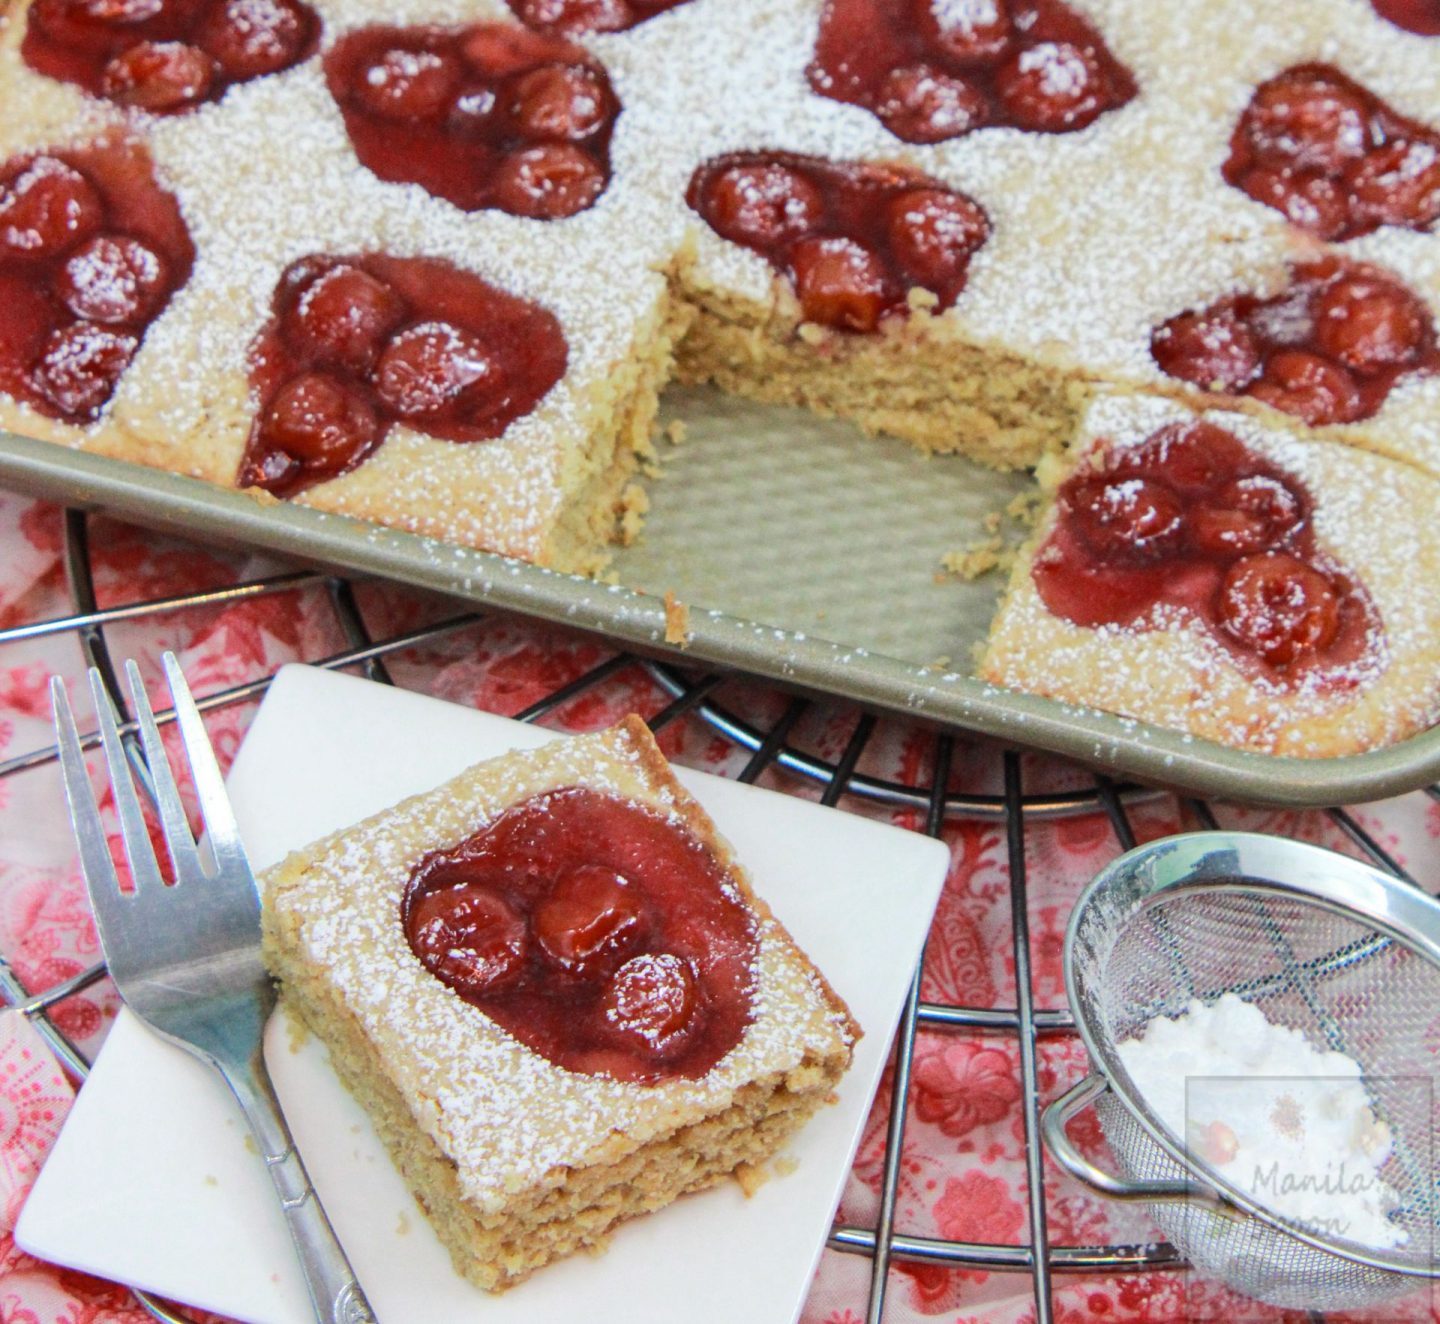
It’s Christmas baking season once again and for me, it’s all about looking for easy and festive recipes that pack a lot of flavors but without much fuss!
After all, with all the busyness of the holidays which involve holiday shopping, meetings with family and friends, and more errands here and there, I hardly have enough time to make yummy holiday-themed food! So what do I do?
Thankfully, I found (or more accurately, it was kindly given to me) this super delightful recipe that perfectly meets my holiday baking needs (both for blogging and my tastebuds!). It’s an unbelievably easy (practically, no-fail) recipe that presents beautifully and is totally yummy.
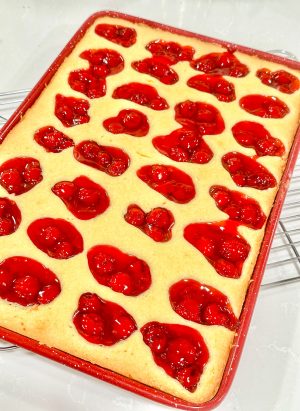
I am indebted to a very dear lady from our church, Patty Owen, for this fabulous recipe. She kindly shared with me her mom’s Easy Cherry Holiday Squares. As you can see in the photos, it’s a clear holiday winner!
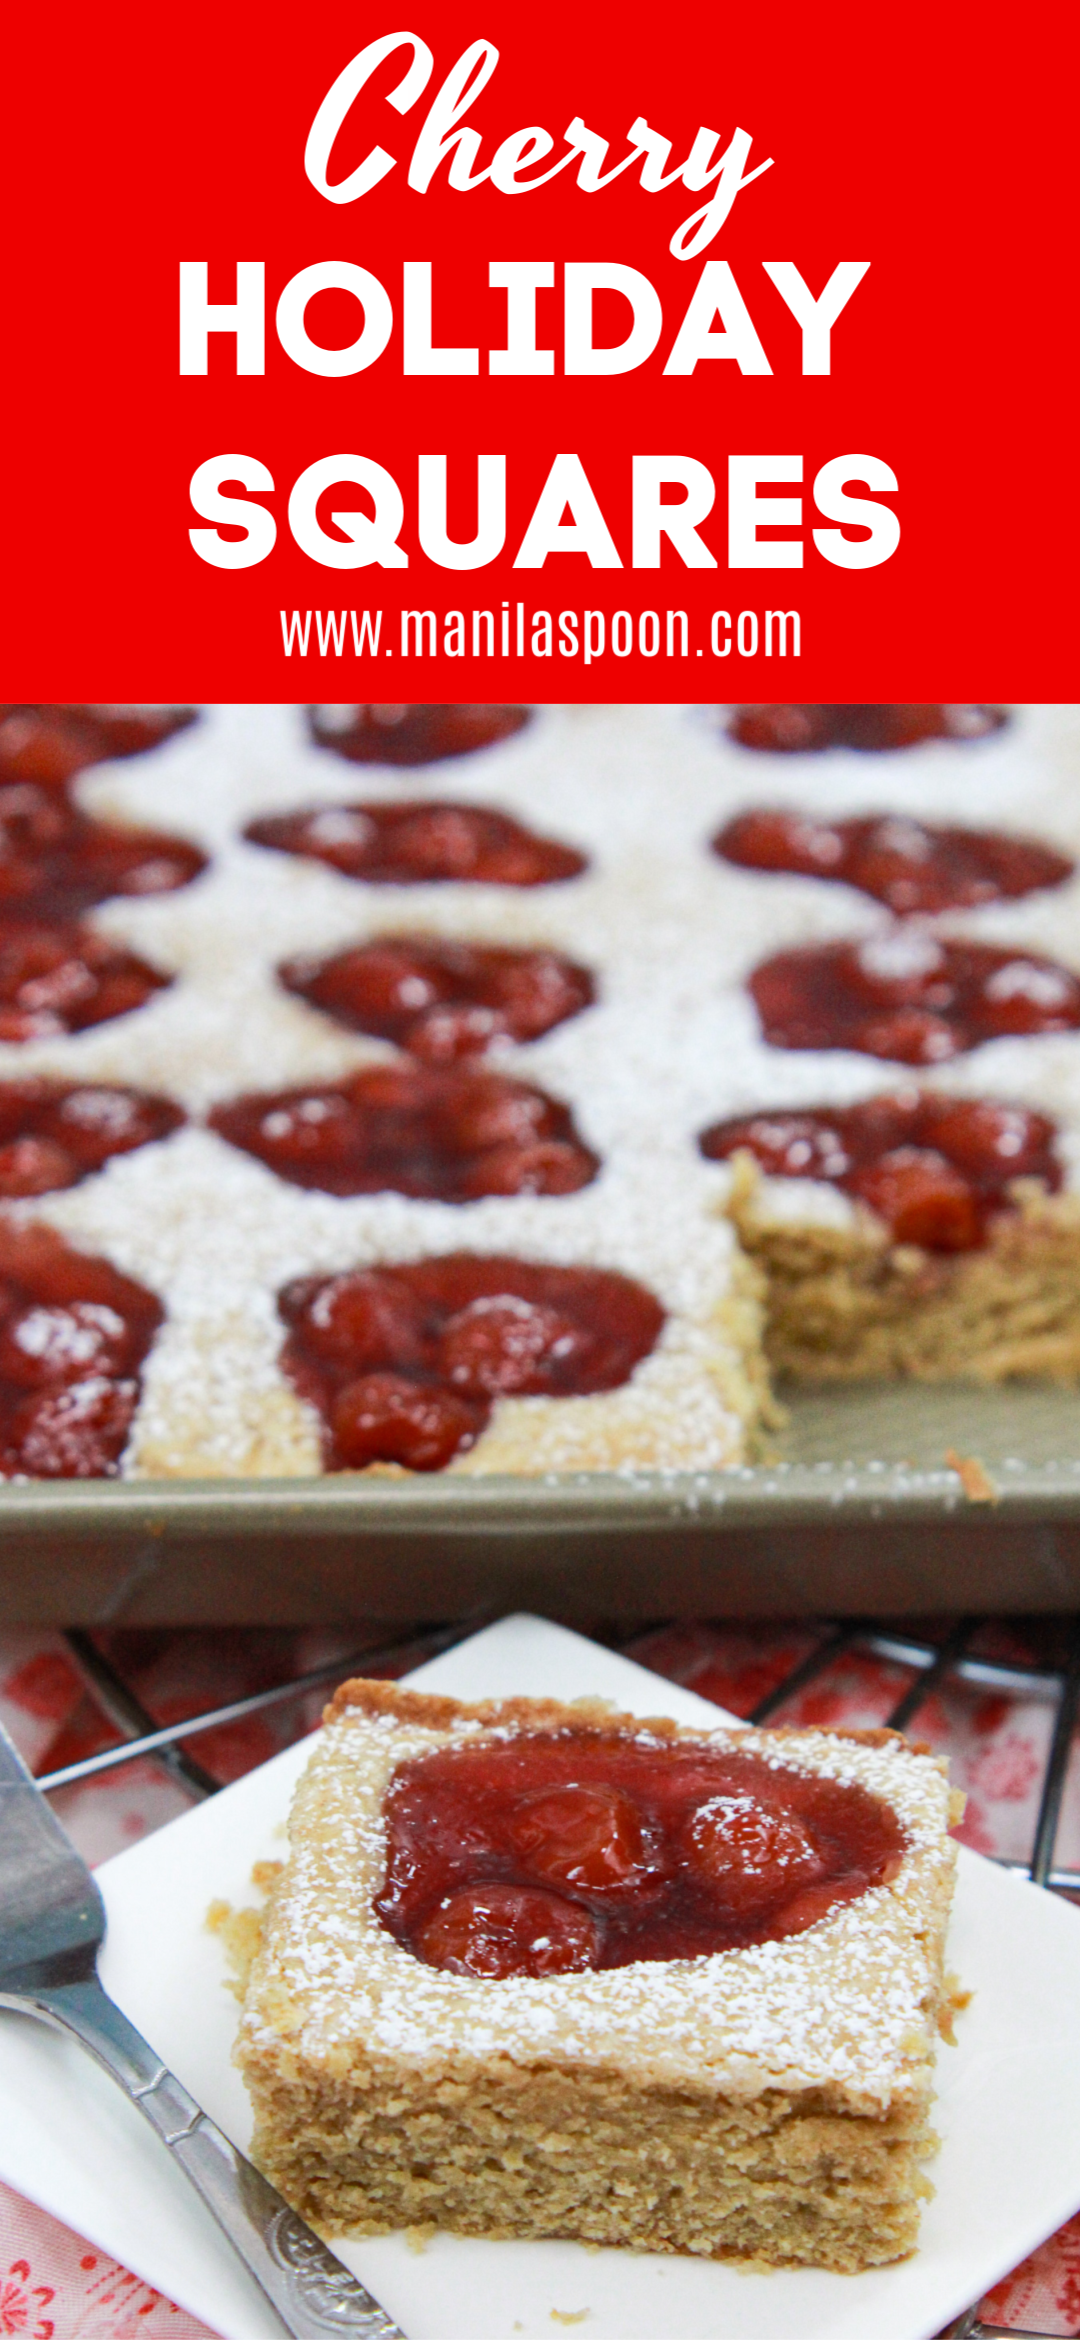
What I love about this recipe is that it can feed a crowd so it’s perfect for any holiday gathering. It can make at least 16 squares and up to 32 bars when you need more.
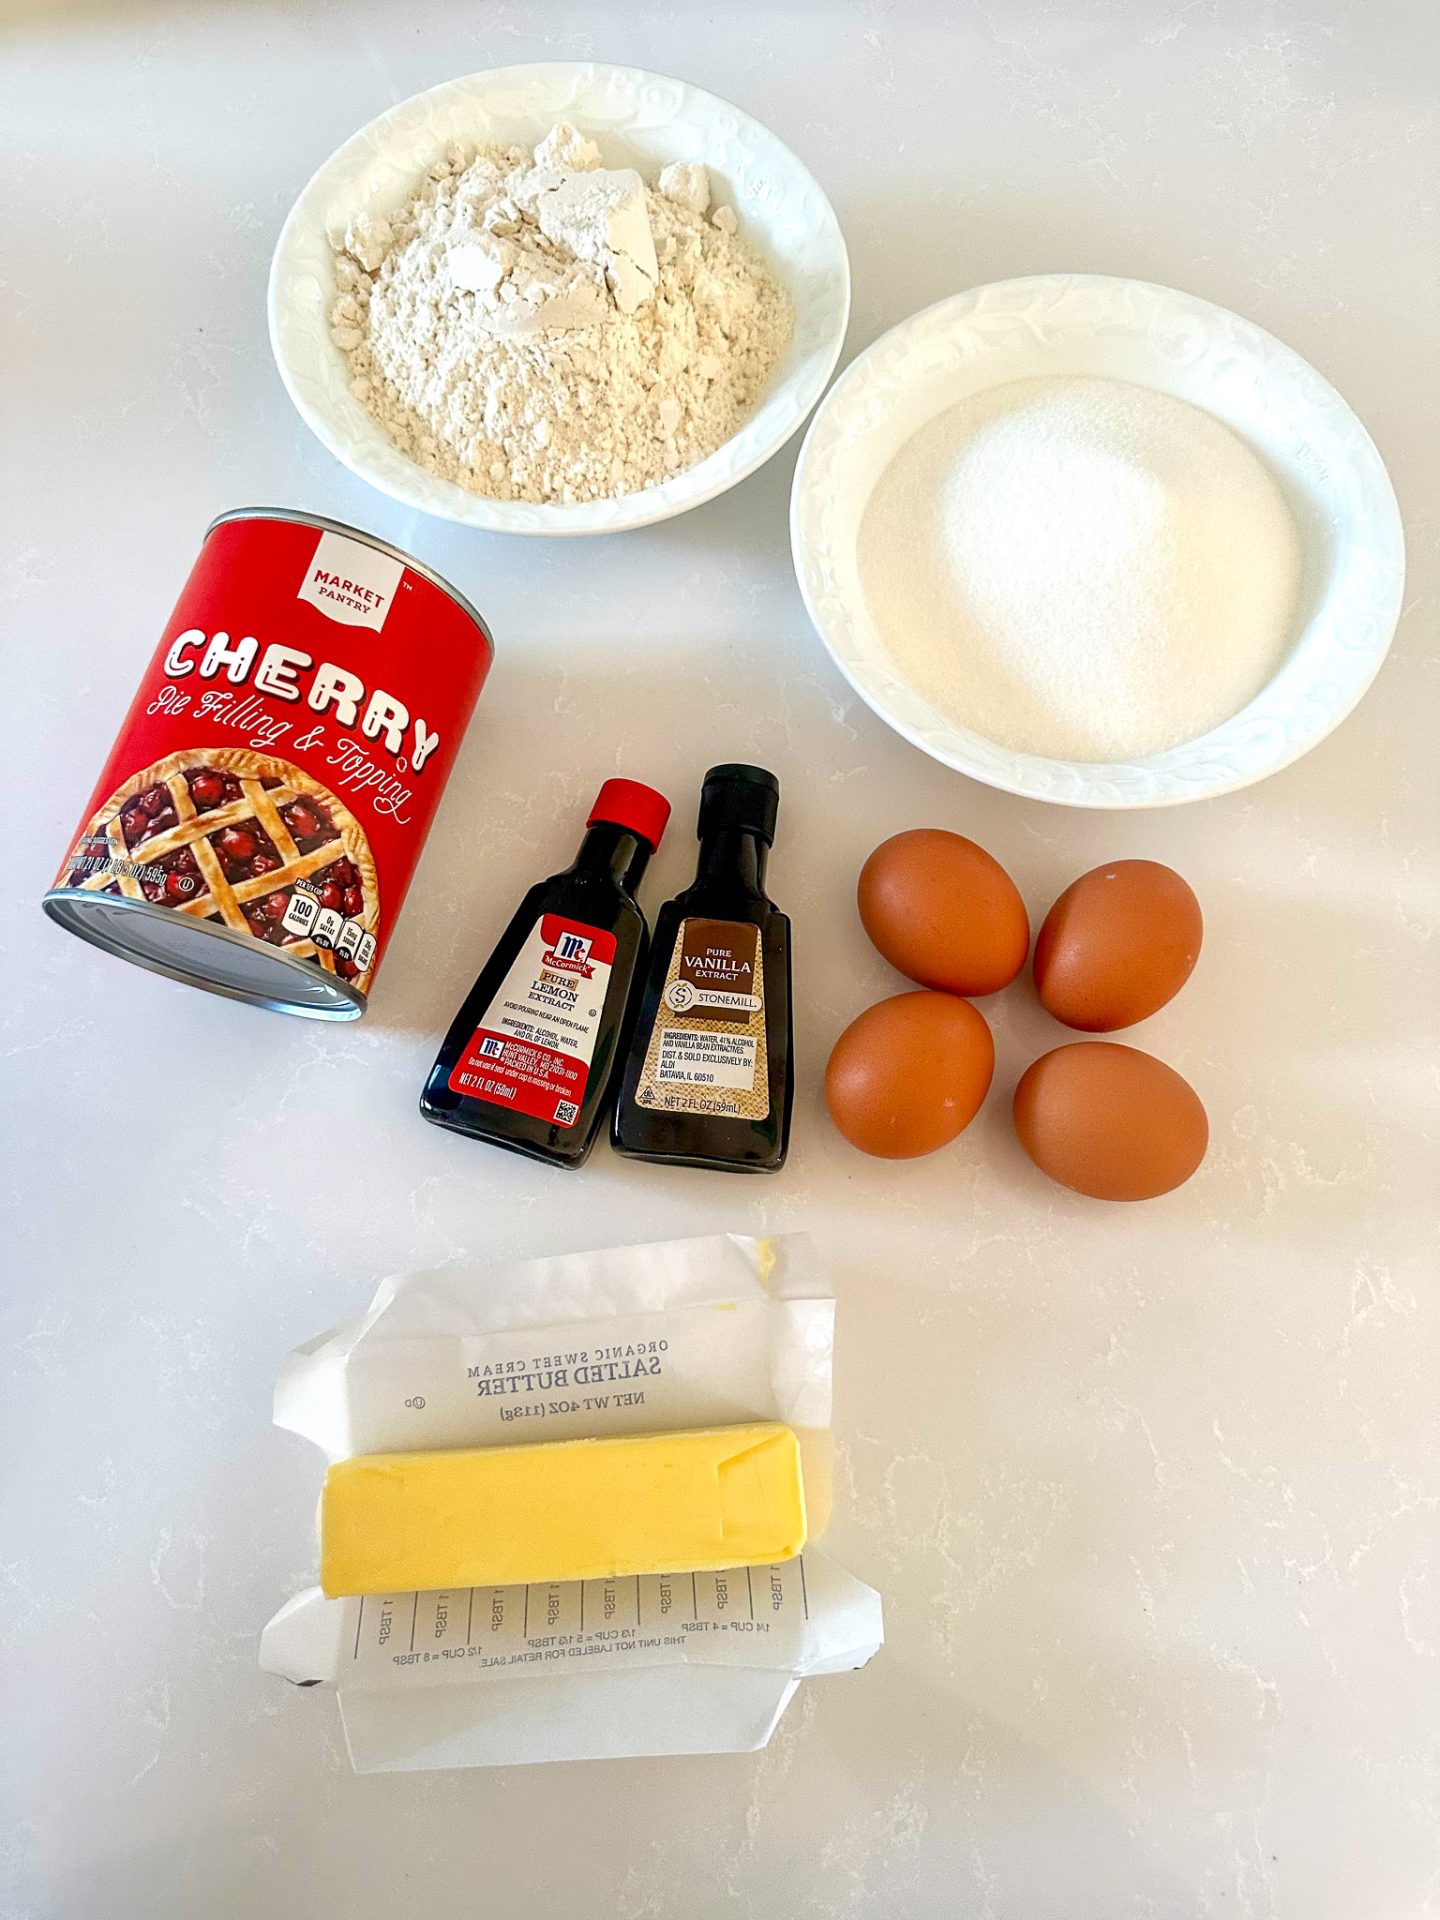
Ingredients for Cherry Holiday Squares
- 1 cup butter, room temperature
- 1 1/2 cups granulated sugar (could lessen to 1 1/4 cups though the original recipe calls for 1.5 cups)
- 4 eggs, large
- 1 teaspoon lemon or vanilla extract, (or a combo!)
- 2 cups flour, sifted
- 1 (21 oz) can cherry pie filling or your favorite pie filling
- Confectioners sugar, for dusting
Instructions for Cherry Holiday Squares
- Preheat oven to 350 F. Grease or lightly brush a 15-by-10-inch jellyroll pan with butter.
- Cream the butter and sugar for 5 minutes or until light, fluffy and smooth. Using medium speed, add the eggs one at a time, beating well after each addition. Add the lemon extract. Reduce the speed to low then slowly add flour and mix just until combined.
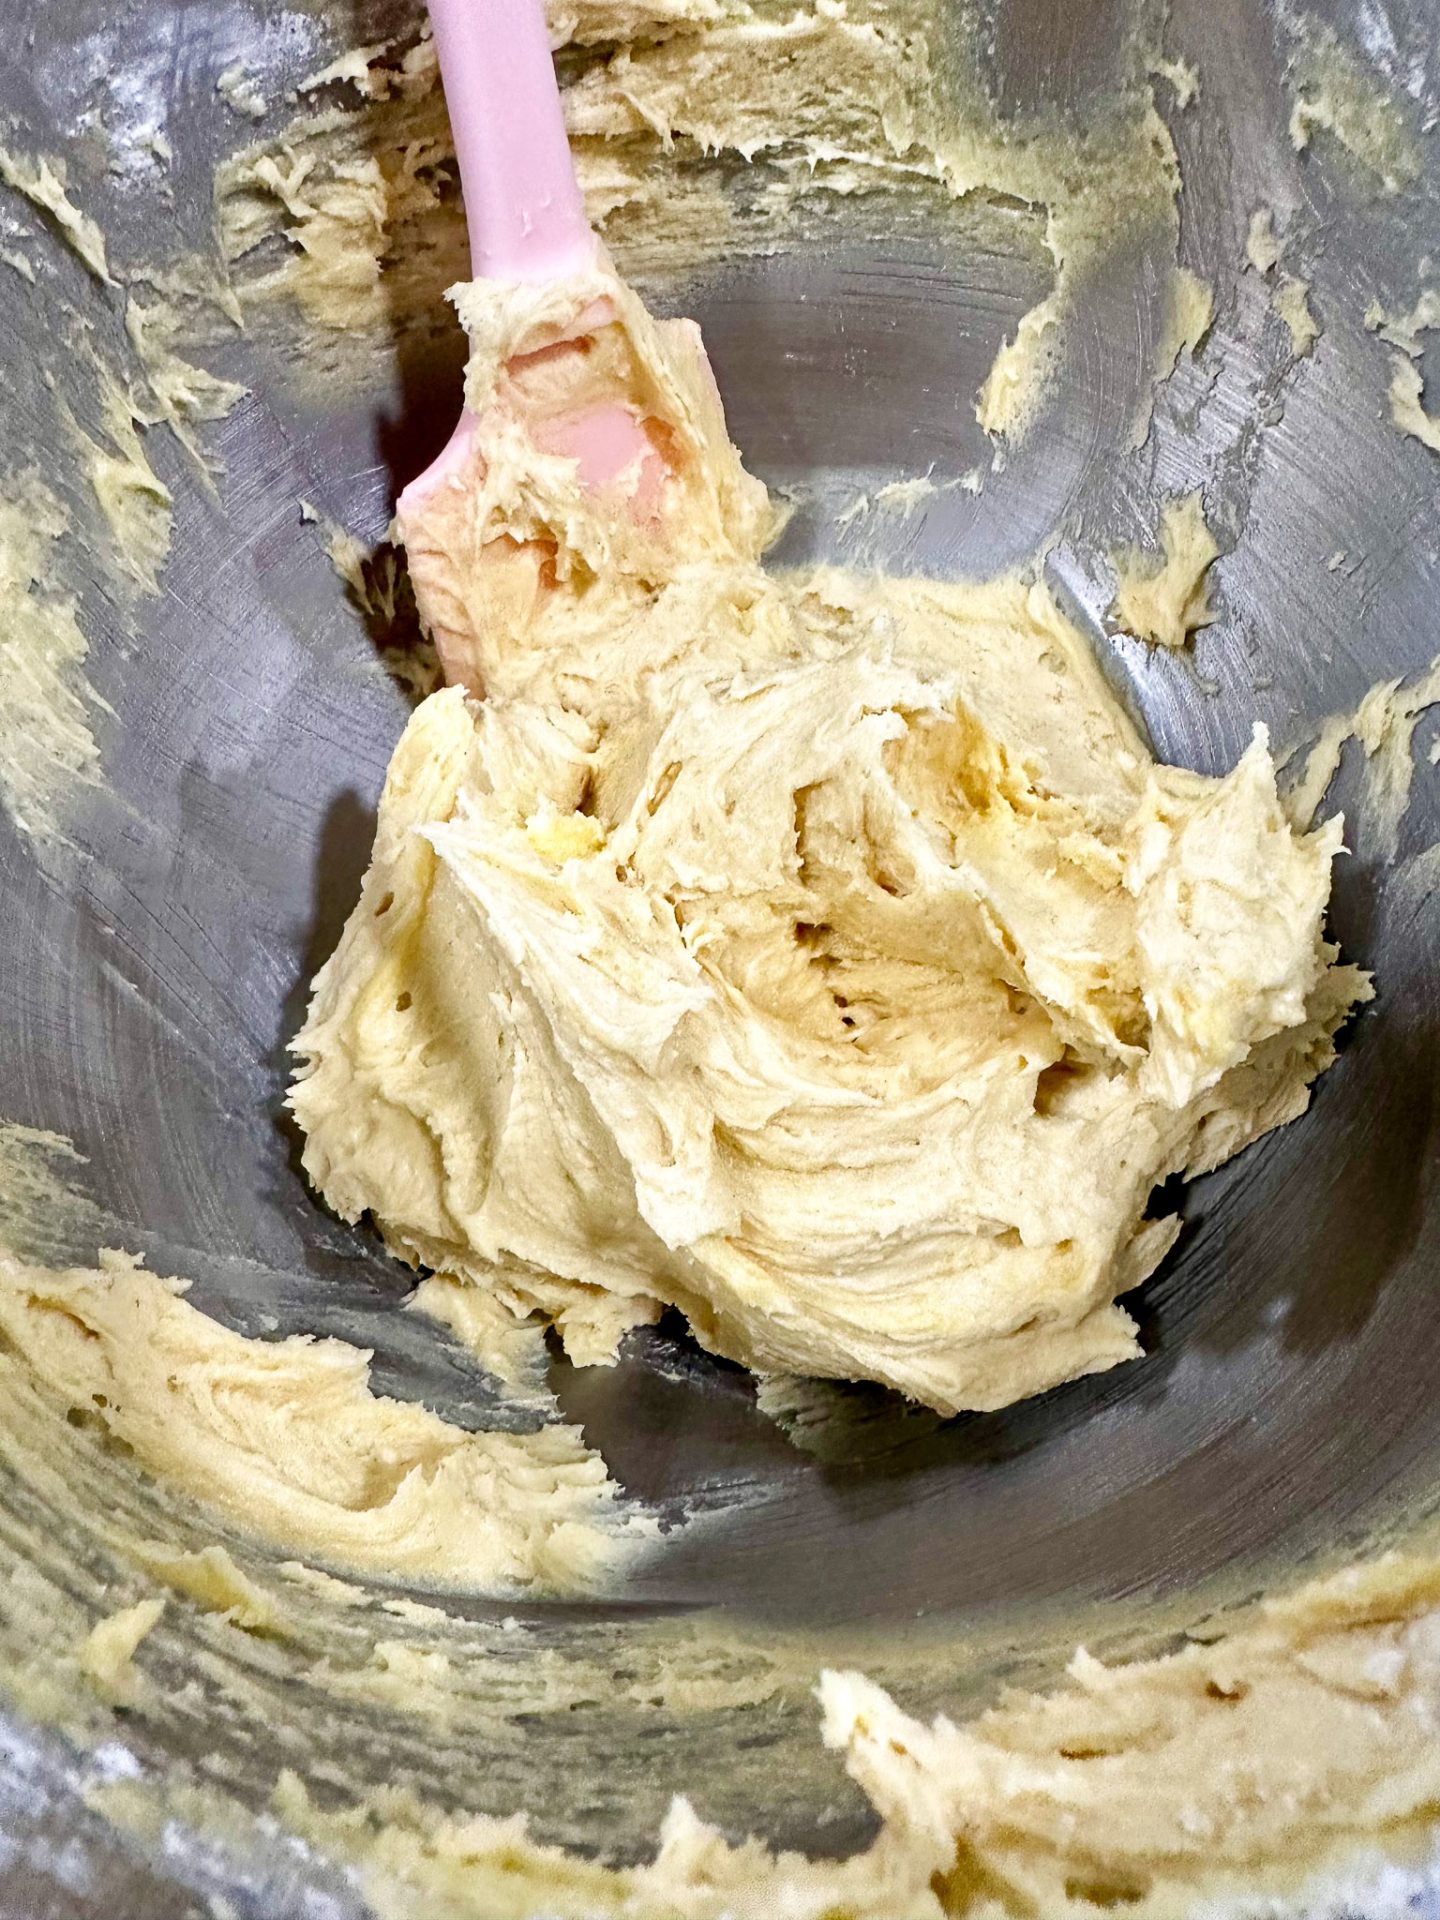
- Pour the batter into the prepared pan. Spread evenly and smooth the top with a spatula.
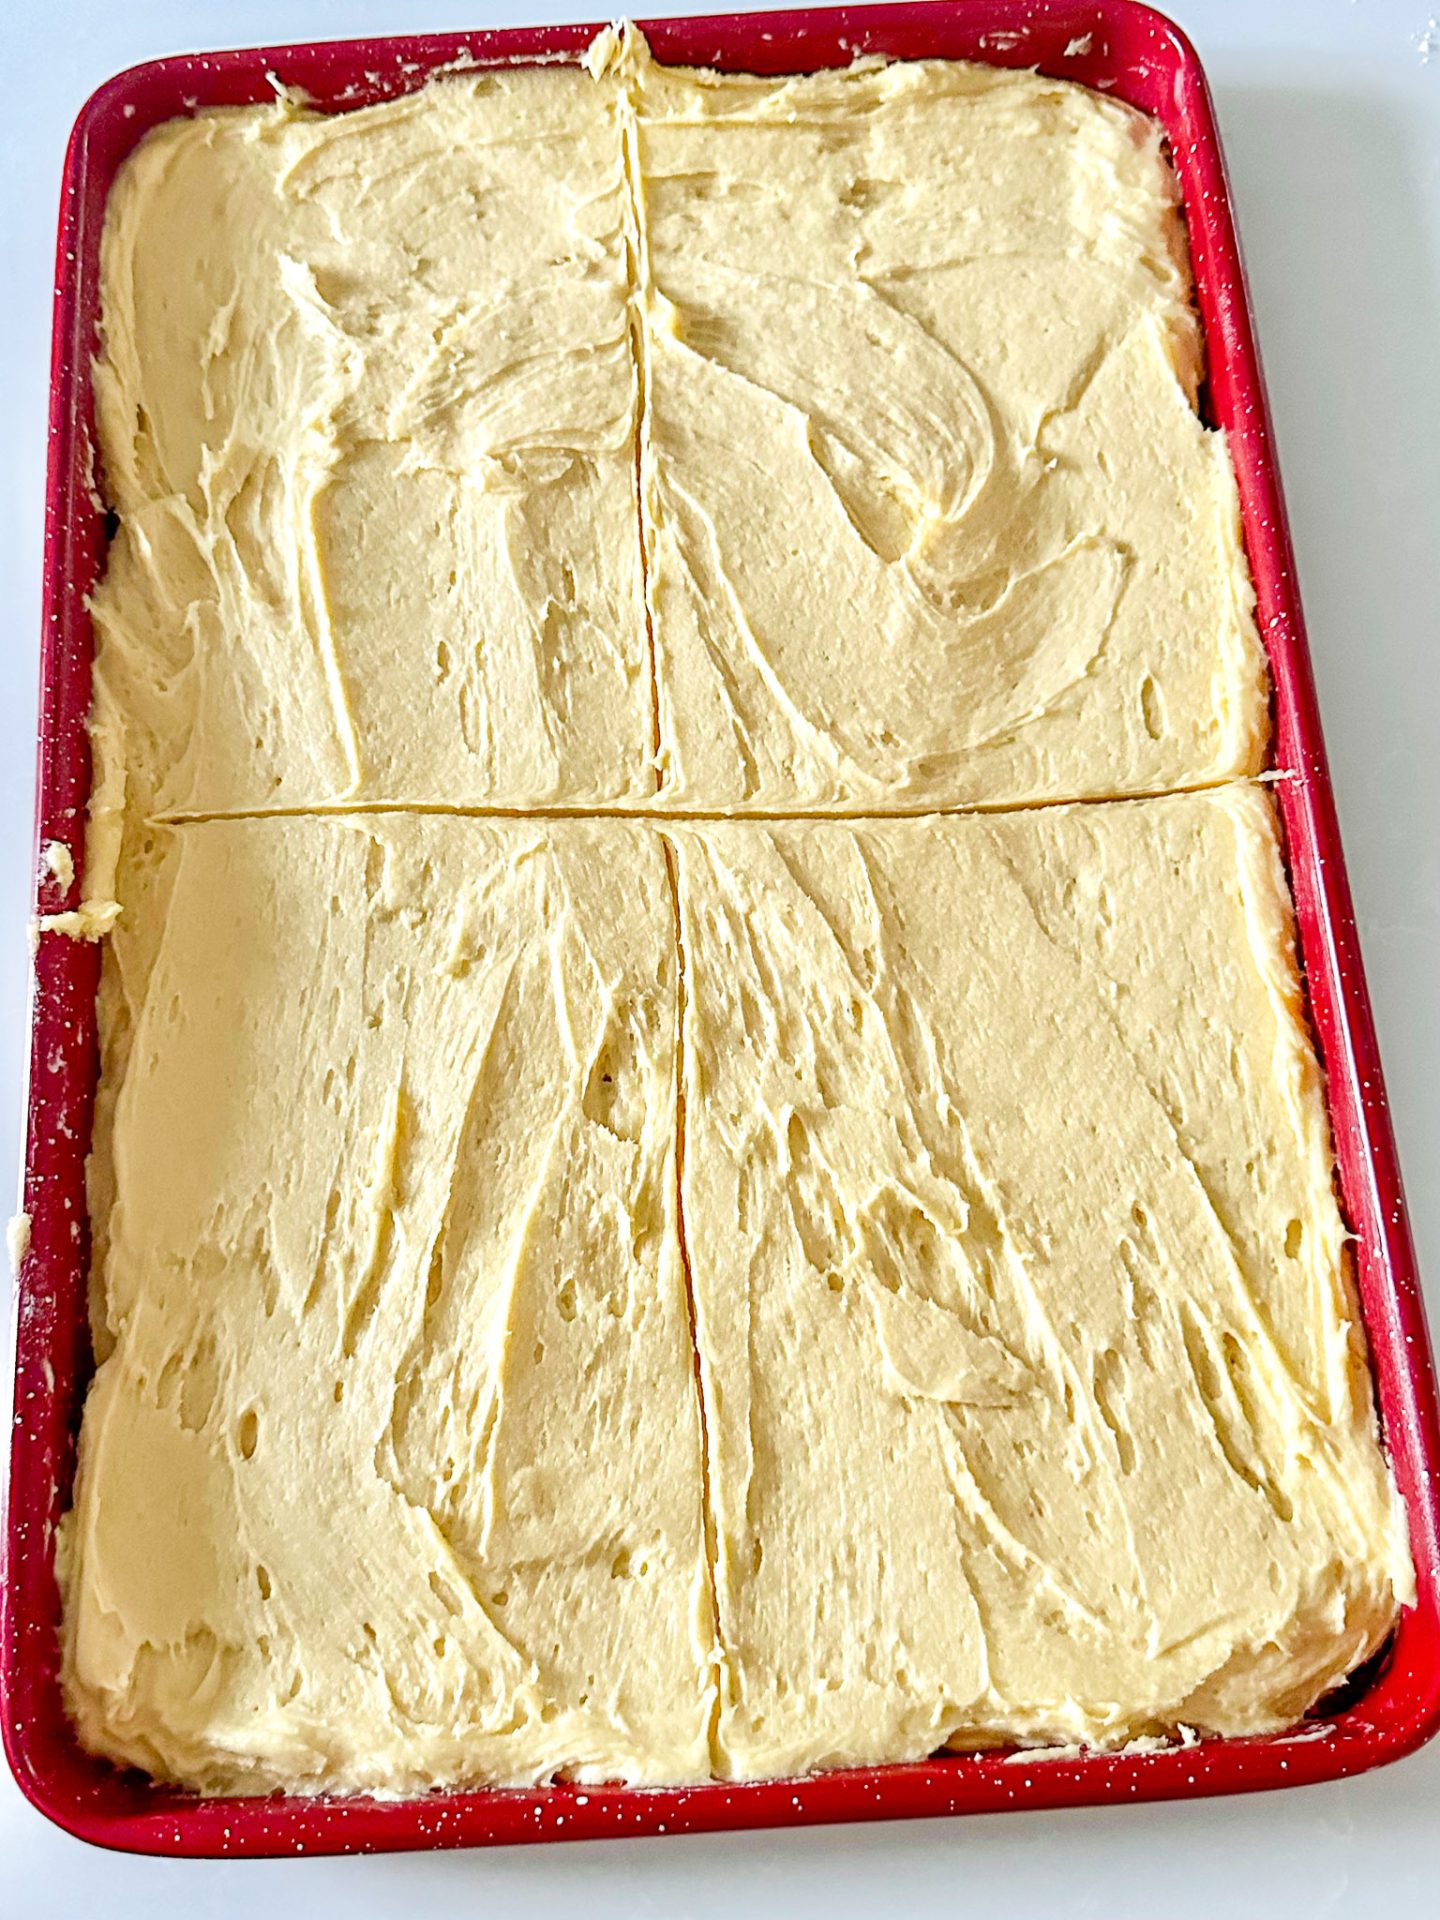
Mark off about 24 (or up to 32) equal squares using a butter knife. Place 1 heaping tablespoon of cherry pie filling in the center of each square (about 3 cherries each). Bake in the preheated oven for 22-25 minutes or until lightly browned and a tester inserted in the center comes out clean. Transfer the pan to a wire rack to cool.

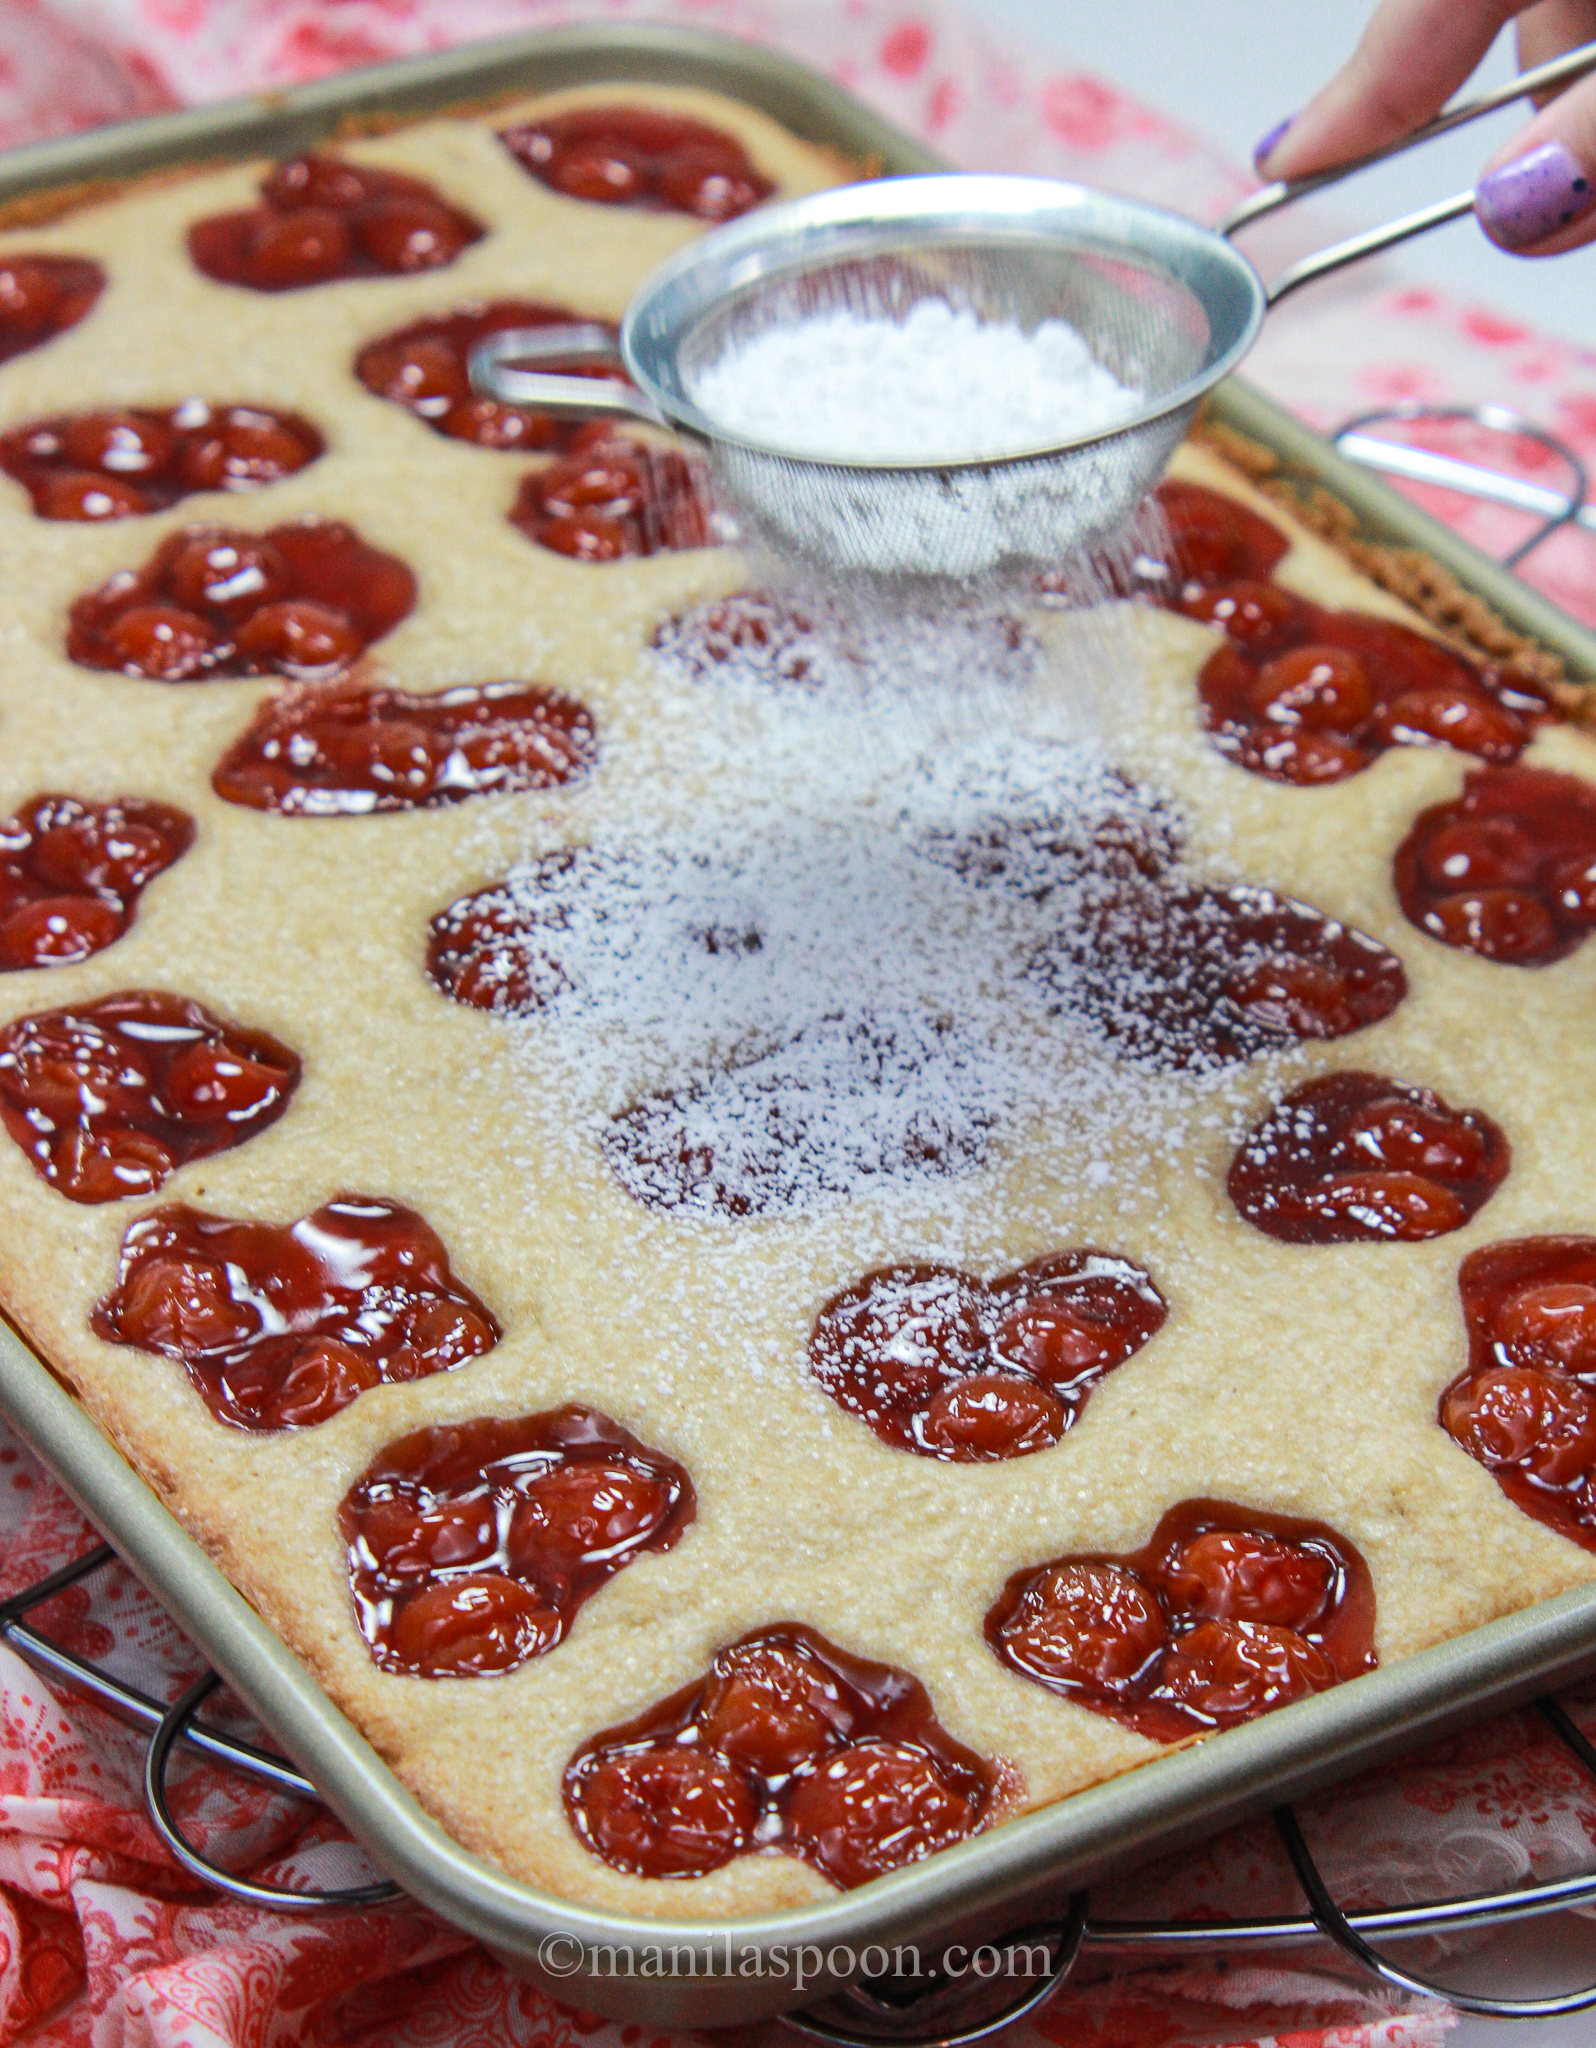
- Slice the squares while still warm. Once cooled, lightly sprinkle with confectioners or icing sugar. Serve with a cup of tea!
CAN YOU USE OTHER PIE FILLINGS AS HOLIDAY SQUARES?
Yes, certainly. It’s so versatile as you can choose to use your favorite pie filling depending on what strikes your fancy or depending on the season or the holiday you are celebrating!
A blueberry pie filling would be great for the 4th of July while for fall you can do apple pie. I have actually tried the apple pie and it came out so yummy, too. For Christmas, I think the cherry pie version is very apt! Don’t you agree?
Simply sprinkle with some icing sugar before serving and it becomes an even prettier dessert that everyone would be impressed with! Enjoy for Christmas or the 4th of July!
Don’t fancy cherries? No problem! You can use your favorite pie filling.
In the summer months, think strawberry, blueberry and peaches or whatever else you fancy! It’s such a versatile dessert!
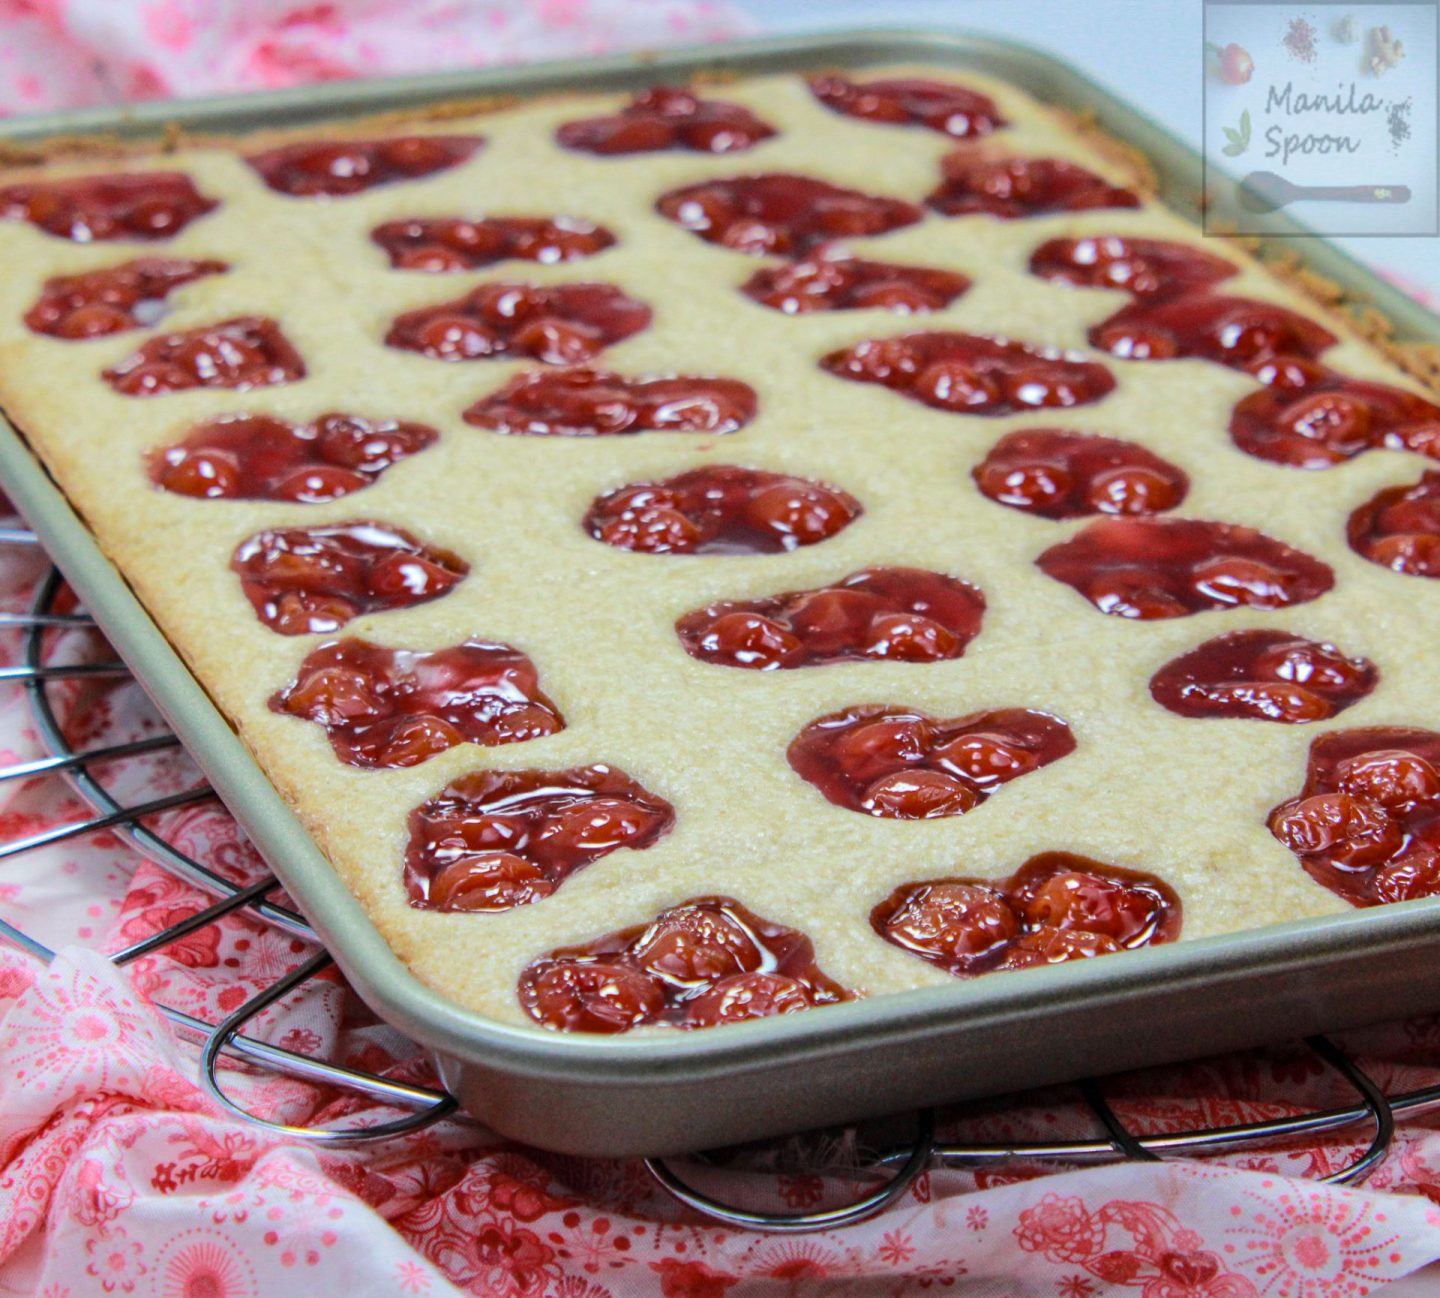
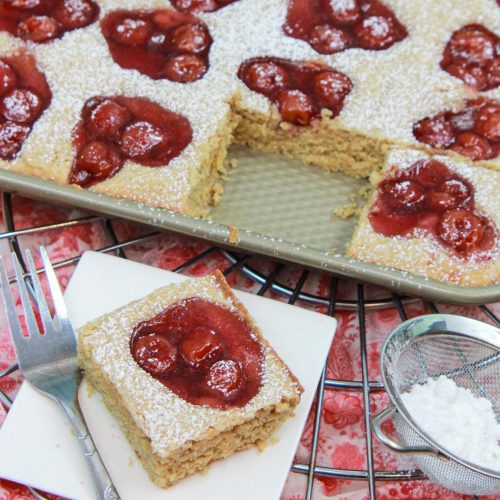
Easy Cherry Holiday Squares
Ingredients
- 1 cup butter, room temperature
- 1 1/2 cups granulated sugar (could lessen to 1 1/4 cups though the original recipe calls for 1.5 cups)
- 4 eggs, large
- 1 teaspoon lemon or vanilla extract, (or a combo!)
- 2 cups flour, sifted
- 1 (21 oz) can cherry pie filling or your favorite pie filling
- Confectioners sugar, for dusting
Instructions
- Preheat oven to 350 F. Grease or lightly brush a 15-by-10-inch jellyroll pan with butter.
Cream the butter and sugar for 5 minutes or until light, fluffy and smooth. Using medium speed, add the eggs one at a time, beating well after each addition. Add the lemon extract. Reduce the speed to low then slowly add flour and mix just until combined.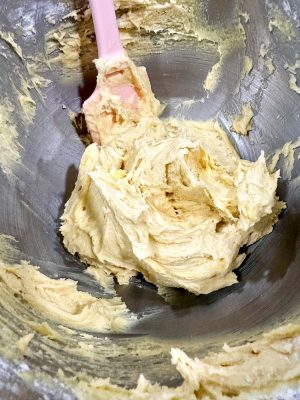
- Pour the batter into the prepared pan. Spread evenly and smooth the top with a spatula.
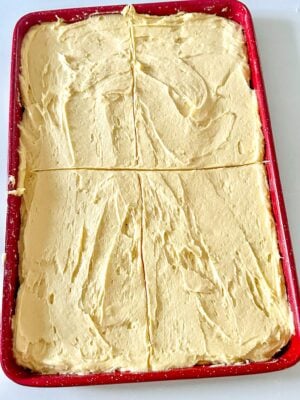
- Mark off about 24 (or up to 32) equal squares using a butter knife. Place 1 heaping tablespoon of cherry pie filling in the center of each square (about 3 cherries each). Bake in the preheated oven for 22-25 minutes or until lightly browned and a tester inserted in the center comes out clean. Transfer the pan to a wire rack to cool.
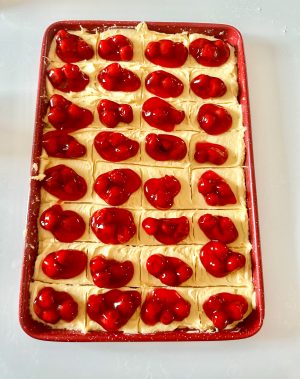
- Slice the squares while still warm. Once cooled, lightly sprinkle with confectioners or icing sugar. Serve with a cup of tea!
Notes
Nutrition
Last updated on April 30th, 2024 at 08:38 pm


What a beautiful classy dessert! I’m so excited to make this on Christmas day. Thank you so much for sharing this special holiday recipe.
You’re welcome!
I tried your recipe last night and loved it! Can’t wait to make it again!
So glad you liked it! Thank you!
Not only are these utterly delicious, I just love the way they look!
I find these quite pretty as well and so yummy, too. Thanks!
Really love how easy this is to make! the family LOVES anything cherry and will definitely feed our crowd!
Easy-peasy indeed! Thank you!
We have a big crowd coming for Christmas and this will be perfect to serve to them! I love how simple the ingredient list is!
Yes, this is indeed perfect for a crowd! Thank you!
I love any kind of cherry dessert. I will be trying this for sure.
Thank you!
Great recipe for Christmas! Would it work to make with fresh cherries?
If you can get fresh cherries during Christmas, I don’t see why not. Though for a more striking reddish glow for the holidays, I would, personally prefer bottled maraschino cherries. Thank you for stopping by. Hope you enjoy.
I made these but the cherries sunk to the bottom. What did I do wrong?
A little sinkage is fine as you can see in the photos. Besides, it’s not a very thick bar or square so that shouldn’t be an issue. But if the sinkage is quite significant then I suspect, it was probably underbaked. Because oven temperatures vary you need to adjust the baking time and make sure it’s fully cooked. Also, did you add a lot of cherry filling? That could be it, too. Hope that answers it.
Can I use a 9x 13 pan?
Hello Pamela, yes you may. I haven’t done it myself but I’ve seen others do it. However, since it would be a thicker version – you need to bake it longer (until the tester comes out clean) and you may wish to try adding a little baking powder and not use too much filling (still 3 cherries) so the cherries don’t sink. If you’re not bothered by the sinkage then use as much as you want. Enjoy.
I got the same recipe from my other-in-law, who got it from a friend many years ago. I make them every Christmas and sometimes for Valentine’s Day. In fact, until we moved this year, I made several batches and gave them to our neighbors every Christmas Eve morning. They’re always a hit.
I am so glad that a friend shared this recipe as it’s such a winner. Thank you so much for stopping by and letting us know.
I had forgotten about this dessert. It’s so good! The last time I made this recipe, it was for a teacher recognition luncheon at my sons’ school.Rather than sifting the confectioner’s sugar on top, I made an almond flavored icing and drizzled it on top. Mmmmm! The combination of cherry and almond was amazing and the dessert was a hit.
That sounds absolutely yummy! Need to add the drizzle next time. Thank you Jane. Love all your tips!
Do you know if these freeze well?
Yes! Make sure you wrap them well with plastic wrap and put them in an airtight, freezer-friendly container. Allow defrosting at room temperature before serving.
OMG. omg. omg.
I have been looking for this recipe for over 20 yrs! THIS IS IT!! When I was an attorney on Guam back in the 80-90’s, the secretaries gave me this recipe. We all would take turns making it and bring it into the office for breakfast. No special occasion was needed. I bet we ate it once a week!
My husband has asked me to make this recipe dozens of times but I had no idea where it went. I lost it.
AT LAST!!
Thank you
I am so delighted that you found this! A lady from our church gave me this delicious classic and I was as happy as you in finding this, too. Yay! Thanks for letting us know.
My Mom made these and I was thinking she used yellow cake mix as the base… I wonder if that would work?
I have always made it from scratch so I don’t know. Perhaps with some small adjustments, you can make it work. Worth trying as this is a very delicious recipe. Thanks!
Can’t wait to make for Easter/Christmas/Birthday’s and Bring a Dish. Thank You!!! 3/29/23
Hope you enjoy it. Thank you!
I added almond extract to the base ,cut the recipe in half and embedded the whole can of cherries on top. It took almost an hour to cook. But it was outstanding !
Glad you enjoyed this and it still worked out for you despite the changes. It would take longer if you don’t use the sheet pan and with the addition of whole can of cherries but only half the recipe, that would change the timing. But so happy you enjoyed this and thank you for letting us know. It would be so helpful to others who may wish to do the exact thing you did.
Thanks for this recipe; it turned out great. I didn’t have a 15×10-inch rimmed jelly roll pan so I used 2 (12) muffin tins and baked for 22 minutes. It was a bit fiddlie smoothing out each muffin but nice to have individual rounds.
Yay! So glad you were able to successfully adapt this. Such an awesome idea!!! Thanks for letting me know.
This looks great…I’m going to try it for Thanksgiving…
For the flour do you use
All Purpose or Self Rising?
I use all purpose flour. Enjoy! This is such a yummy recipe.