
How to Make an All Butter Pie Crust (Foolproof Recipe)
Learn how to make the best flaky all-butter pie crust from scratch with this simple, reliable recipe. Perfect for all your favorite pies—tender, buttery, and easy to make by hand or in a food processor. Makes a double crust.
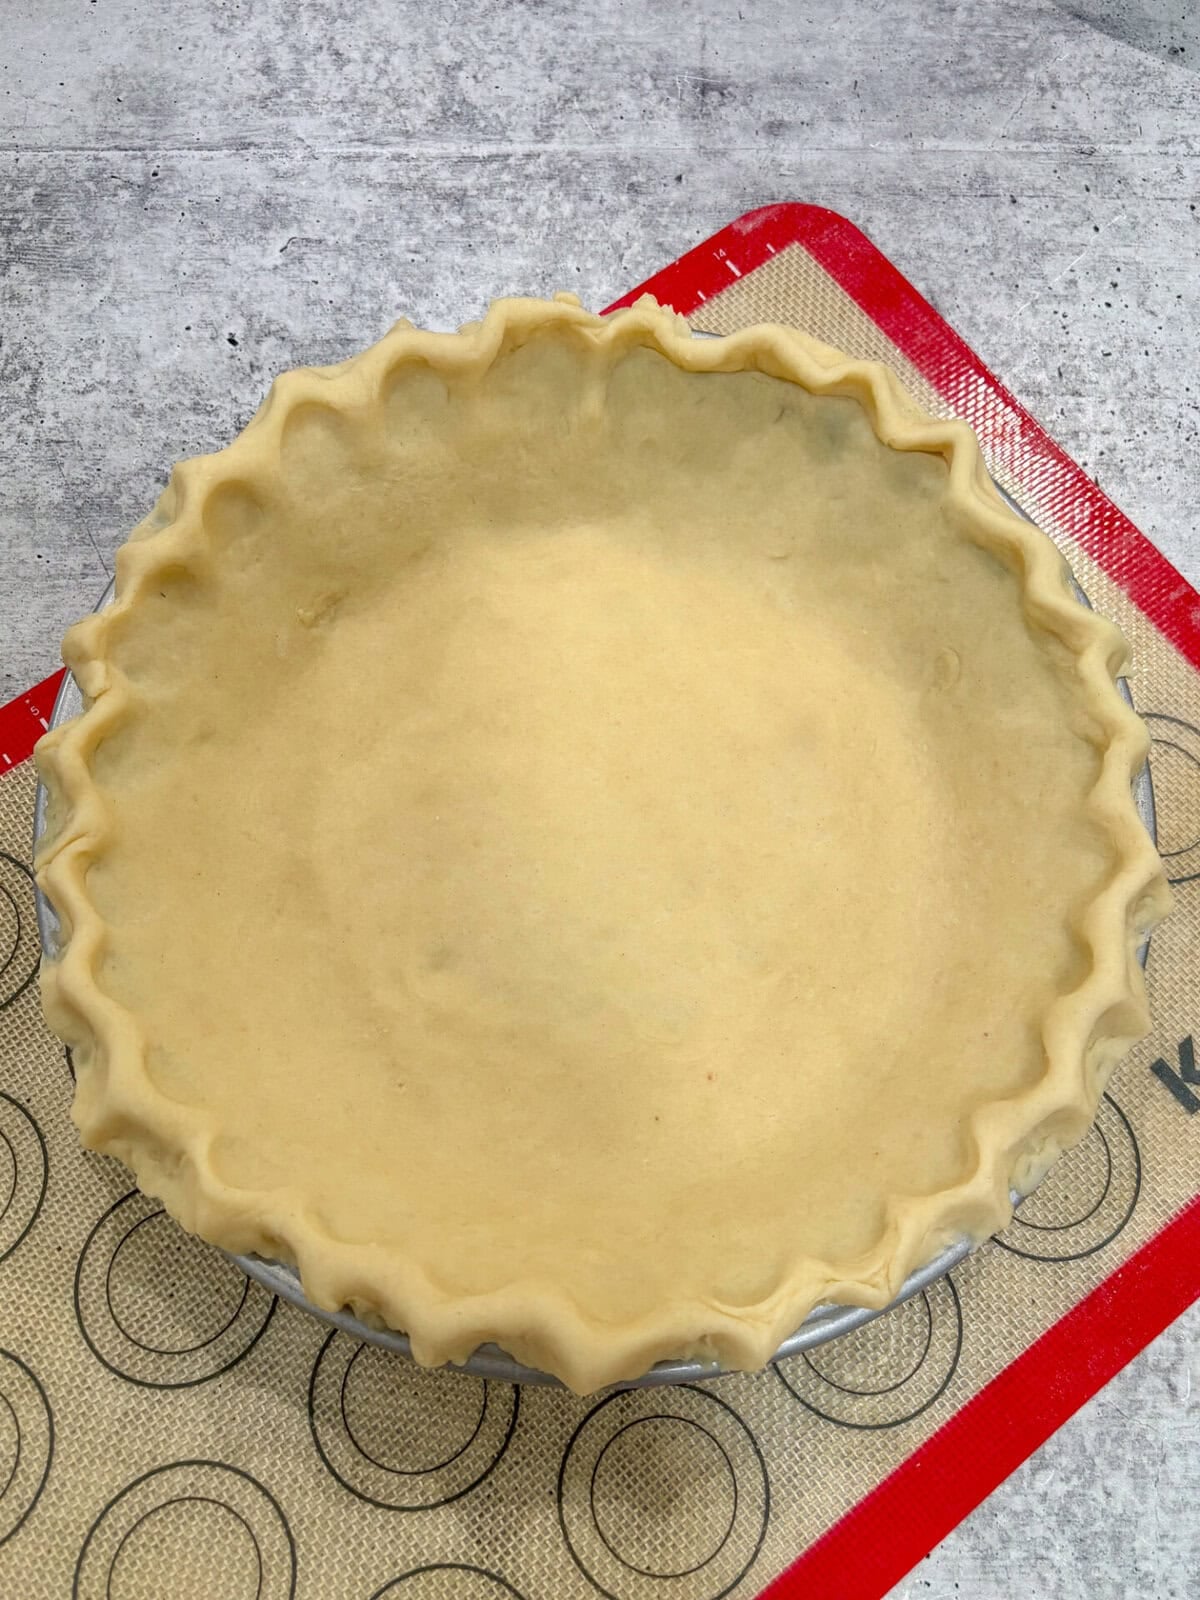
I used to fear making pies. Ask me to make a cake, cookies, or any other type of pudding; I’ll happily take the challenge. But pies, for some reason, scared me! Maybe because we don’t really make a lot of pies in the Philippines (I can only name 2: egg pie and buco pie!), I always felt intimidated. Once I learned the basics of making a simple, foolproof pie crust (after all, it was the crust that scared me, not the filling!), it opened the door to many delicious pies in my repertoire. Since then, I’ve made my pies with crust from scratch because it tastes so much better than the bland, dry store-bought variety. Here is our easy, foolproof recipe for a flaky all-butter pie crust that even novice bakers can take on!
Table of Contents
- Why This All Butter Pie Crust Works So Well
- Ingredients You’ll Need for an All Butter Pie Crust
- How to Make All Butter Pie Crust by Hand
- How to Make It in a Food Processor
- Dividing, Chilling & Rolling the Dough
- Tips for the Flakiest Butter Pie Crust
- How to Use This Homemade Pie Crust
- How to help the pie crimps hold their shape better
- Frequently Asked Questions (FAQs)
You can use this delicious pie crust with our delectable homemade pies: our perfectly spiced and crowd-pleasing Classic Pumpkin Pie with Molasses, our impressive Best Dutch Apple Pie, and a big summer favorite Ultimate Homemade Cherry. Enjoy pie making!
Why This All Butter Pie Crust Works So Well
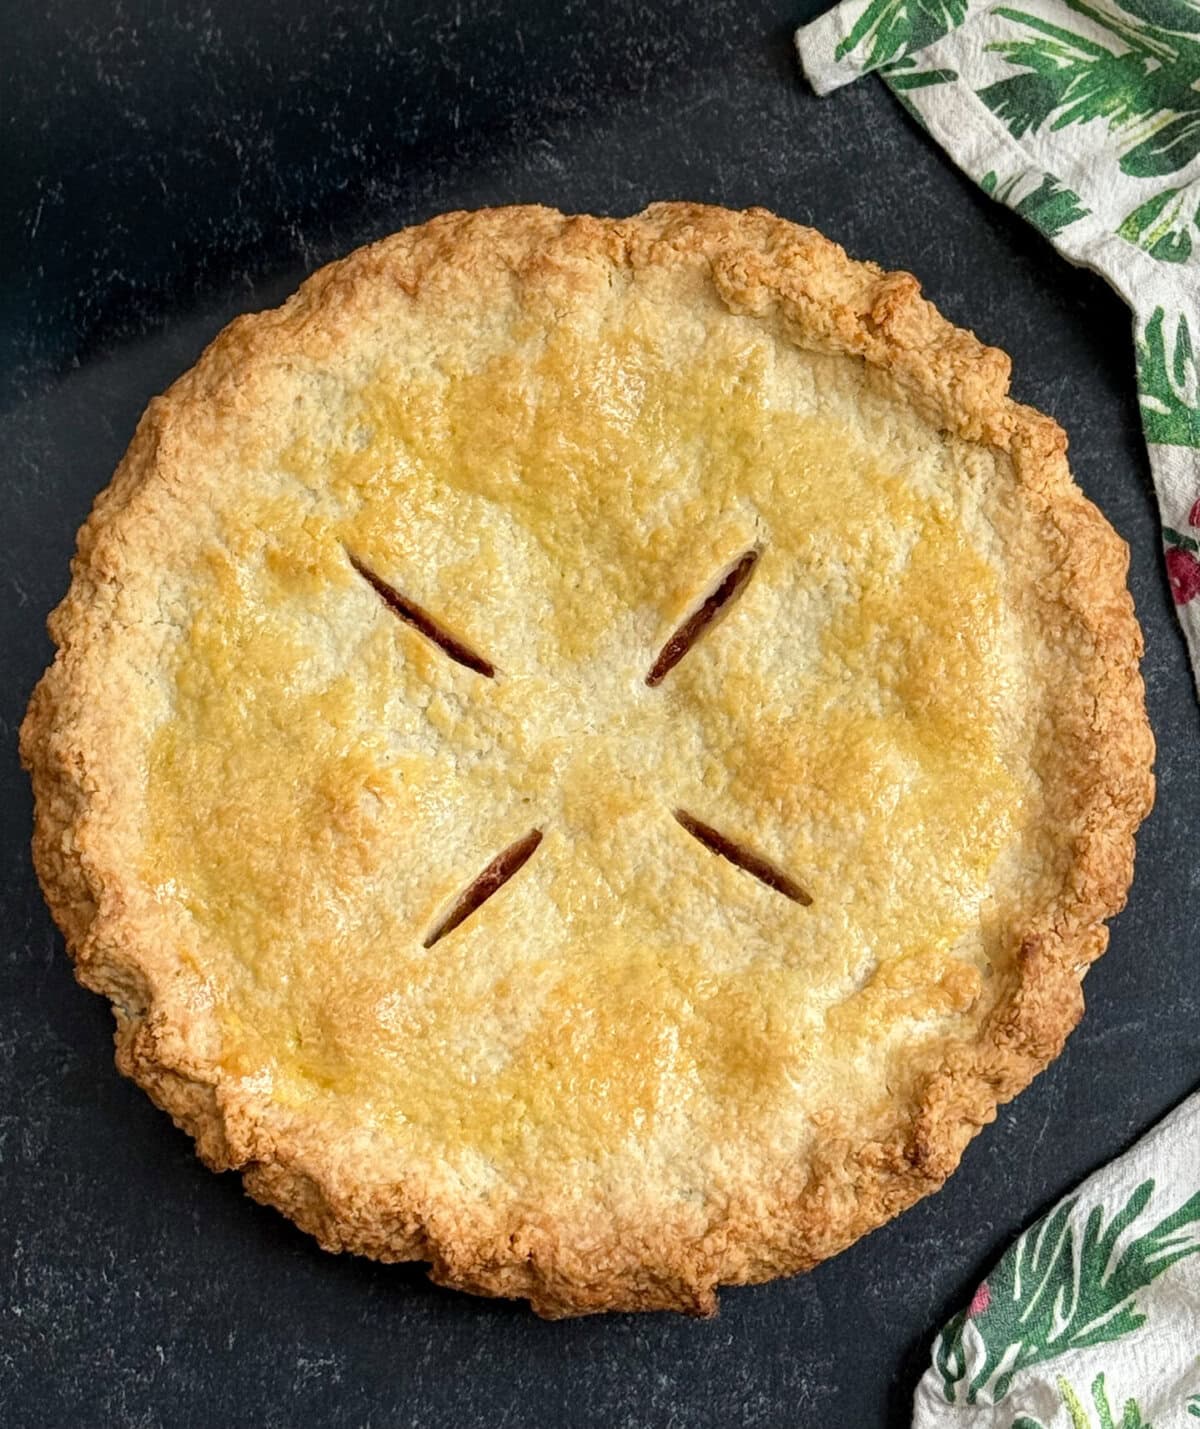
A great homemade pie starts with a great crust, and this all butter pie crust is one of the most reliable recipes you’ll ever make. Unlike crusts that rely on shortening, an all-butter version delivers superior flavor and beautiful flaky layers when handled correctly. The small amount of sugar in the dough helps with browning and adds a subtle sweetness that pairs perfectly with both sweet and savory fillings.
This recipe yields enough dough for a double-crust pie (or two single crusts). It’s straightforward whether you prefer working by hand or using a food processor, and it comes together quickly. Once you master this method, you’ll use it for everything from classic apple pie to strawberry rhubarb pie, chicken pot pie, quiche, and so much more!
Ingredients You’ll Need for an All Butter Pie Crust
For the All-Butter Pie Crust:
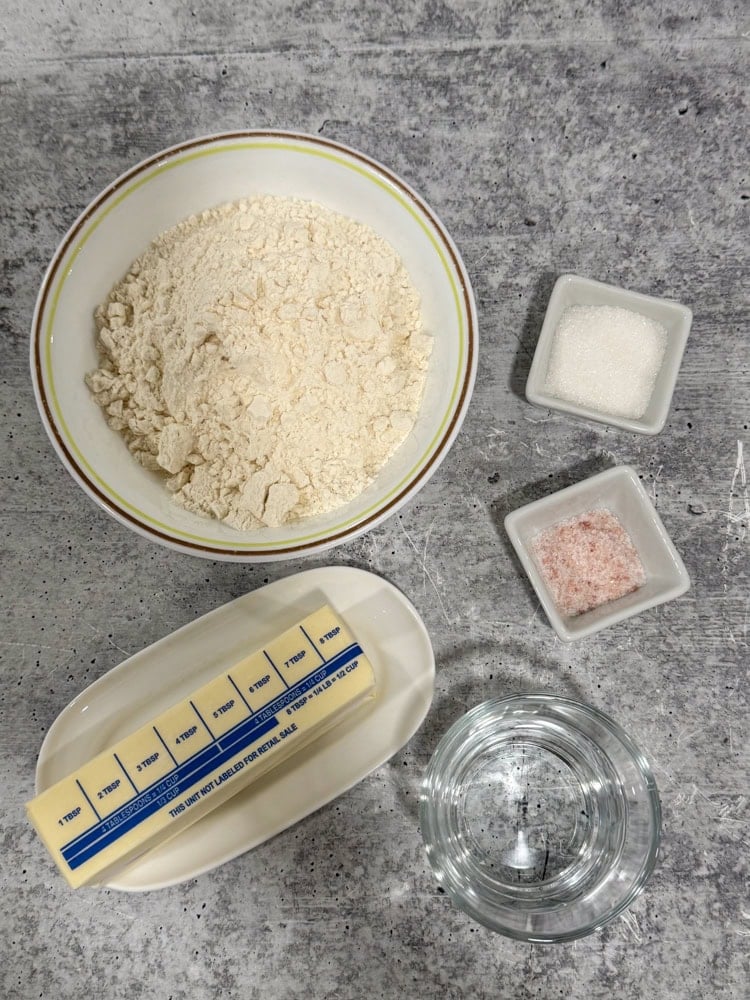
- 3 cups all-purpose flour
- ¼ cup sugar
- 1 teaspoon salt
- 1 cup (2 sticks) unsalted butter, cold and cut into ½-inch cubes
- 6 tablespoons cold milk or ice water, plus more as needed (1 tablespoon at a time)
The key is keeping everything cold. Cold butter creates steam pockets as it melts in the oven, which is what gives you those desirable flaky layers in a homemade pie crust.
How to Make All Butter Pie Crust by Hand
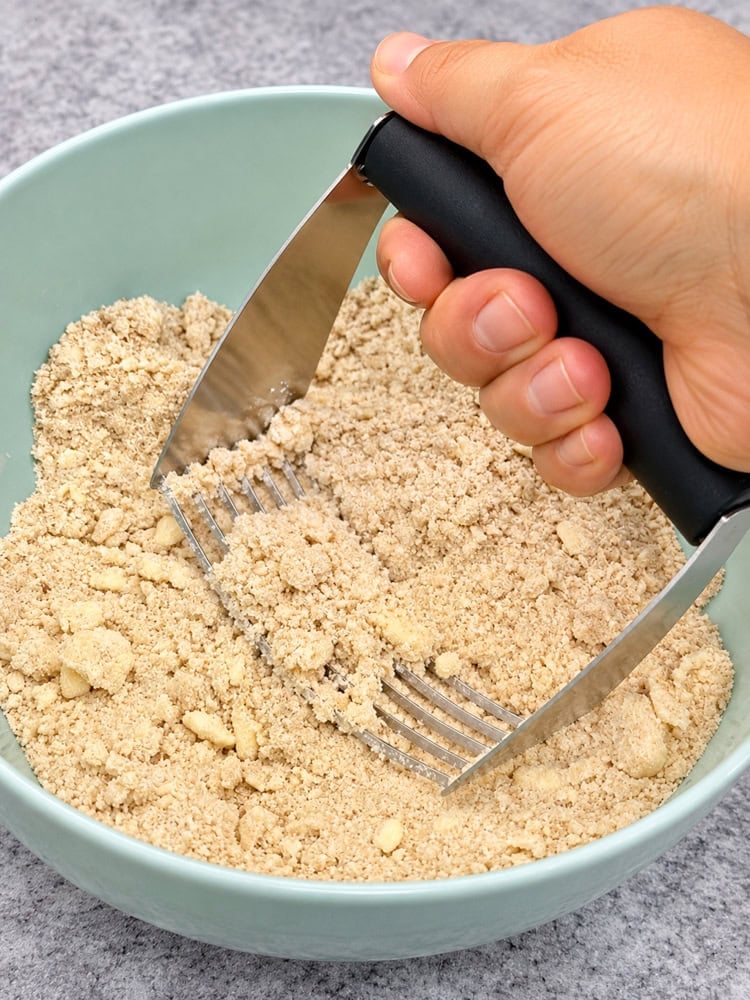
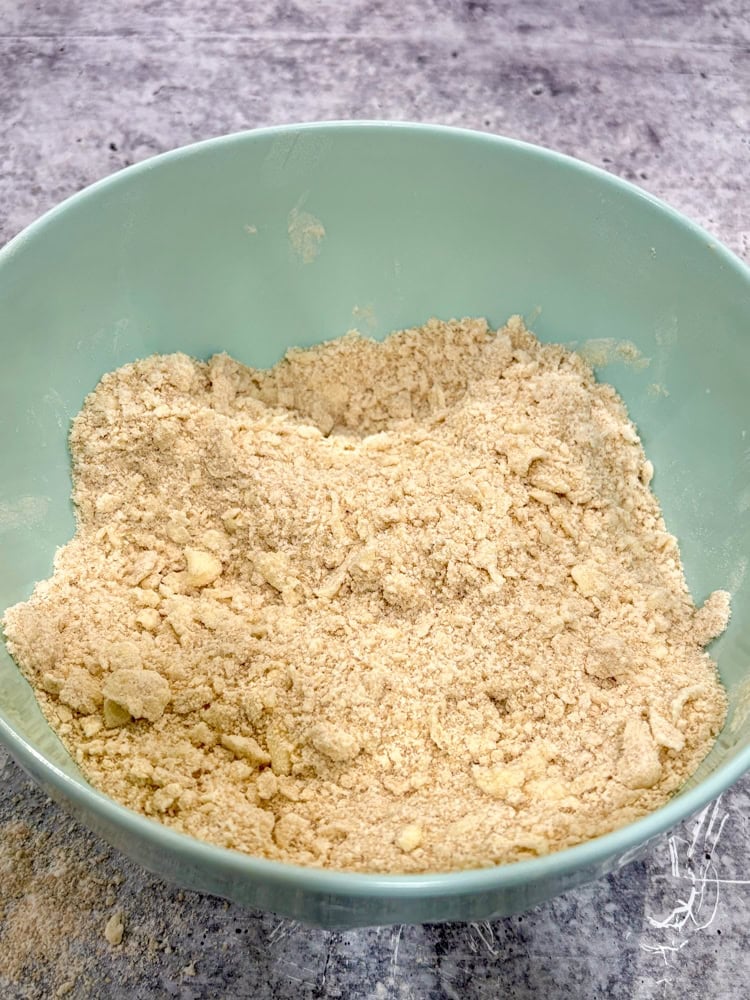
In a medium bowl, whisk together the flour, sugar, and salt until well combined. Add the cold butter cubes. Using your fingertips, a pastry cutter, or a fork, work the butter into the flour mixture until it resembles coarse crumbs with some pea-sized pieces of butter remaining. Those visible pieces of butter are important for flakiness.
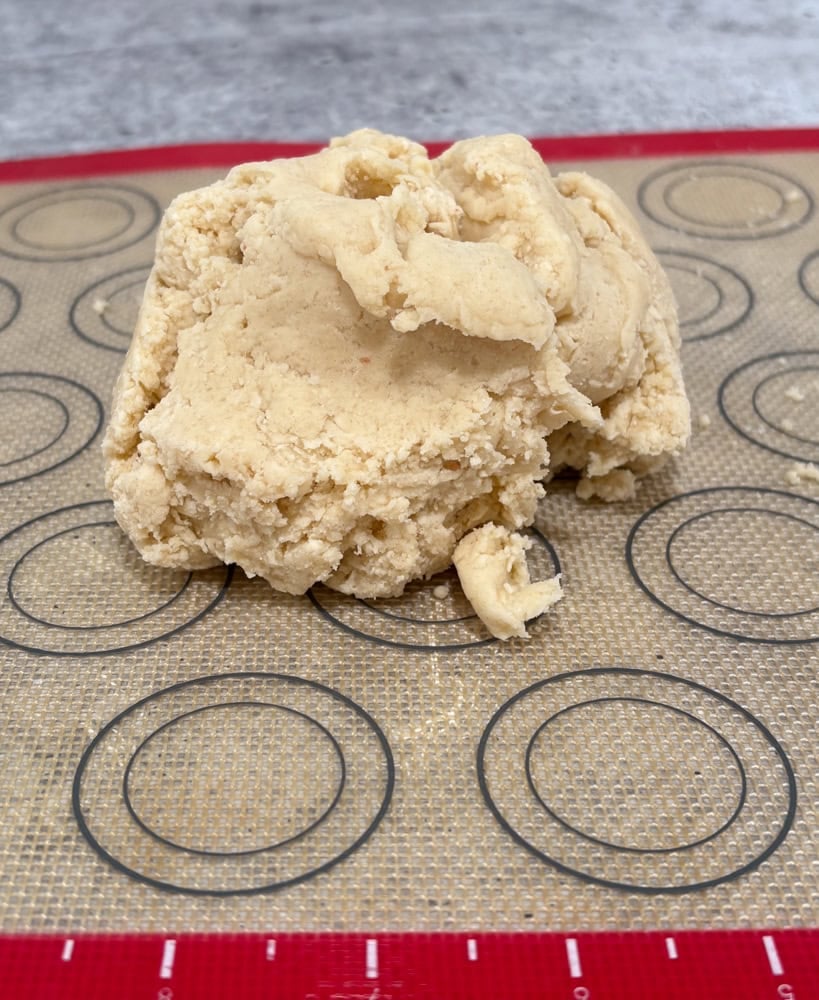
Gradually add the cold milk or ice water, starting with 6 tablespoons. Gently knead or press the dough just until it comes together. If the dough seems dry and won’t hold together, add more liquid one tablespoon at a time. Be careful not to overwork the dough—overmixing develops gluten and can make the crust tough instead of tender.
How to Make It in a Food Processor
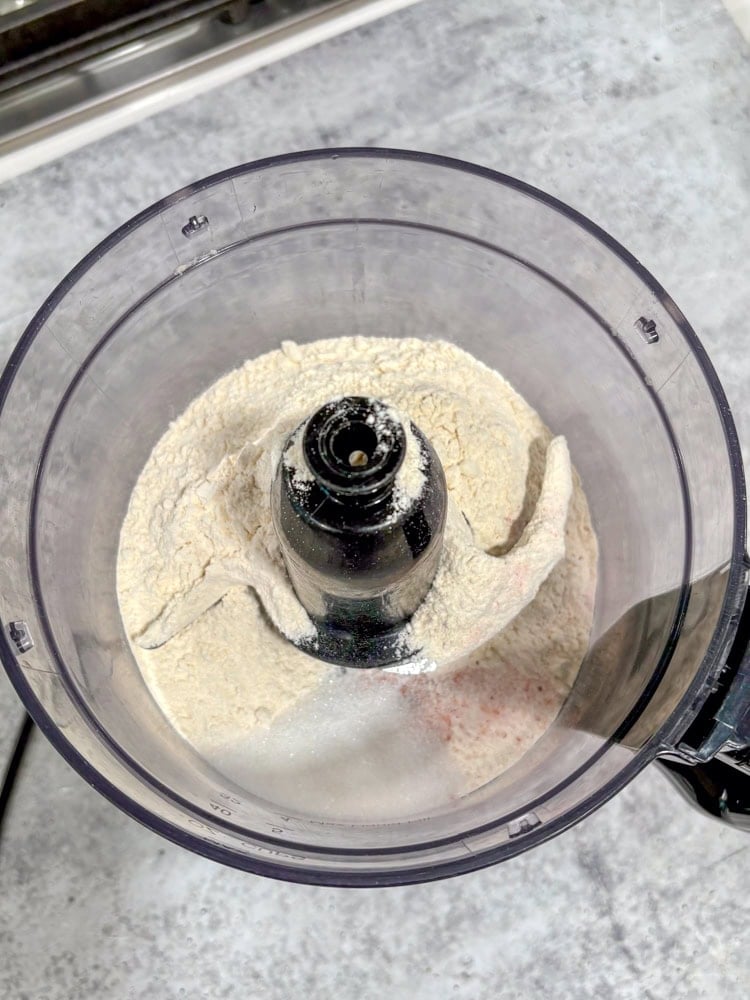
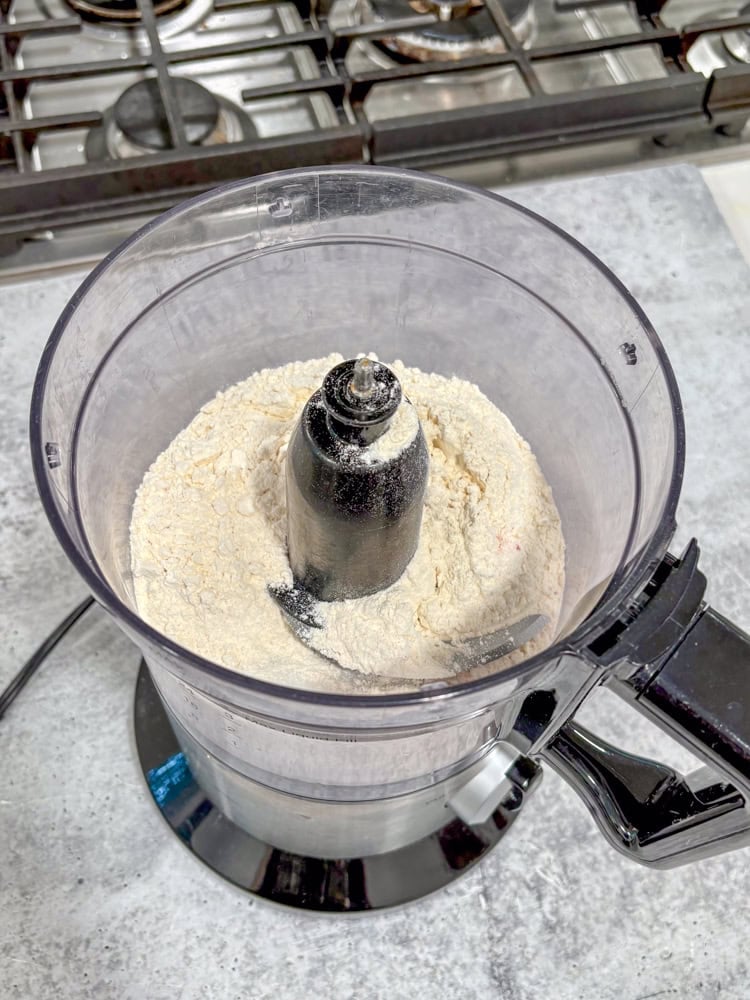
Combine the flour, sugar, and salt in the bowl of a food processor and pulse a few times to mix. Add the cold, cubed butter and pulse (or process in short bursts) until the mixture is crumbly and the butter breaks into small pieces.
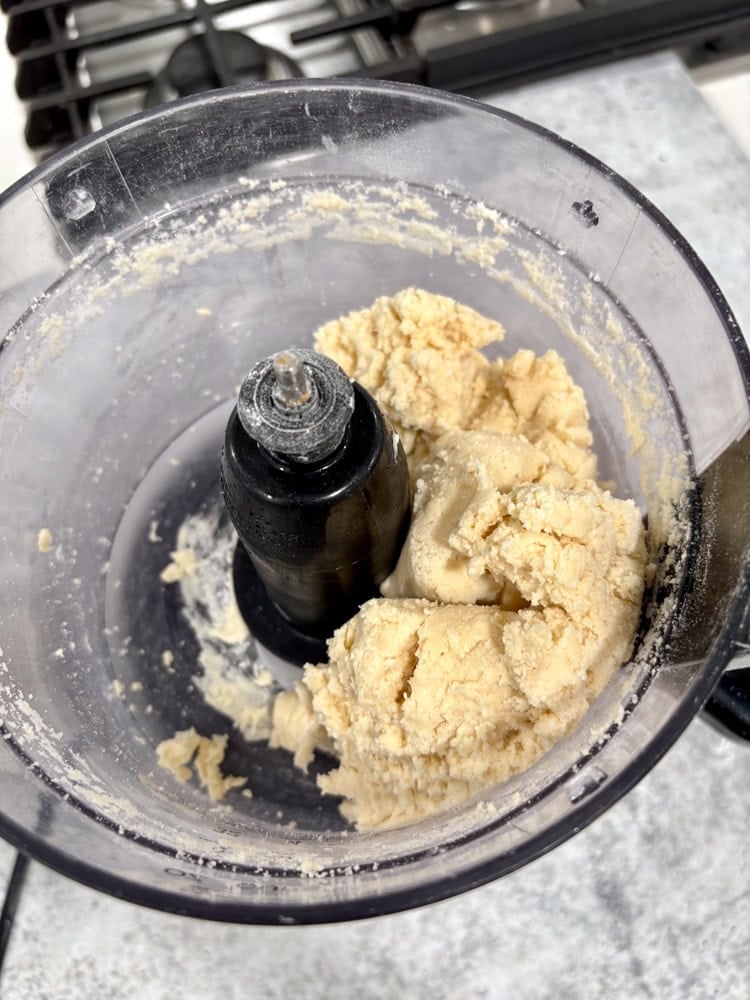
With the processor running, slowly drizzle in the cold milk or ice water through the feed tube. Pulse until the dough just begins to form larger clumps and holds together when pinched. Stop as soon as it comes together—do not process until it forms a solid ball.
Dividing, Chilling & Rolling the Dough
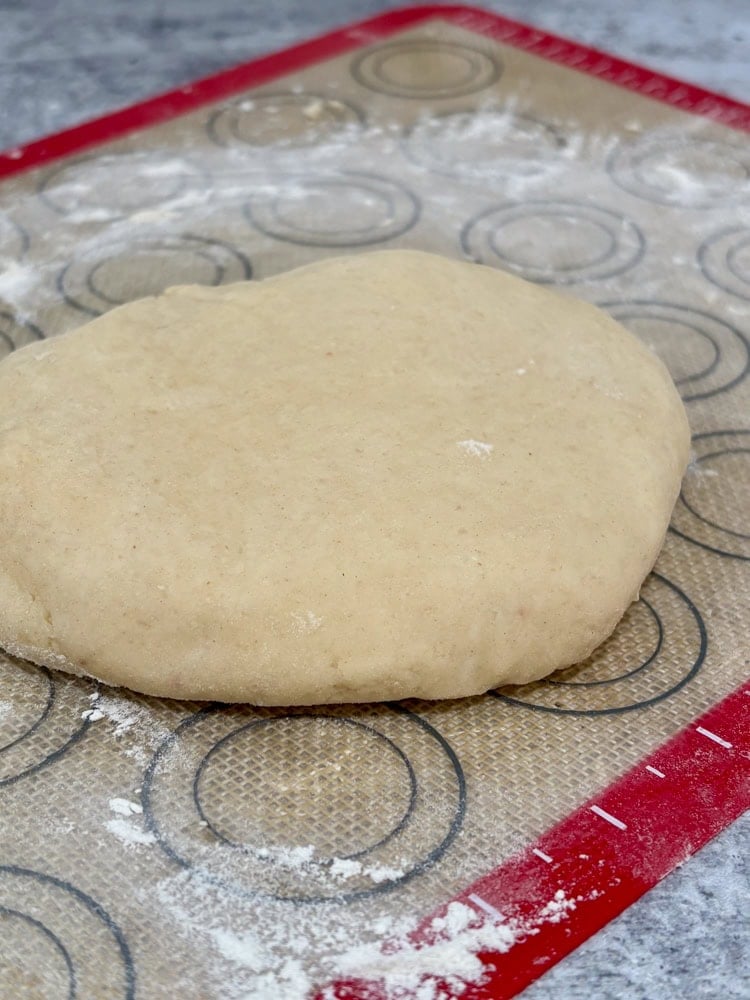
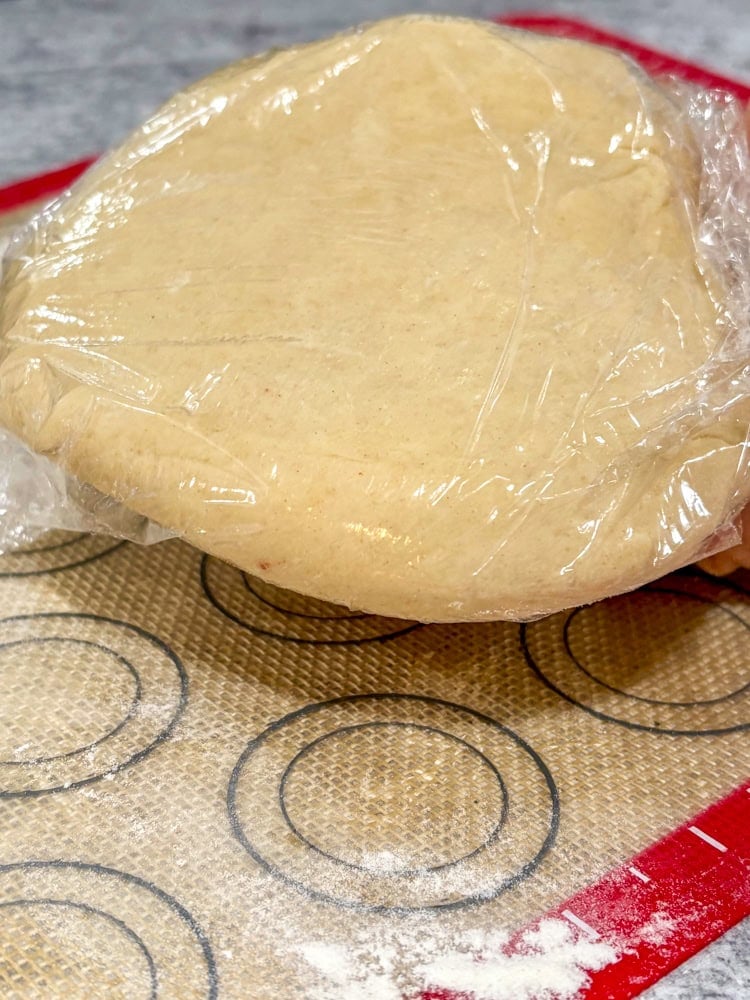
Turn the dough out onto a lightly floured surface and gently bring it together if needed. Divide it in half. Form one half into a disc, wrap it tightly in plastic wrap, and refrigerate it for at least 30 minutes (or up to 2 days).
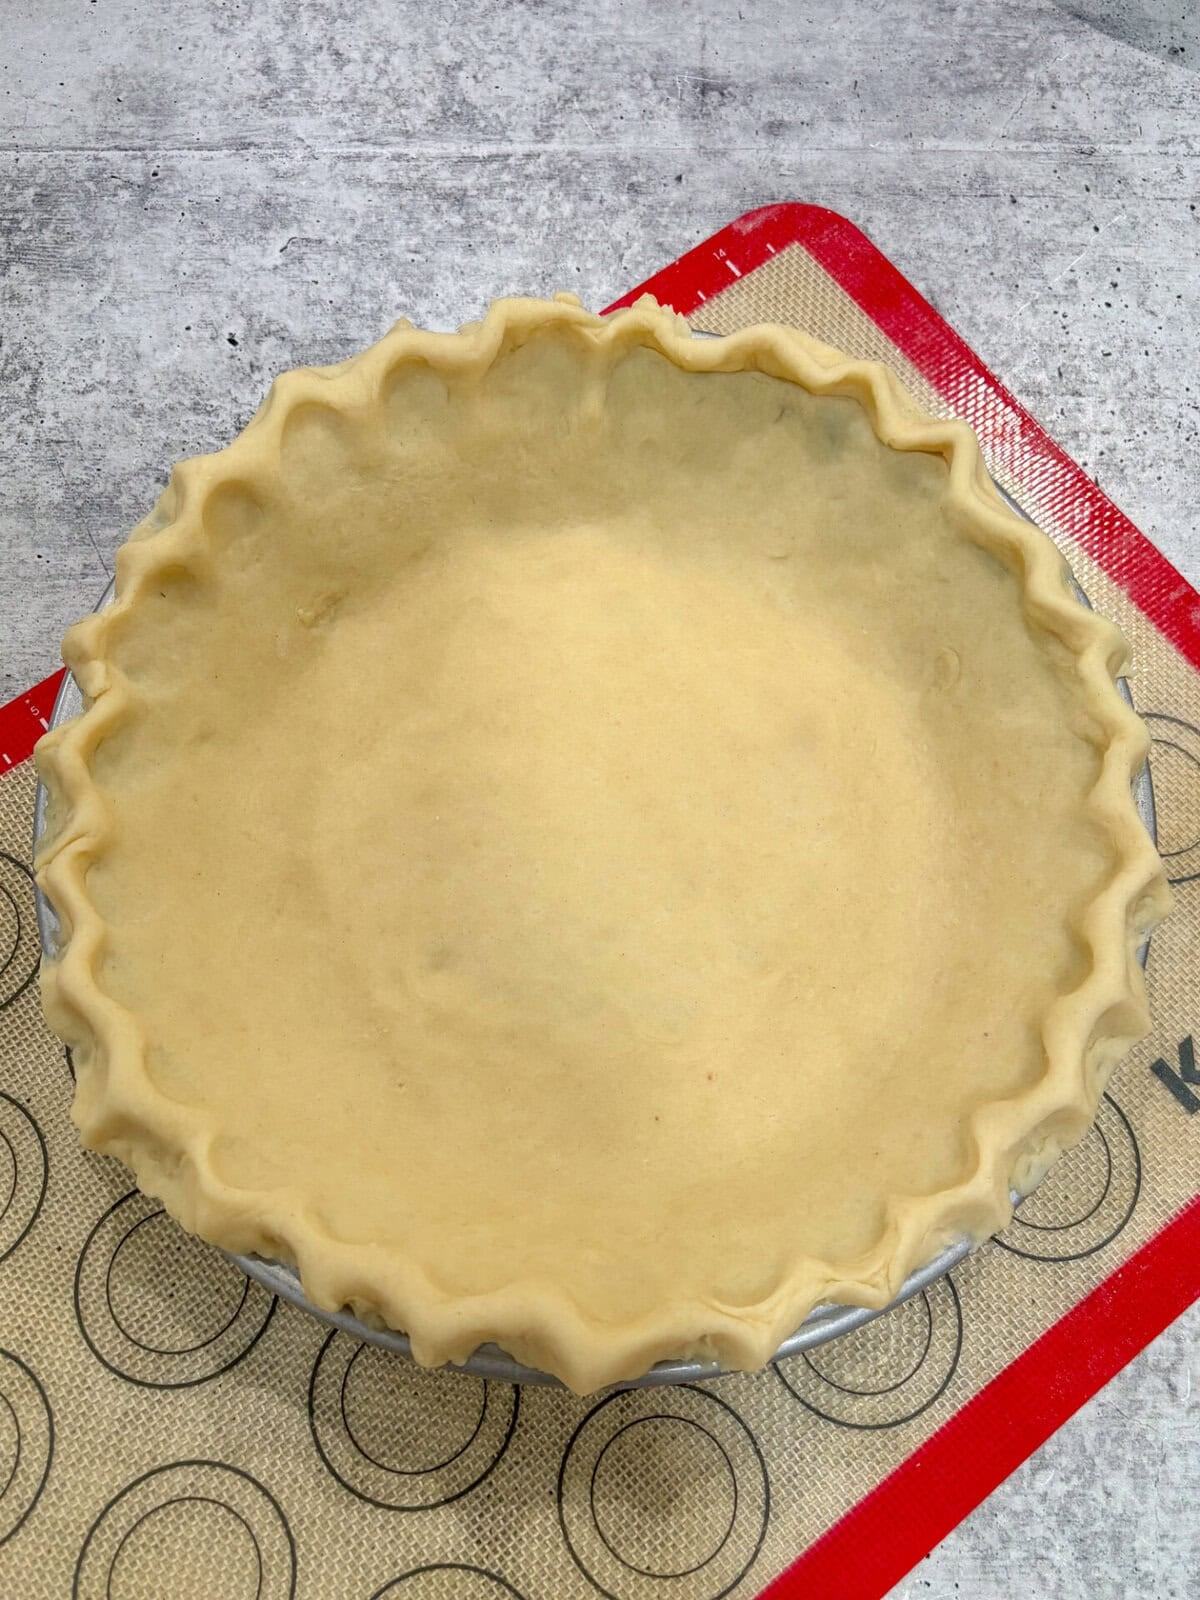
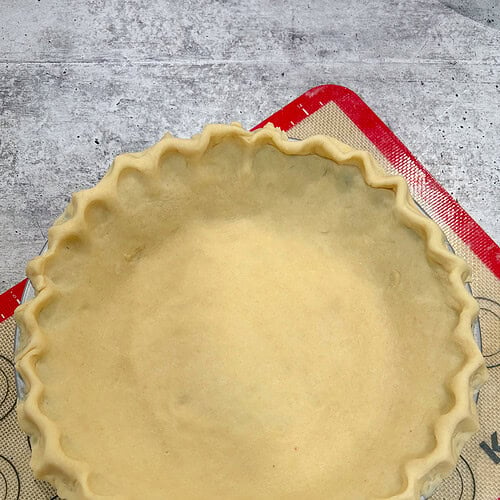
Press the other half into the bottom and up the sides of a 9-inch pie pan, then chill the crust-lined pan while you prepare your filling. Chilling helps the butter firm up again and prevents excessive shrinkage during baking.
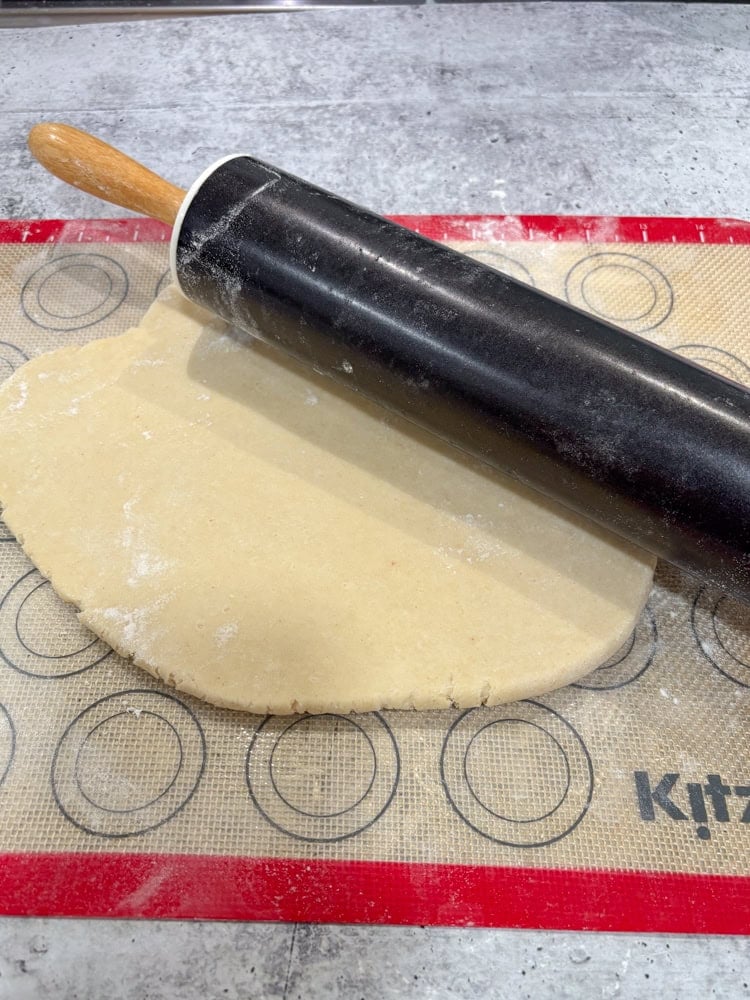
When you’re ready to roll, lightly flour your surface and rolling pin. Roll the chilled dough from the center outward, rotating it occasionally, until it’s about 1/8 inch thick and large enough to fit your pan.
Tips for the Flakiest Butter Pie Crust
- Keep the butter and liquid very cold. If your kitchen is warm, chill the flour mixture briefly before adding the butter.
- Visible pieces of butter in the dough are a good sign—they create flaky layers.
- Don’t overwork the dough. Mix and knead only until it holds together.
- Always chill the dough before rolling and again after fitting it into the pan.
- For a golden, beautiful finish, brush the top crust with a little milk or egg wash before baking.
- This crust works beautifully for both blind-baked single-crusts and double-crust pies.
How to Use This Homemade Pie Crust
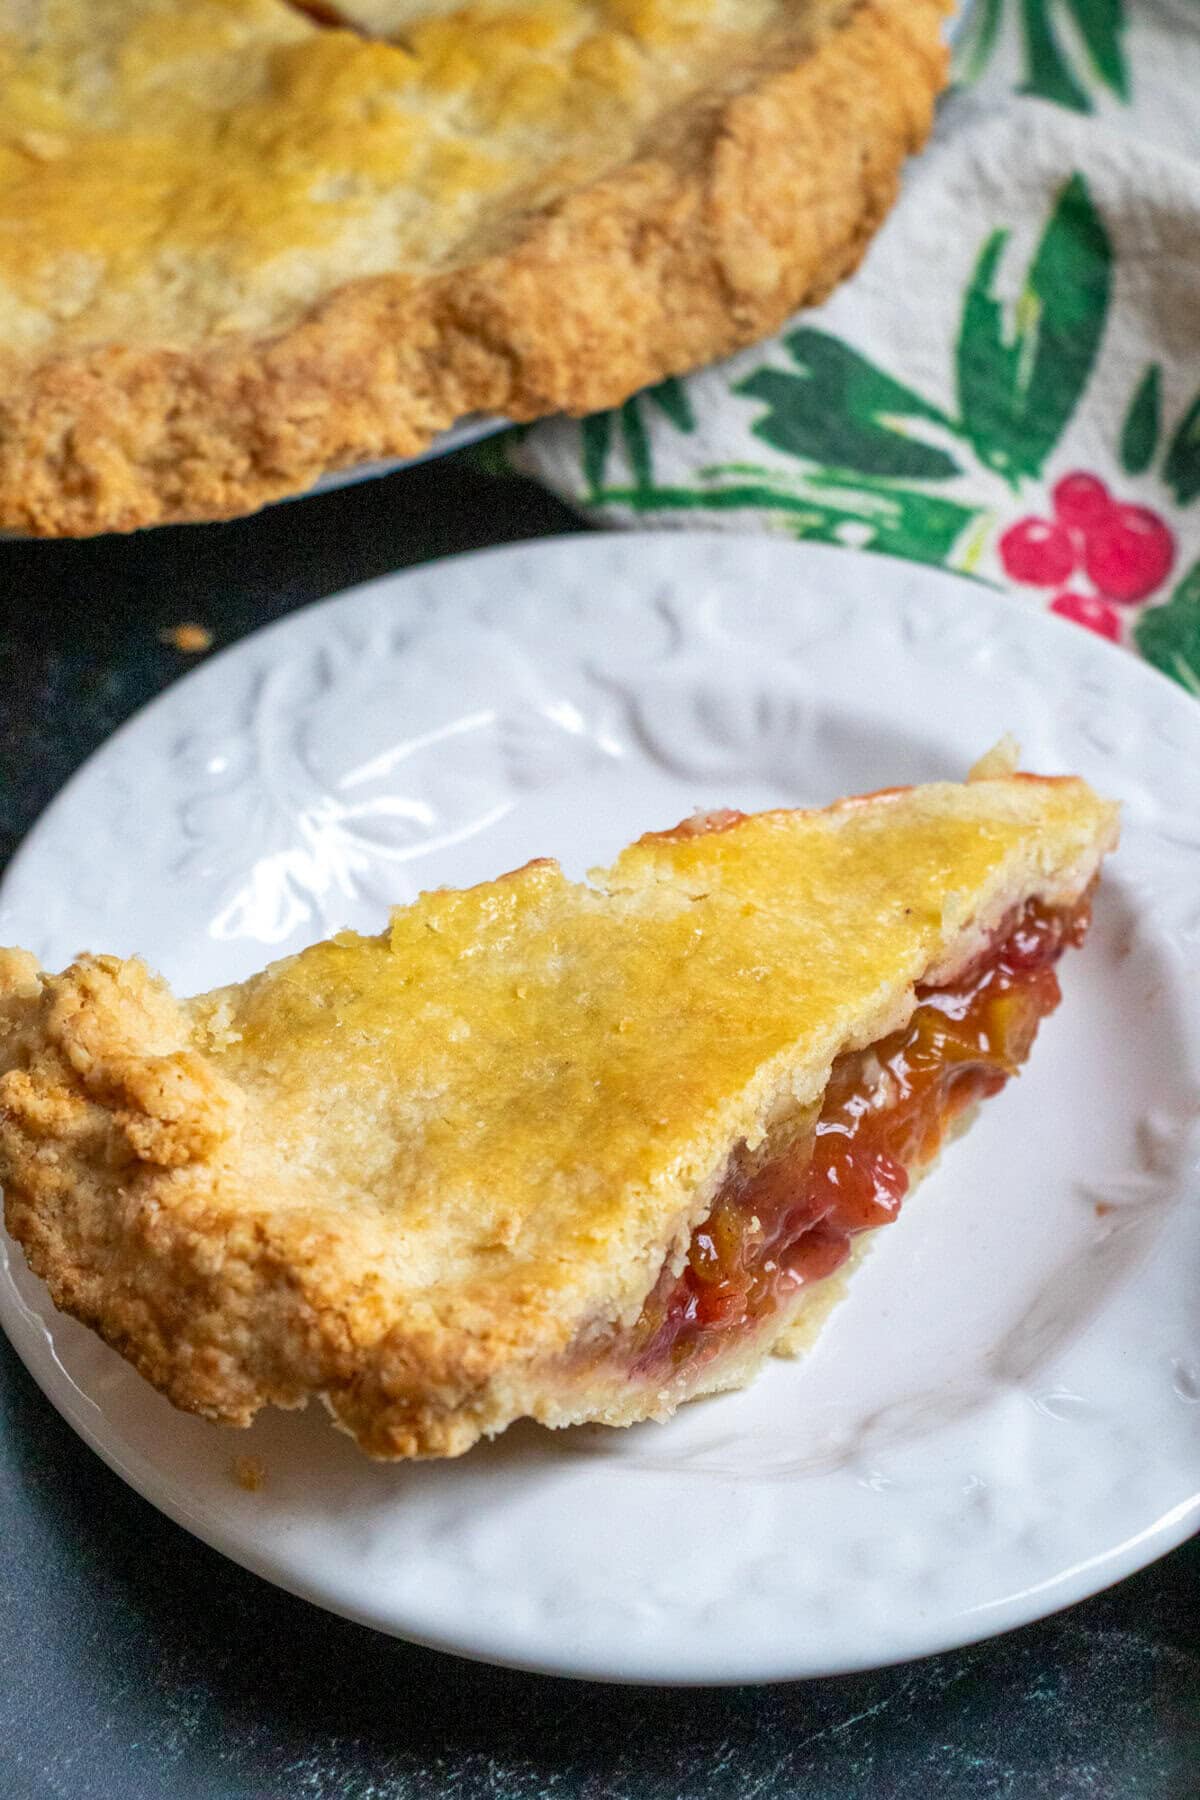
This all-butter pie crust is versatile and reliable for almost any pie. Use it as a bottom crust for cream pies or quiche (blind bake as needed), or as a full double crust for fruit pies. The slightly sweet, buttery flavor complements both sweet fillings and savory ones.
Simply roll it out, fit it into your pie pan, fill as desired, and bake according to your pie recipe. Because the method is straightforward and the results are consistently flaky, it’s the kind of foundational recipe you’ll return to again and again.
How to help the pie crimps hold their shape better
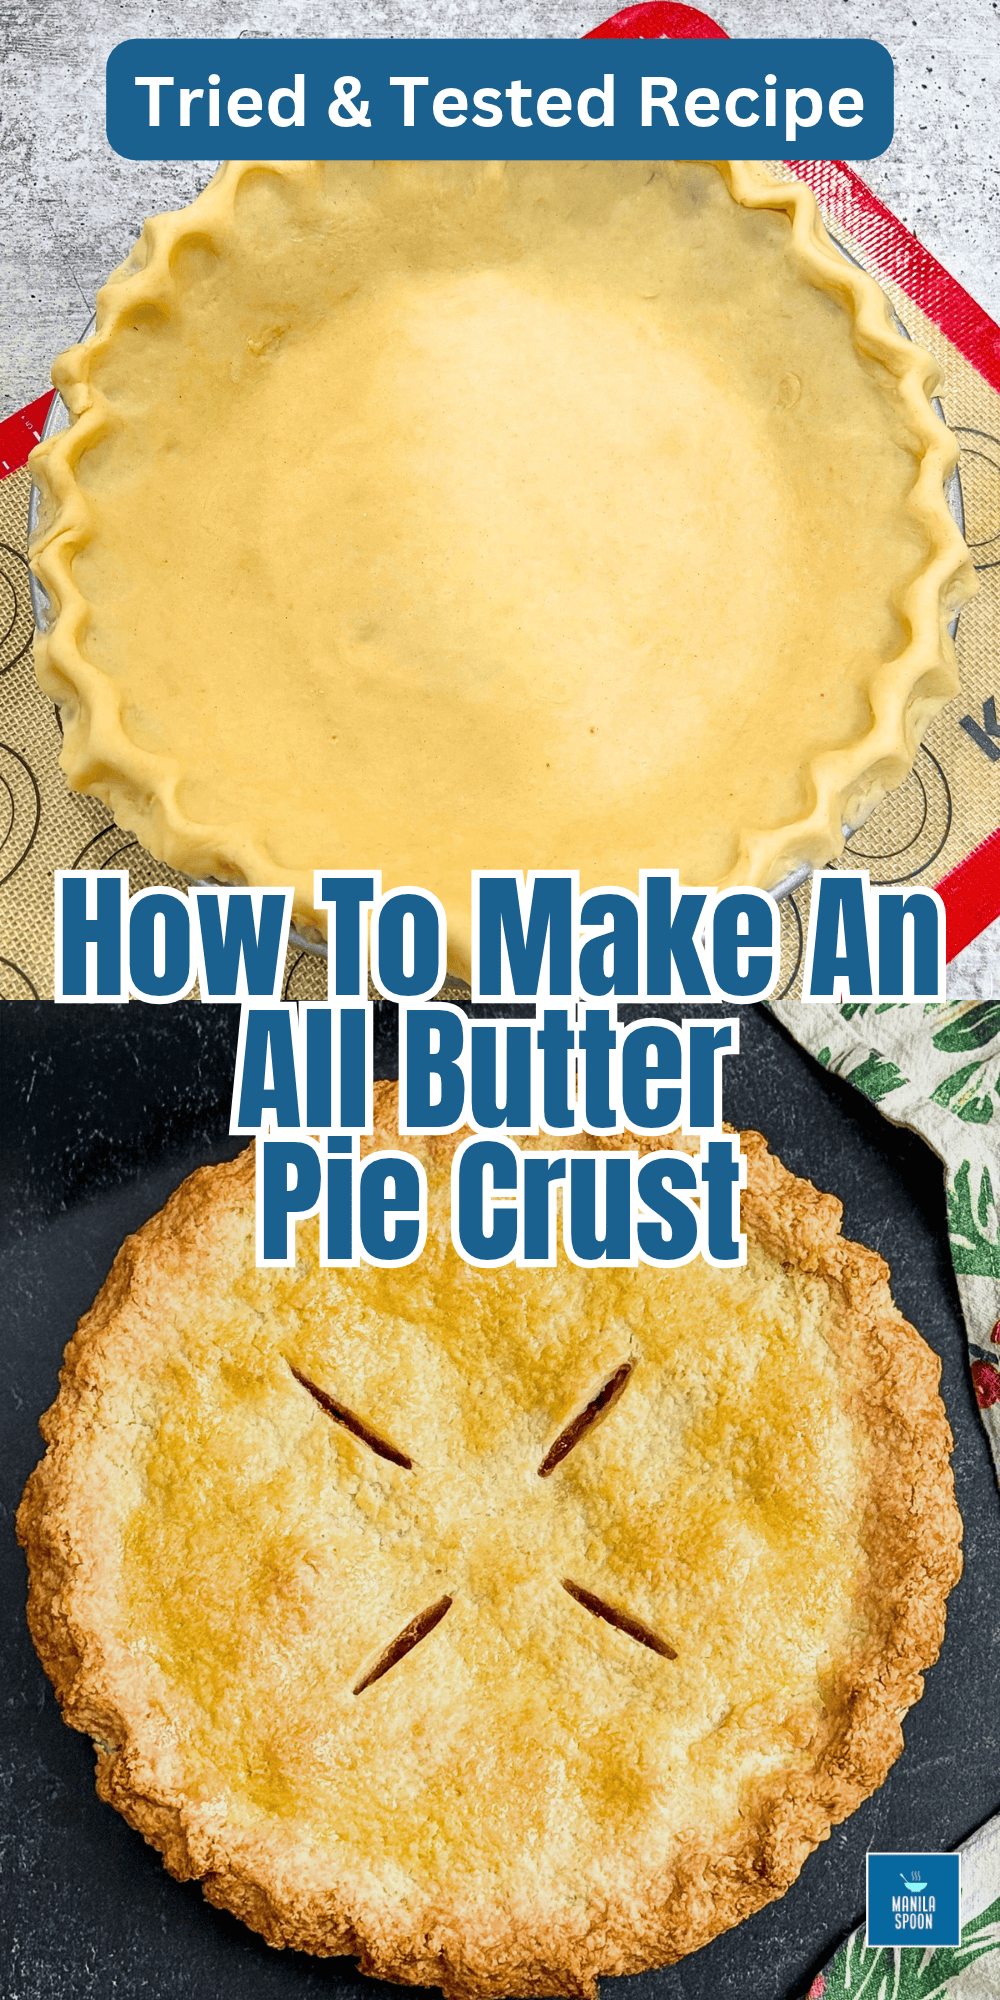
Butter has a lower melting point than shortening, so the edges (especially decorative crimps) tend to soften, slump, or lose some definition as the pie bakes. The crust itself will still be flaky and delicious— though it may not hold sharp, tall crimps as well as a shortening or butter-shortening crust does. But with the best crust flavor – who cares, right?
- Chill aggressively after shaping.
After you fit the dough in the pan and crimp the edges, put the whole pie pan in the fridge (or freezer) for at least 20–30 minutes before baking. Cold butter = less melting early in the bake. - Crimp firmly and make the edge a little thicker.
Press the crimps well so they’re sturdy. A slightly thicker rim holds up better than a very delicate one. - Use a pie shield or foil early in baking.
Cover the edges with a pie crust shield or strips of foil for the first half of baking, then remove it so the edges can brown. This protects them from direct heat while the structure sets. - Don’t overwork the dough.
Overworked dough develops more gluten and can be tougher, but it can also shrink or behave unpredictably. Keep the mixing light. - Consider a tiny bit of structure help (optional).
Some bakers replace 1–2 tablespoons of the butter with shortening or lard just for better edge stability while still keeping the crust mostly butter. It’s not necessary, but it does help if sharp crimps are important to you.
Bottom line: Softening or partial melting of the crimps is normal with a pure all-butter crust. The tips above (especially thorough chilling + a pie shield) usually improve it quite a bit without changing the flavor or flakiness.
Frequently Asked Questions (FAQs)
Can I use all-purpose flour for this pie crust?
Yes. All-purpose flour works perfectly for this all-butter pie crust recipe and gives a tender yet sturdy result.
Why is my pie crust tough?
Tough crust usually comes from overworking the dough or adding too much liquid. Mix only until the dough comes together and keep the butter cold.
Can I make this pie crust ahead of time?
Absolutely. The dough can be wrapped and refrigerated for up to 2 days or frozen for up to 2–3 months. Thaw overnight in the refrigerator before rolling.
Do I have to use milk, or can I use all ice water?
You can use all ice water. Milk adds a little richness and can help with browning, but ice water works just as well.
How do I prevent the crust from shrinking?
Chill the dough thoroughly, don’t stretch it when fitting it into the pan, and consider docking the bottom with a fork if blind baking.
This homemade all-butter pie crust is one of those foundational recipes that makes every pie you bake better. Once you try it, you’ll understand why so many bakers prefer an all-butter crust for its flavor and texture. It also covers the basics of making pie crust from scratch. Not only that, but it’s also the best-tasting flaky all-butter pie crust recipe. Make a batch this weekend—you’ll be glad you did.
How to Make an All Butter Pie Crust (Foolproof Recipe)
Ingredients
For the All Butter Pie Crust:
- 3 cups flour
- ¼ cup sugar
- 1 teaspoon salt
- 1 cup unsalted butter, cold
- 6 tablespoons cold milk or ice water, add more as needed, one tablespoon at a time
Instructions
By Hand:
- In a medium bowl, whisk together the flour, sugar, and salt until well combined. Add the cold butter cubes. Using your fingertips, a pastry cutter, or a fork, work the butter into the flour mixture until it resembles coarse crumbs with some pea-sized pieces of butter remaining. Those visible pieces of butter are important for flakiness.
- Gradually add the cold milk or ice water, starting with 6 tablespoons. Gently knead or press the dough just until it comes together. If the dough seems dry and won’t hold together, add more liquid one tablespoon at a time. Be careful not to overwork the dough—overmixing develops gluten and can make the crust tough instead of tender.
In a Food Processor:
- Combine the flour, sugar, and salt in the bowl of a food processor and pulse a few times to mix. Add the cold cubed butter and pulse (or process in short bursts) until the mixture is crumbly and the butter is broken down into small pieces.
- With the processor running, slowly drizzle in the cold milk or ice water through the feed tube. Pulse until the dough just begins to form larger clumps and holds together when pinched. Stop as soon as it comes together—do not process until it forms a solid ball.
Dividing, Chilling & Rolling the Dough
- Turn the dough out onto a lightly floured surface and gently bring it together if needed. Divide it in half. Form one half into a disc, wrap it tightly in plastic wrap, and refrigerate it for at least 30 minutes (or up to 2 days).
- Press the other half into the bottom and up the sides of a 9-inch pie pan, then chill the crust-lined pan while you prepare your filling. Chilling helps the butter firm up again and prevents excessive shrinkage during baking.
- When you’re ready to roll, lightly flour your surface and rolling pin. Roll the chilled dough from the center outward, rotating it occasionally, until it’s about 1/8-inch thick and large enough for your pan.


