Christmas Sugar Cookies with Easy Icing
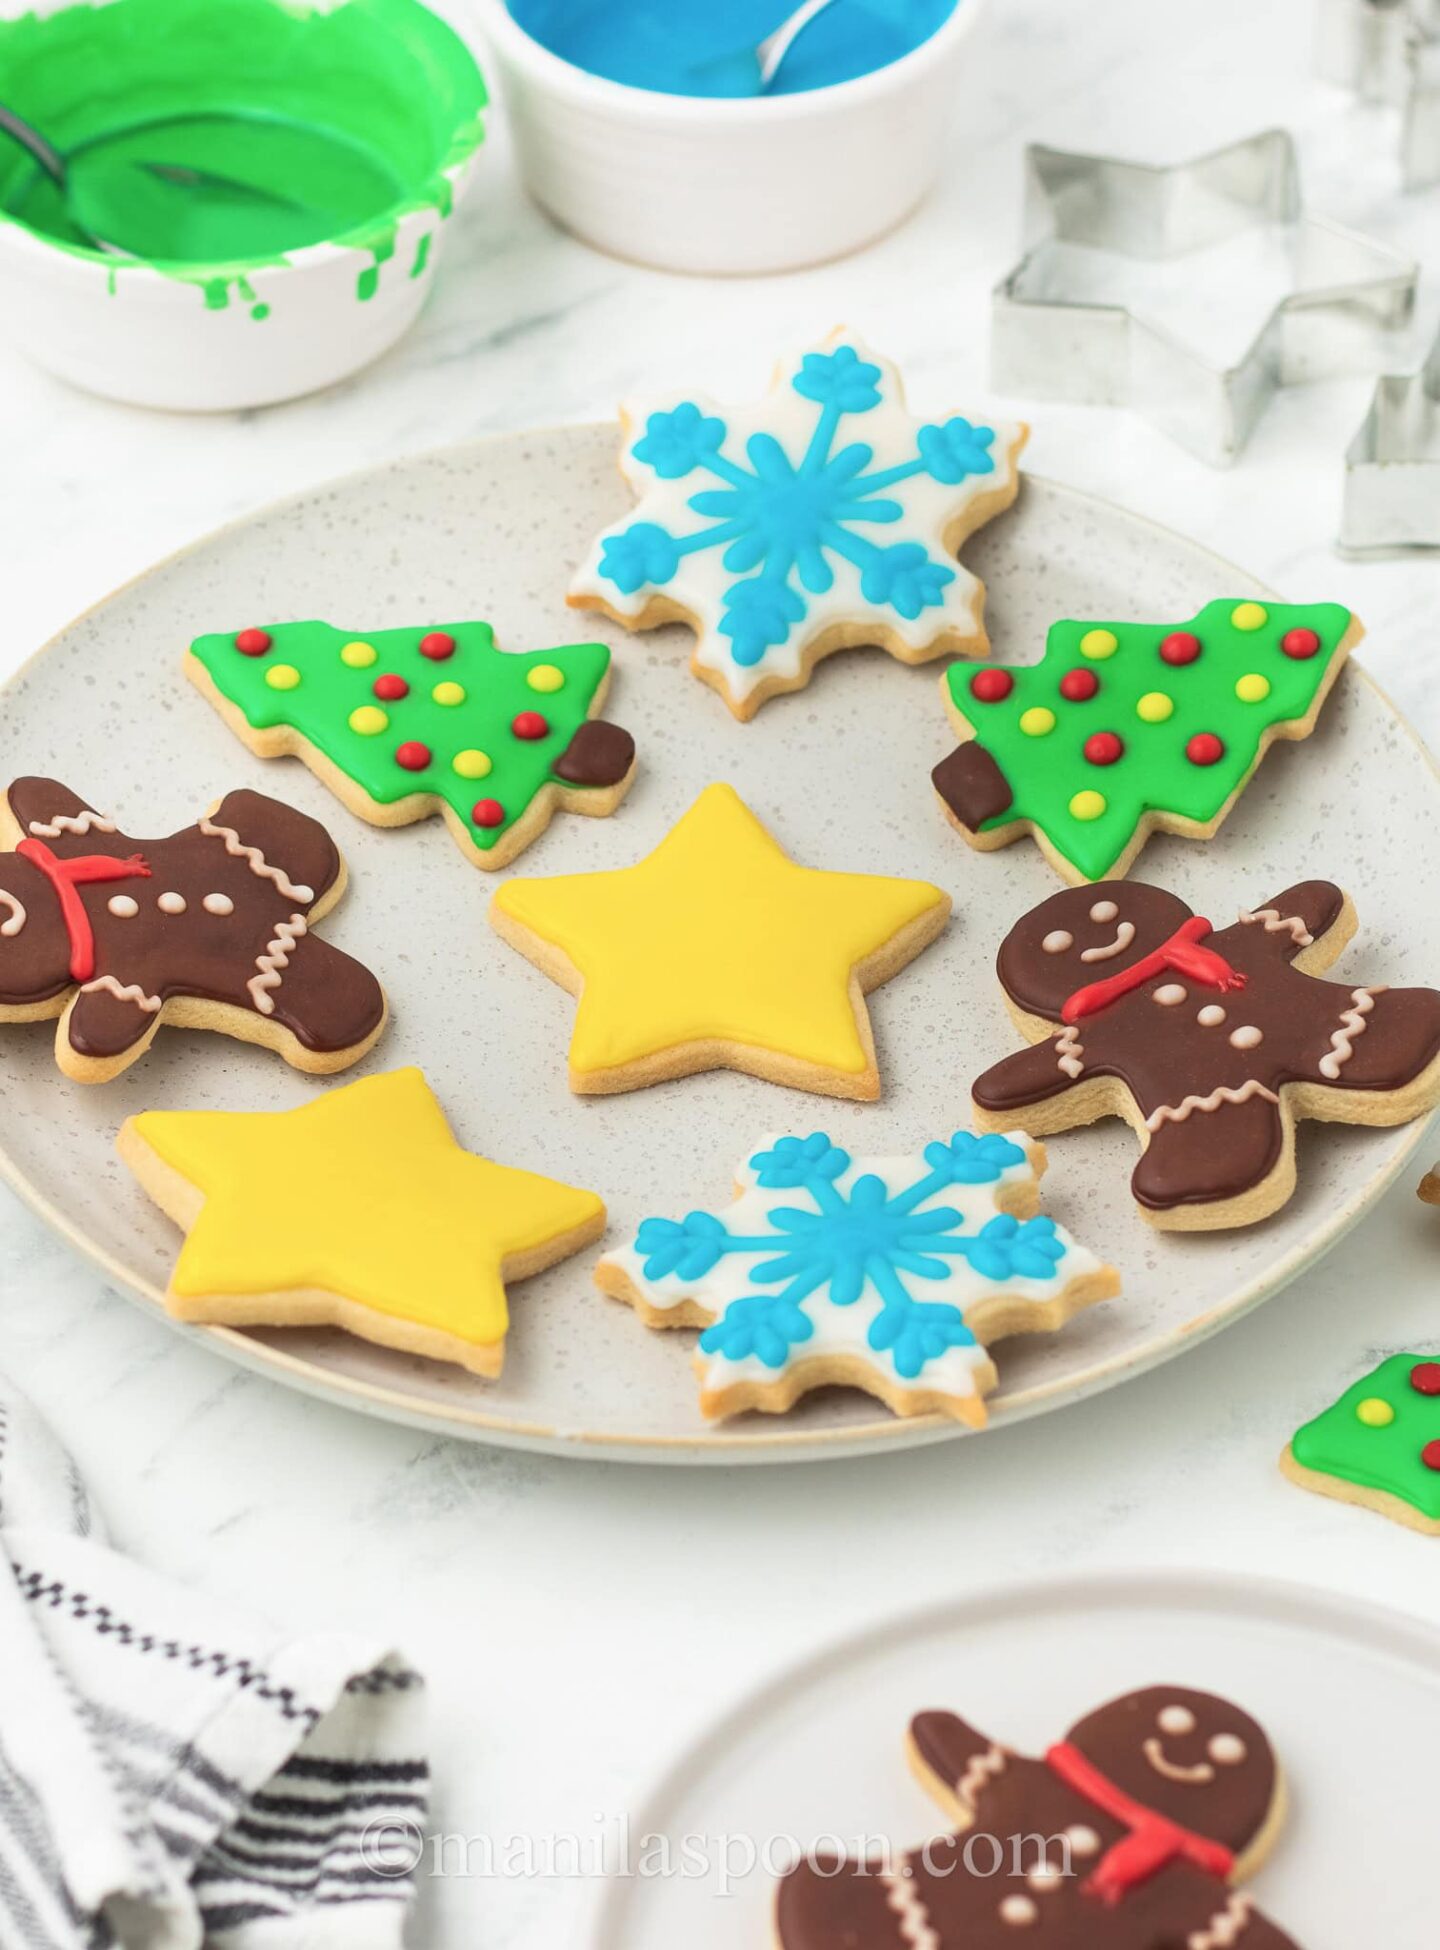
These sweet and buttery Christmas sugar cookies are infused with vanilla and almond flavors, offering a perfect blend of flavors. The easy-to-make icing, with customizable colors, adds a festive touch! With simple instructions, make-ahead dough, and the option to freeze, this recipe ensures a stress-free, holiday baking!
I can’t believe that Christmas is just over 2 weeks away! How did that happen? I also cannot believe that in less than a week my family and I are travelling to the Philippines for our Christmas holiday!
So as you can imagine, we are all in a true and proper Christmas rush! I am baking and cooking here and there so I have enough recipes to share here on the blog and social media while I am away. No, I am not planning to cook while on a much-needed vacation. I haven’t seen my family in over 3 years since Covid began so I’m looking forward to spending a lot of time with them.

Thankfully, I have enough recipes saved just in time for our upcoming holiday! So I am happy to share this delectable recipe for easy iced Christmas sugar cookies! The recipe is great. We have unwrapped the secrets of the perfect Christmas sugar cookies just for you! And, it’s so doable even by the most neophyte bakers because it is beginner-friendly Christmas iced sugar cookies.

The step-by-step instructions not only will allow you to make these quick Christmas sugar cookies but will also show you how to decorate them easily. Easy patterns and Christmas cookie decorating ideas are also provided for you. All you need to do is copy them!

Why You Would Love This Recipe
This Christmas Sugar Cookies with Easy Icing recipe is a holiday baking dream come true. The buttery cookies, infused with vanilla and almond extracts, offer a perfect blend of flavors. The easy-to-make icing, with customizable colors, adds a festive touch. With simple instructions, make-ahead dough, and the option to freeze, this recipe ensures a stress-free, deliciously decorative holiday treat that will delight both bakers and cookie enthusiasts alike.
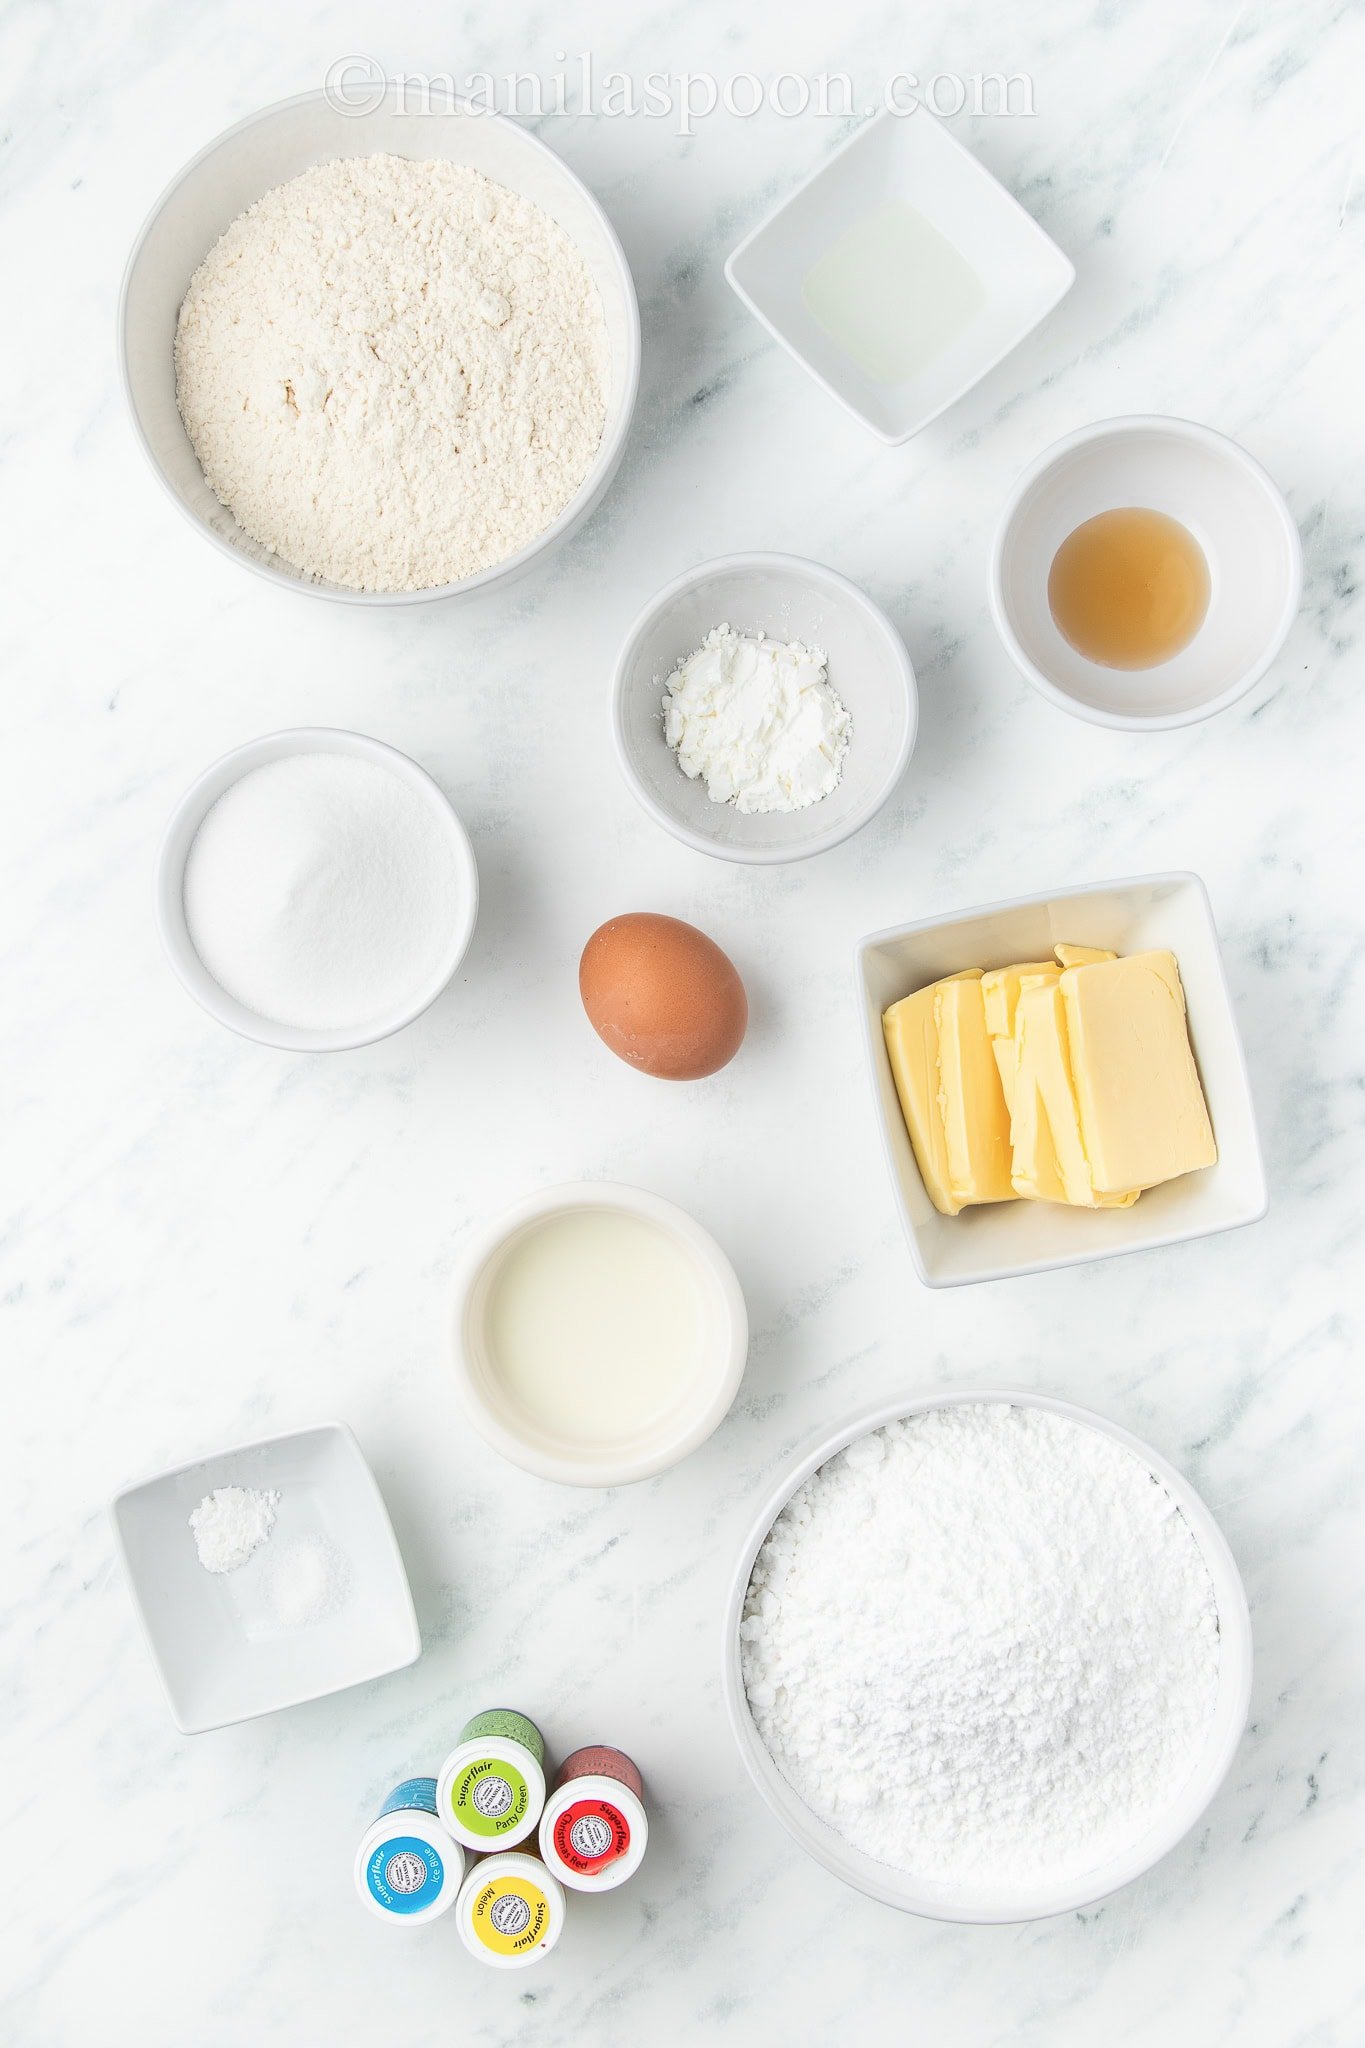
Ingredients
For the cookies:
- ½ cup butter (softened)
- 2/3 cup sugar
- 1 tsp vanilla extract
- ½ tsp almond extract
- 1 large egg
- 1 3/4 cups all-purpose flour
- ¼ tsp salt
- 1 tbsp cornstarch
- ¼ tsp baking powder
For the icing/decoration:
- 2 1/2 cups powdered sugar
- 2-3 tbsp milk
- Food colorings of your choice
Instructions
For the Cookies:
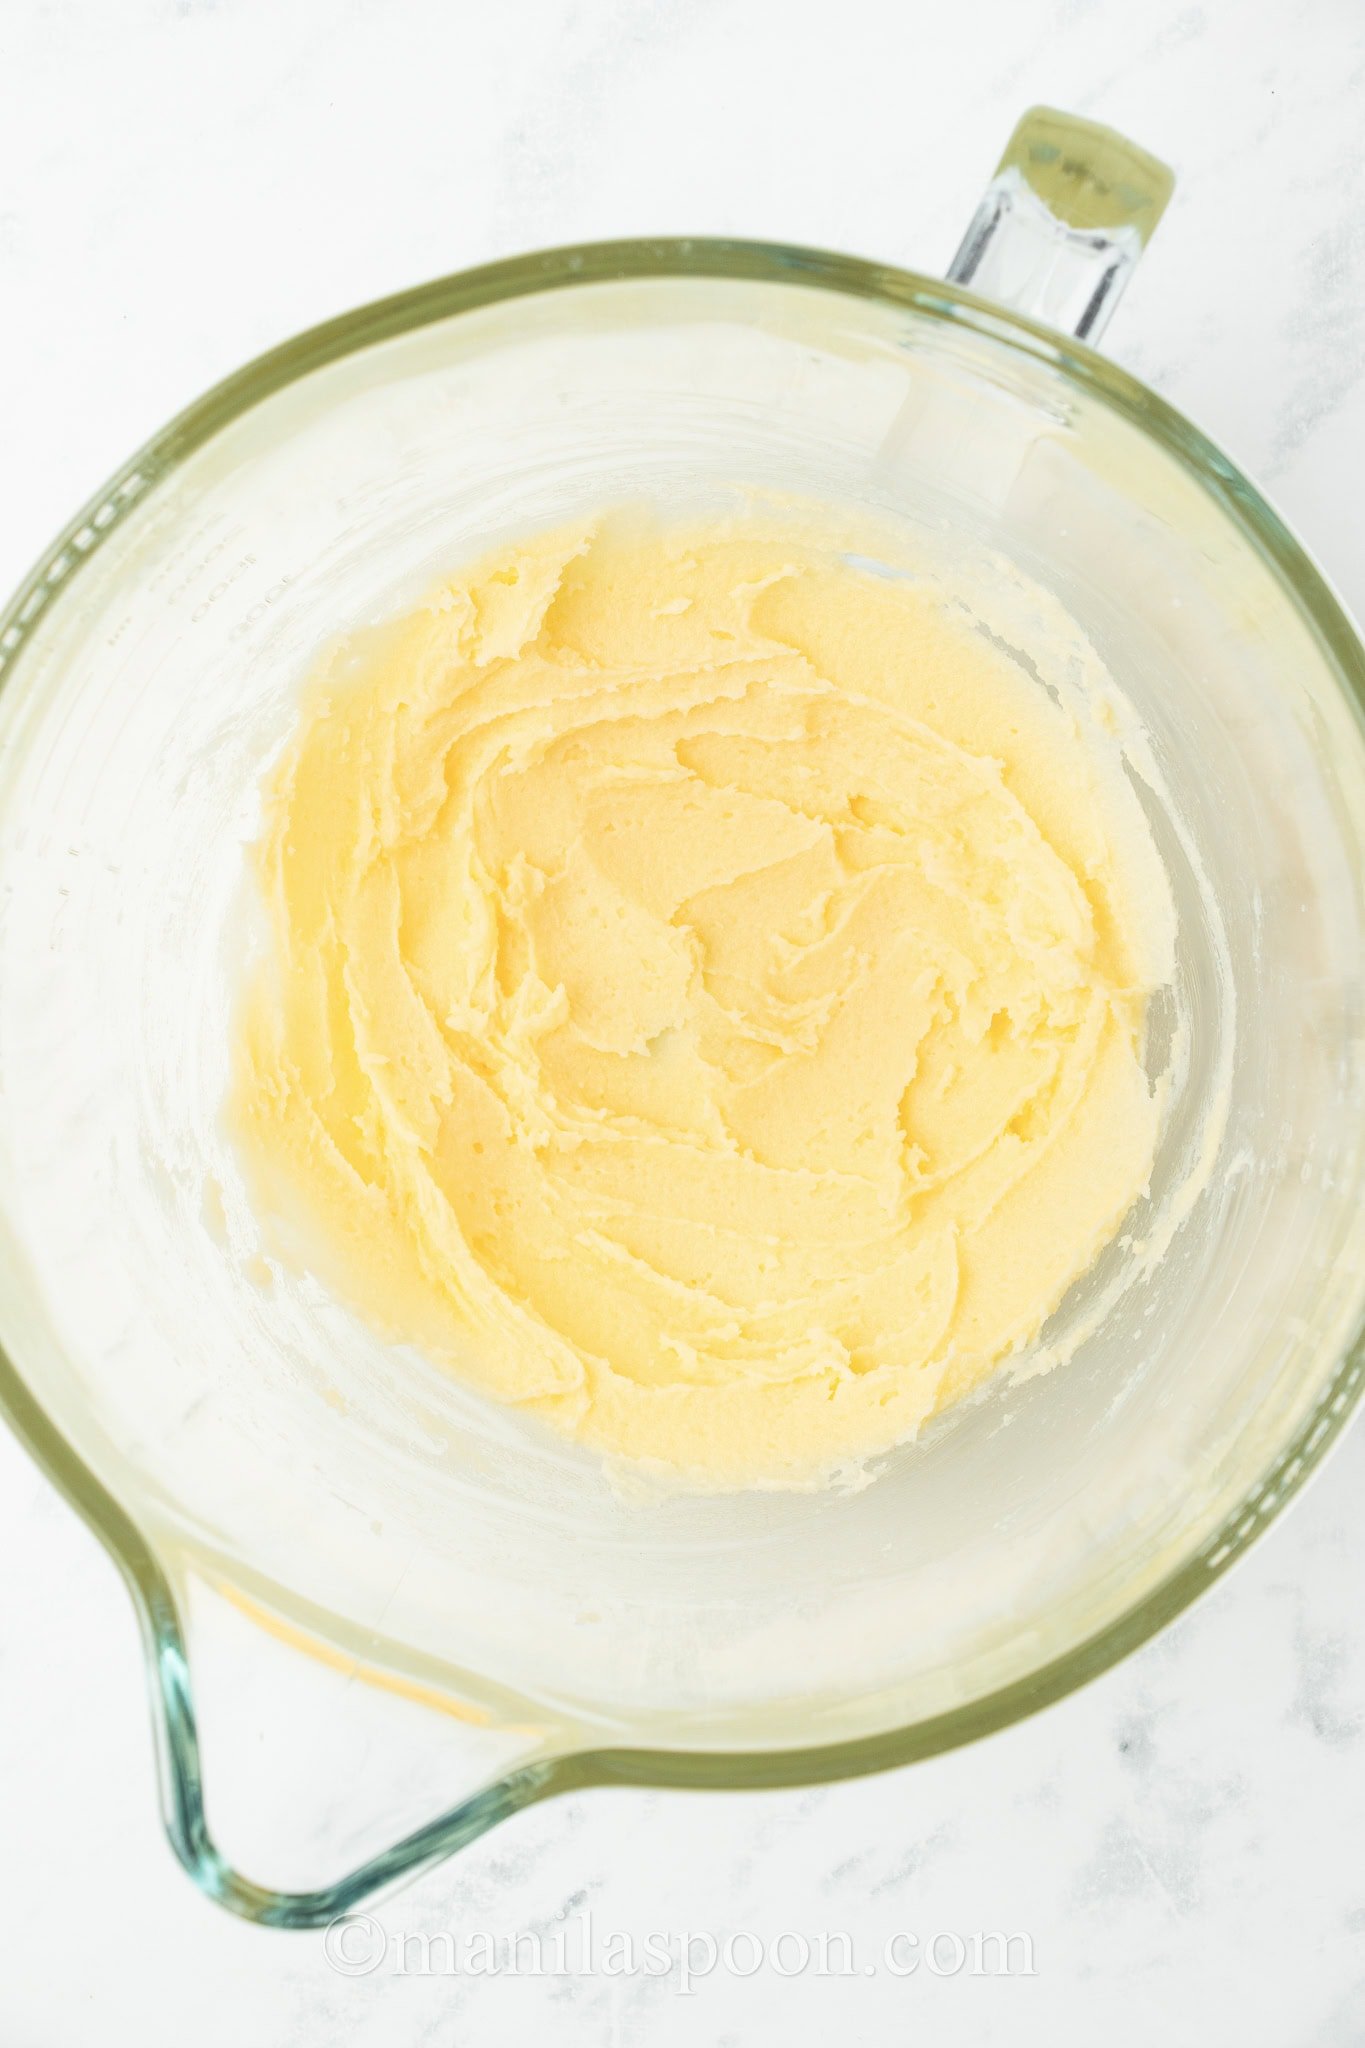
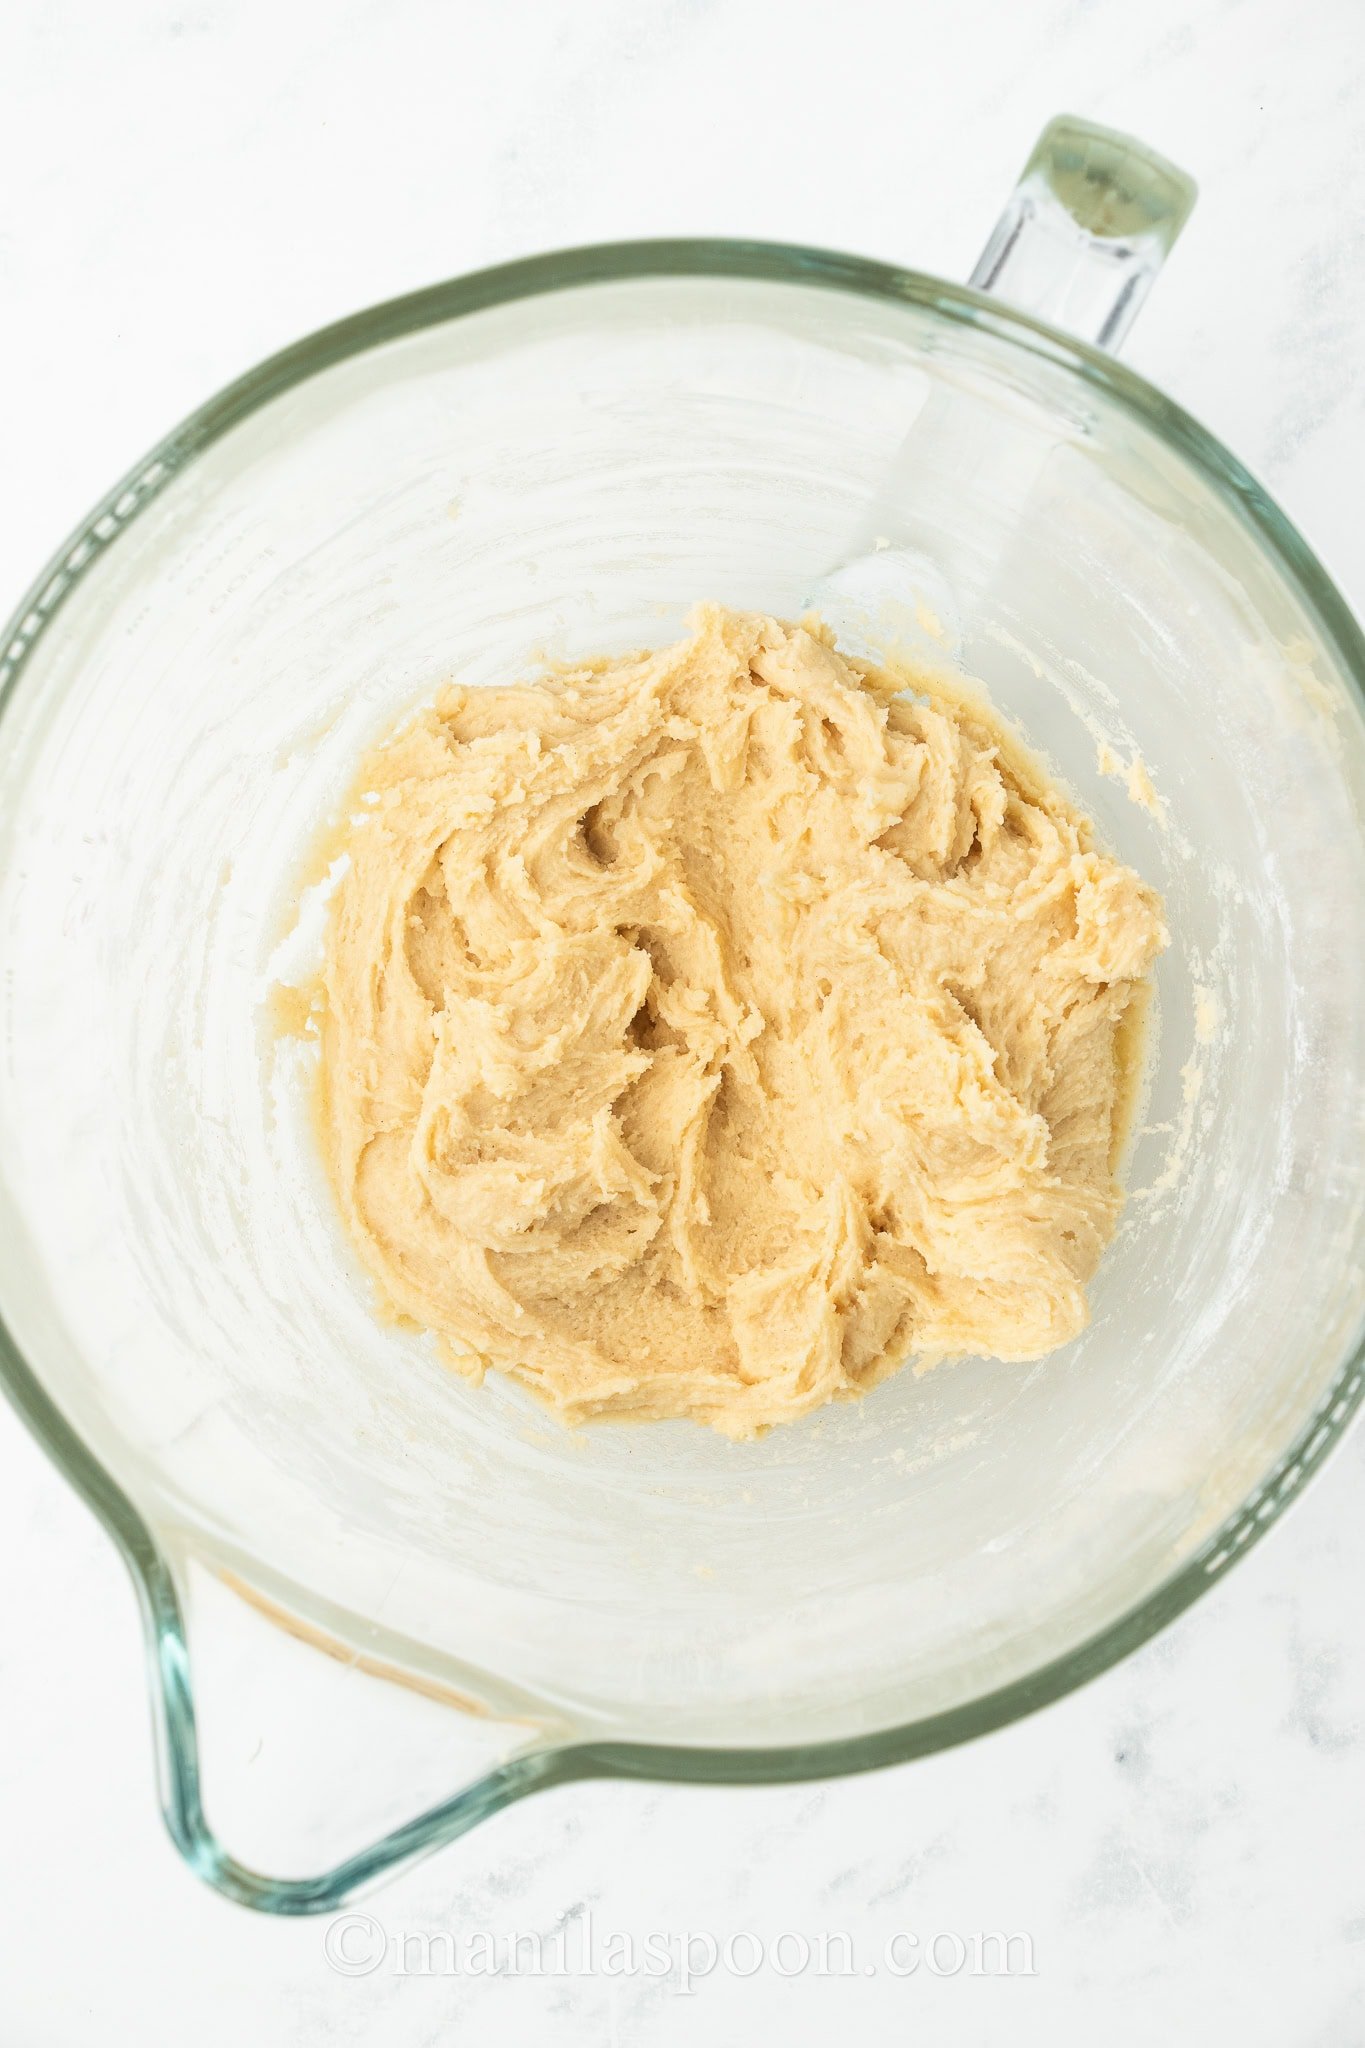
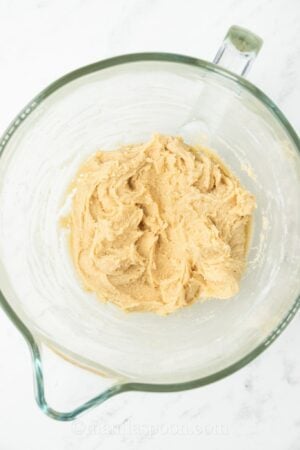
Add the butter and sugar to a mixing bowl and beat until smooth and creamy. Add the egg, vanilla extract, and almond extract and beat until combined.
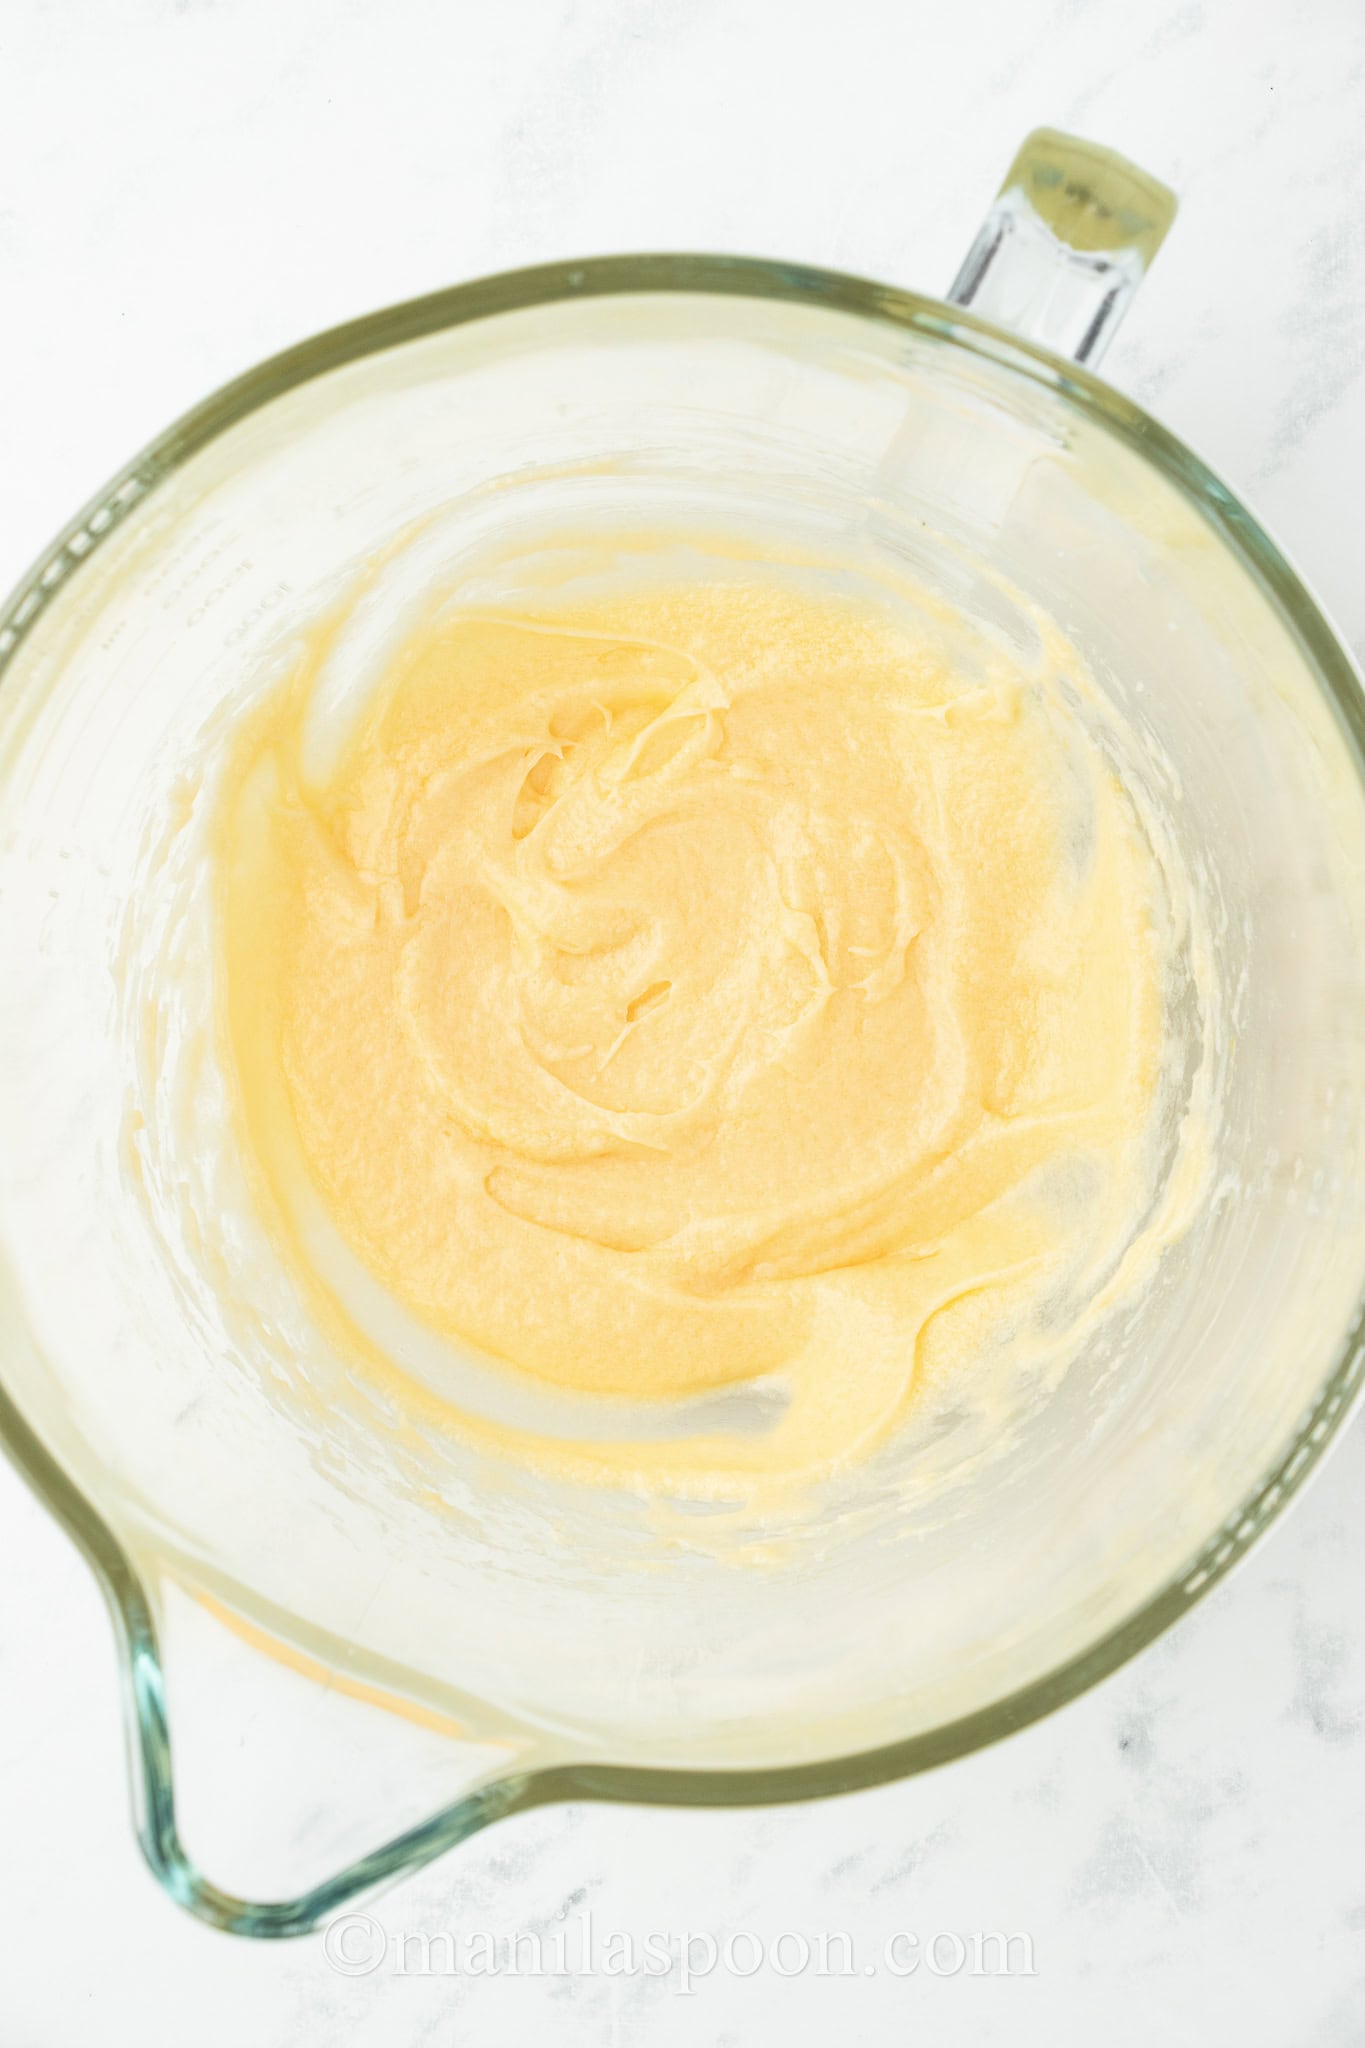
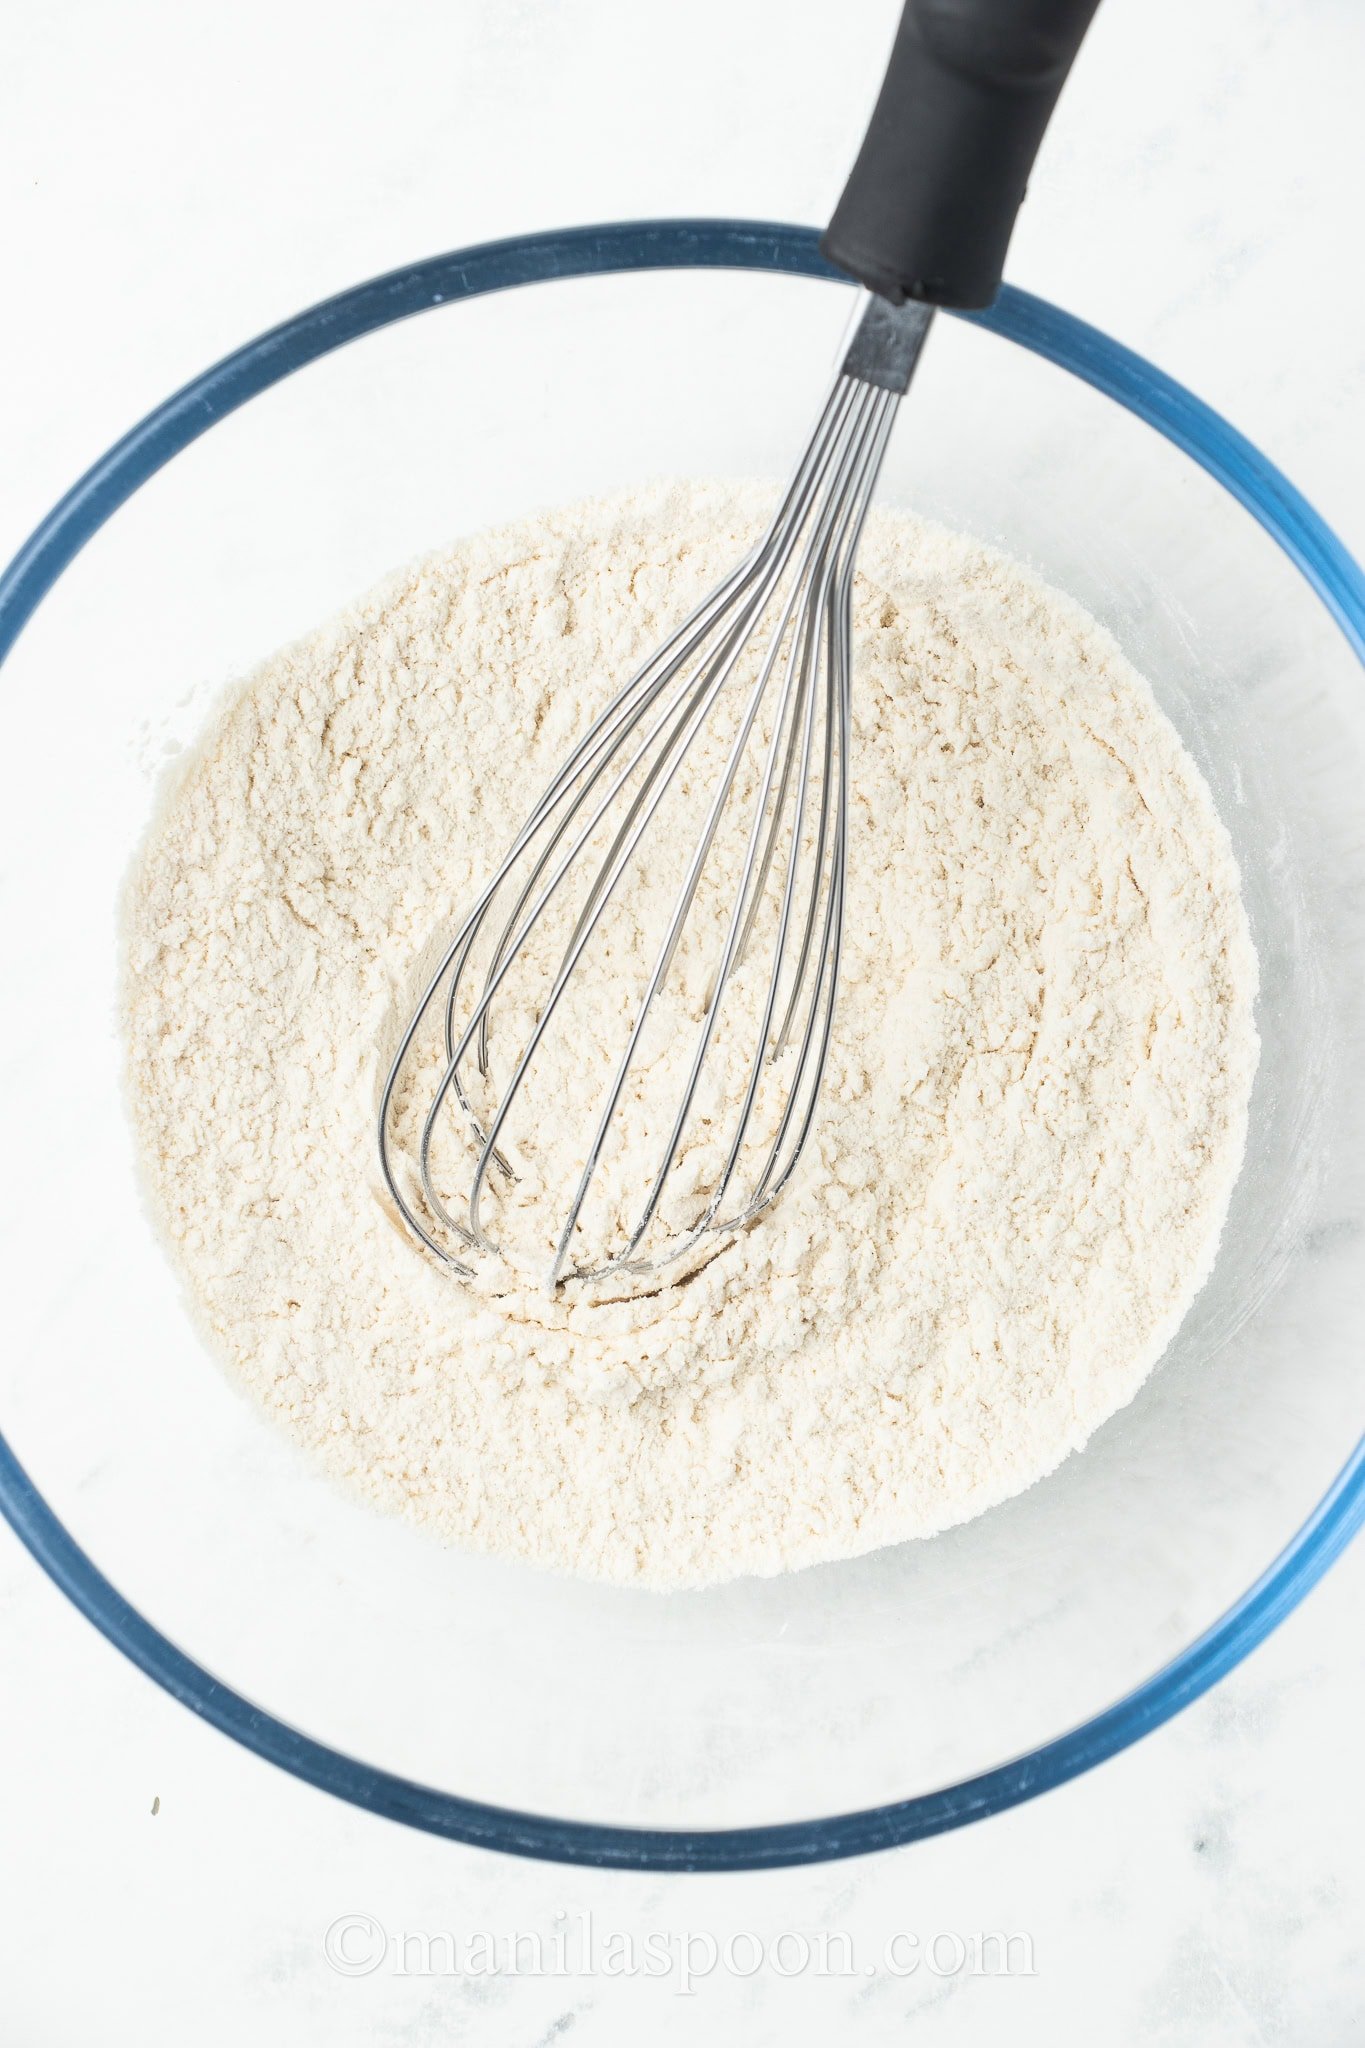
In a separate bowl, whisk together the flour, baking powder, cornstarch, and salt. Add the dry ingredients to the wet ingredients and stir together until combined into a smooth dough.
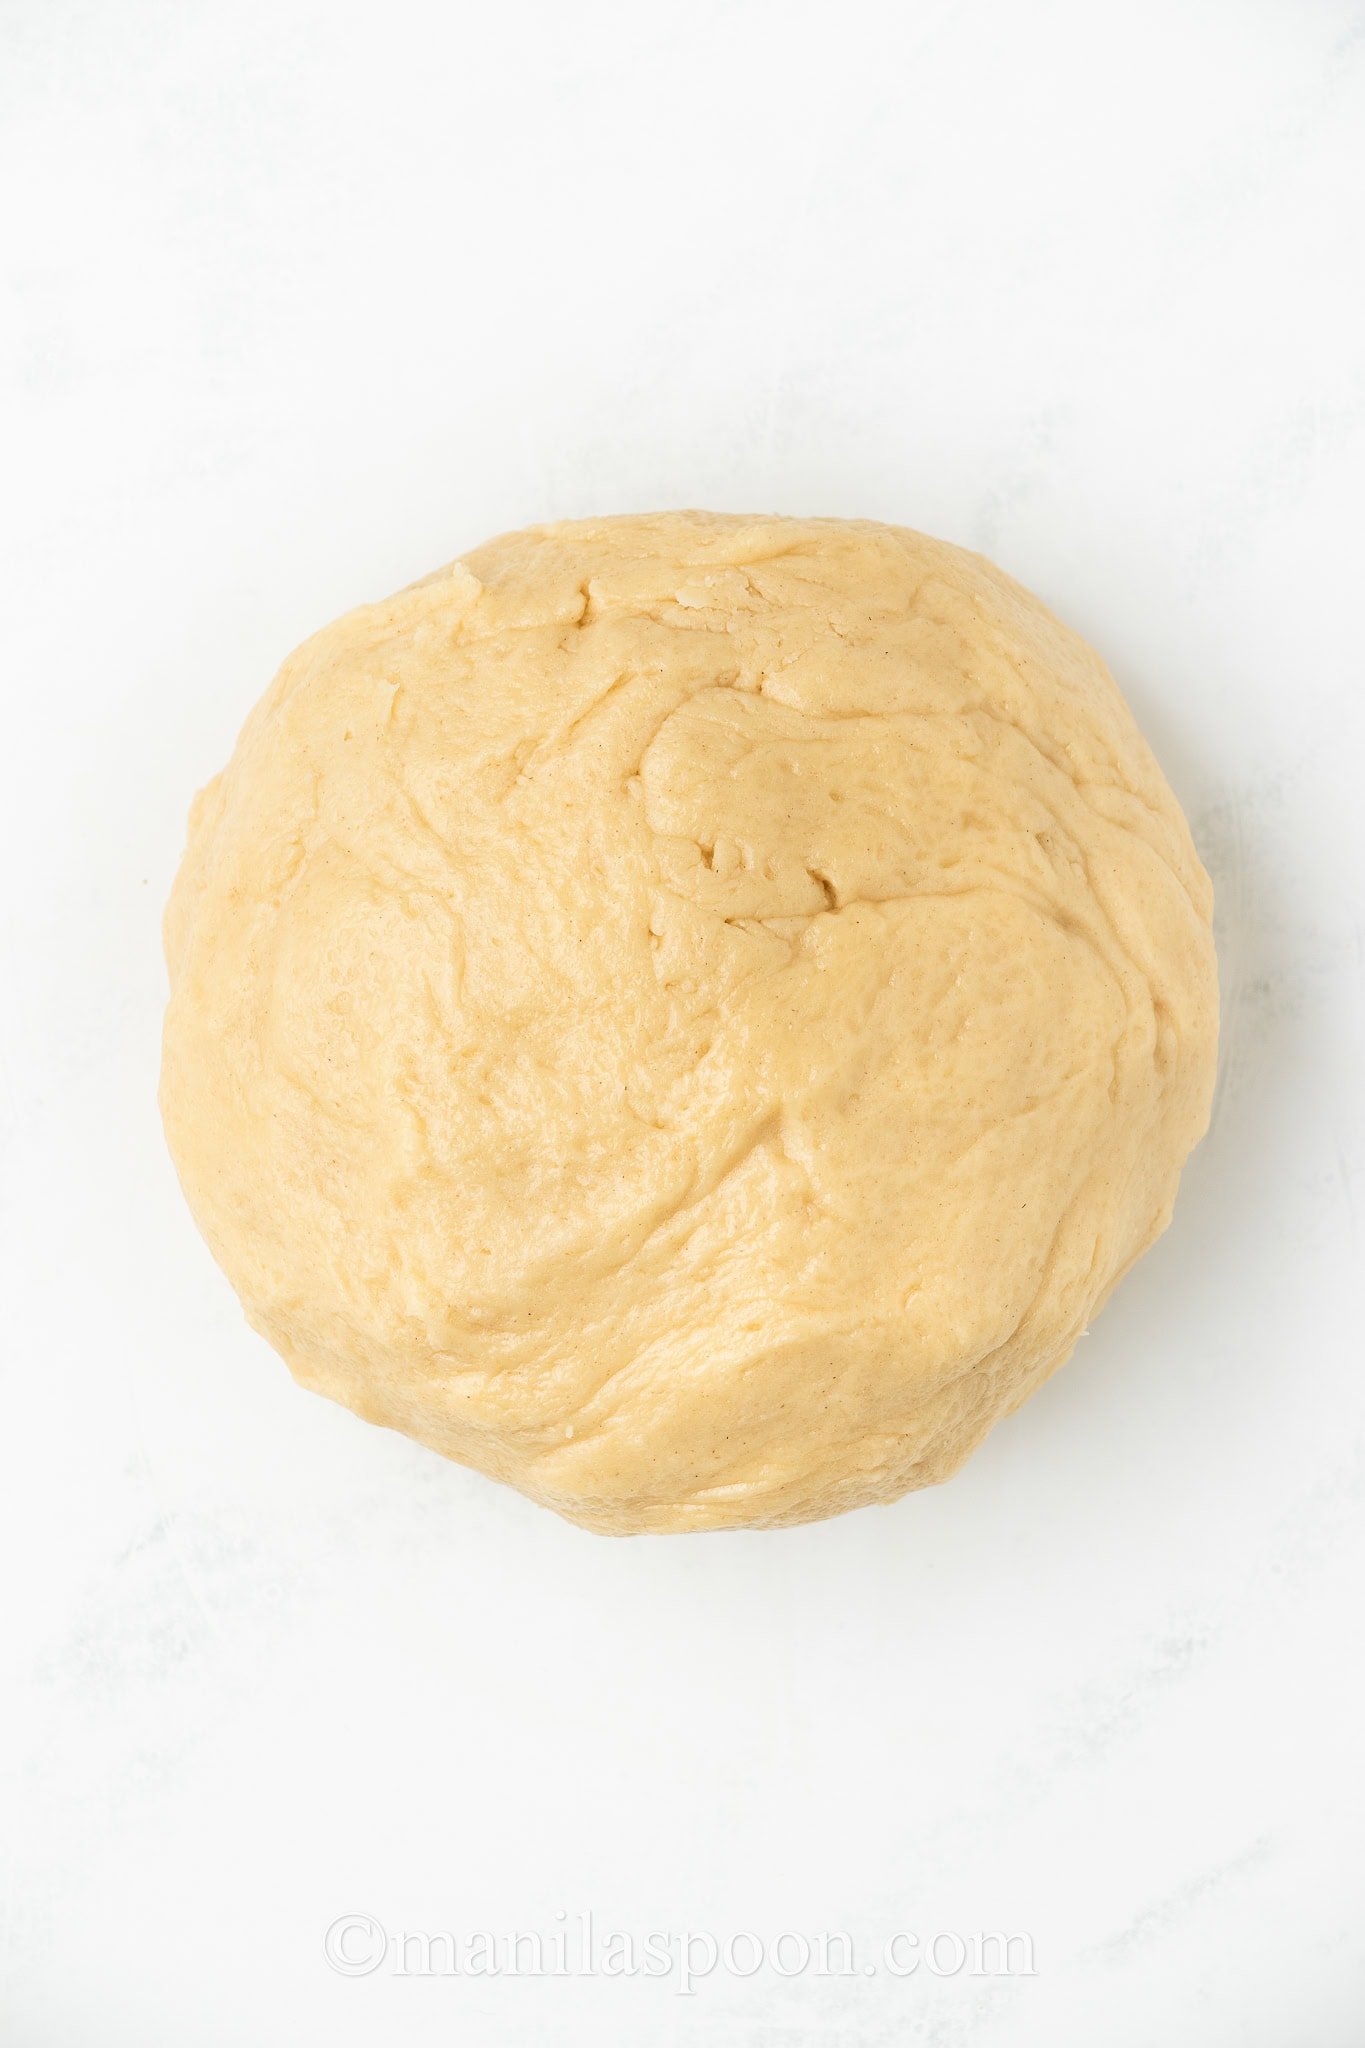
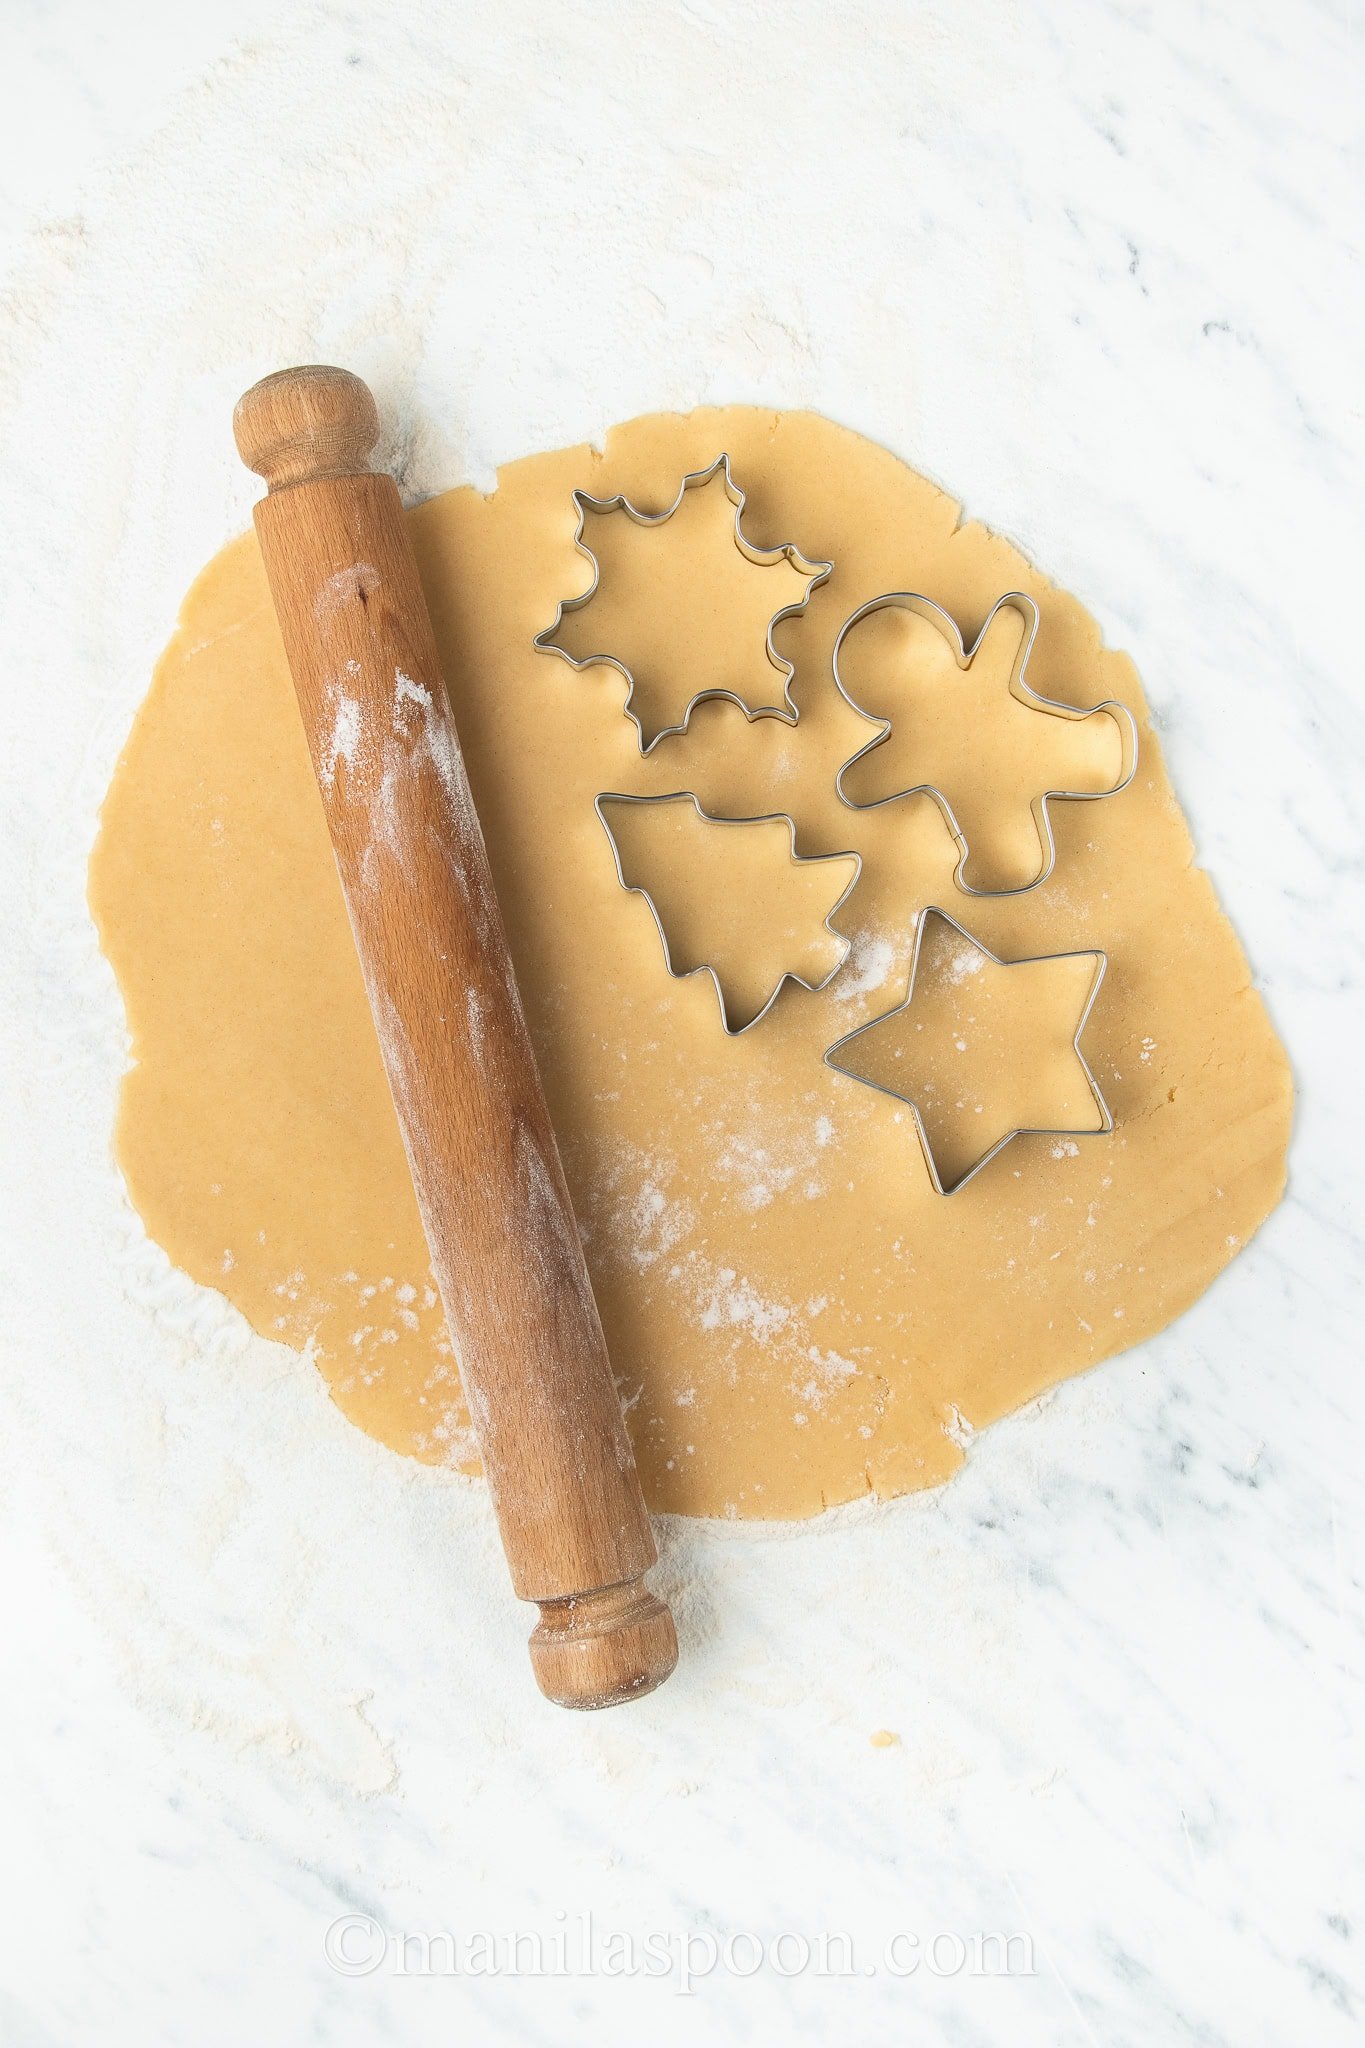
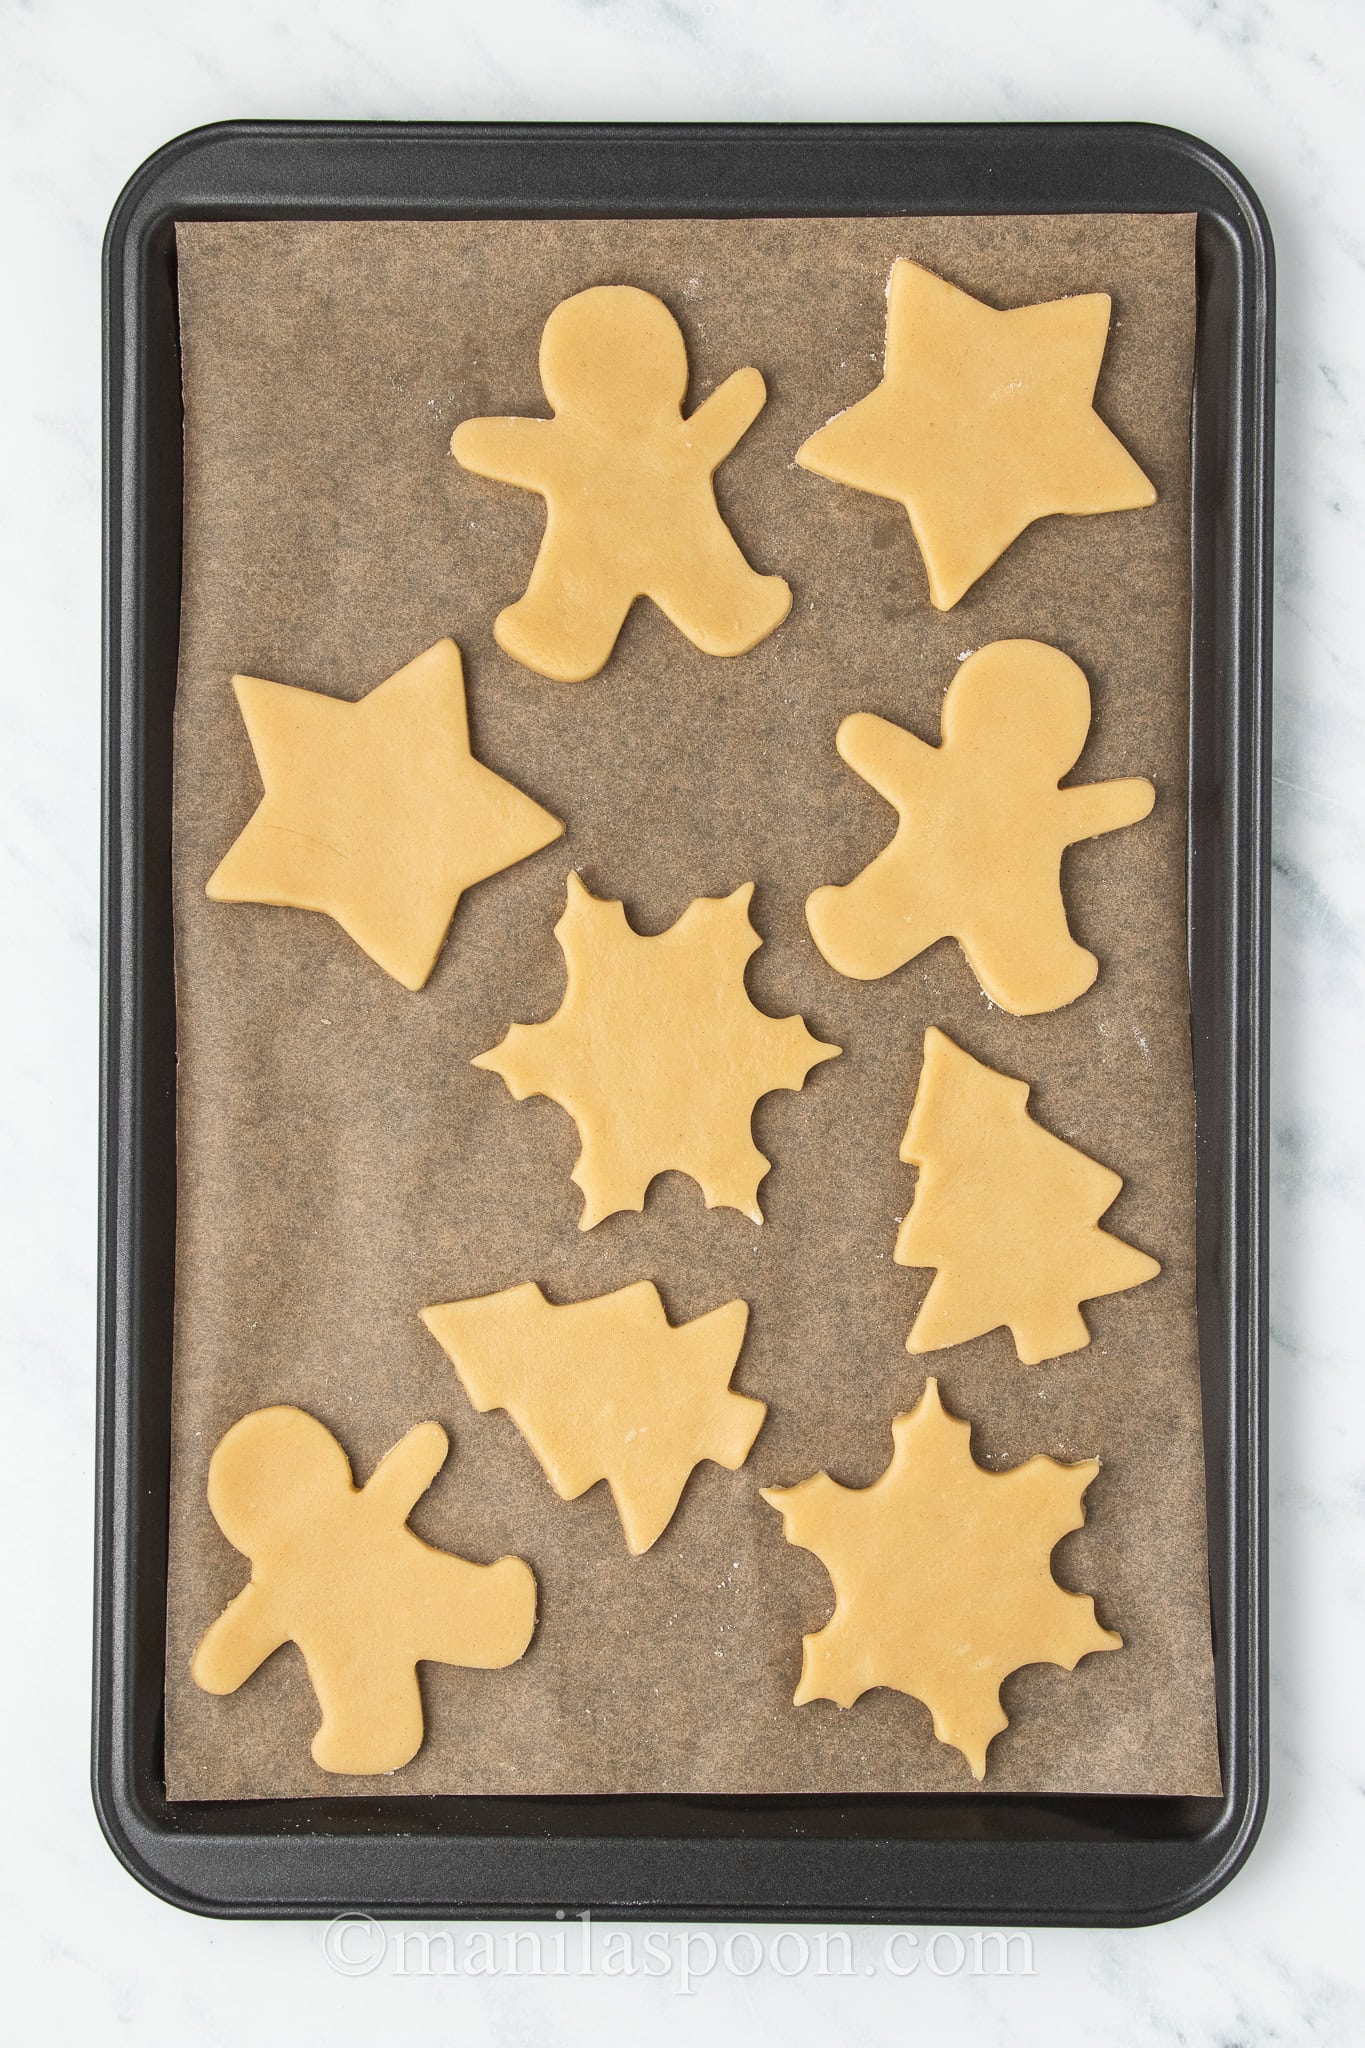
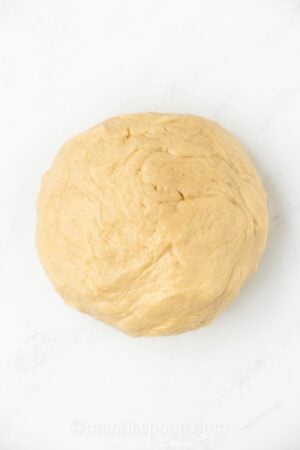
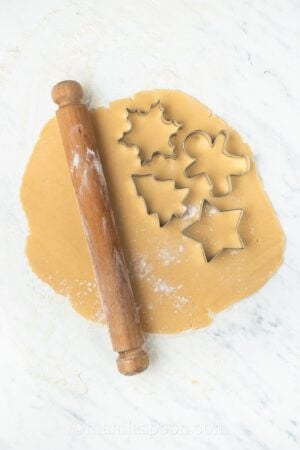
Shape the dough into a ball with your hands, cover in plastic wrap, and place in the fridge to chill for 1 hour. Preheat the oven to 350F and line two baking sheets with parchment paper. Roll out the dough to approx. ¼” thickness and cut out shapes using Christmas-themed cookie cutters of your choice.
Place the cookie shapes on the prepared baking sheets and bake for 10 minutes or until just starting to go golden around the edges. Leave on the baking sheets for about 10 minutes, then transfer to a wire rack to cool completely.
For the icing/decoration:
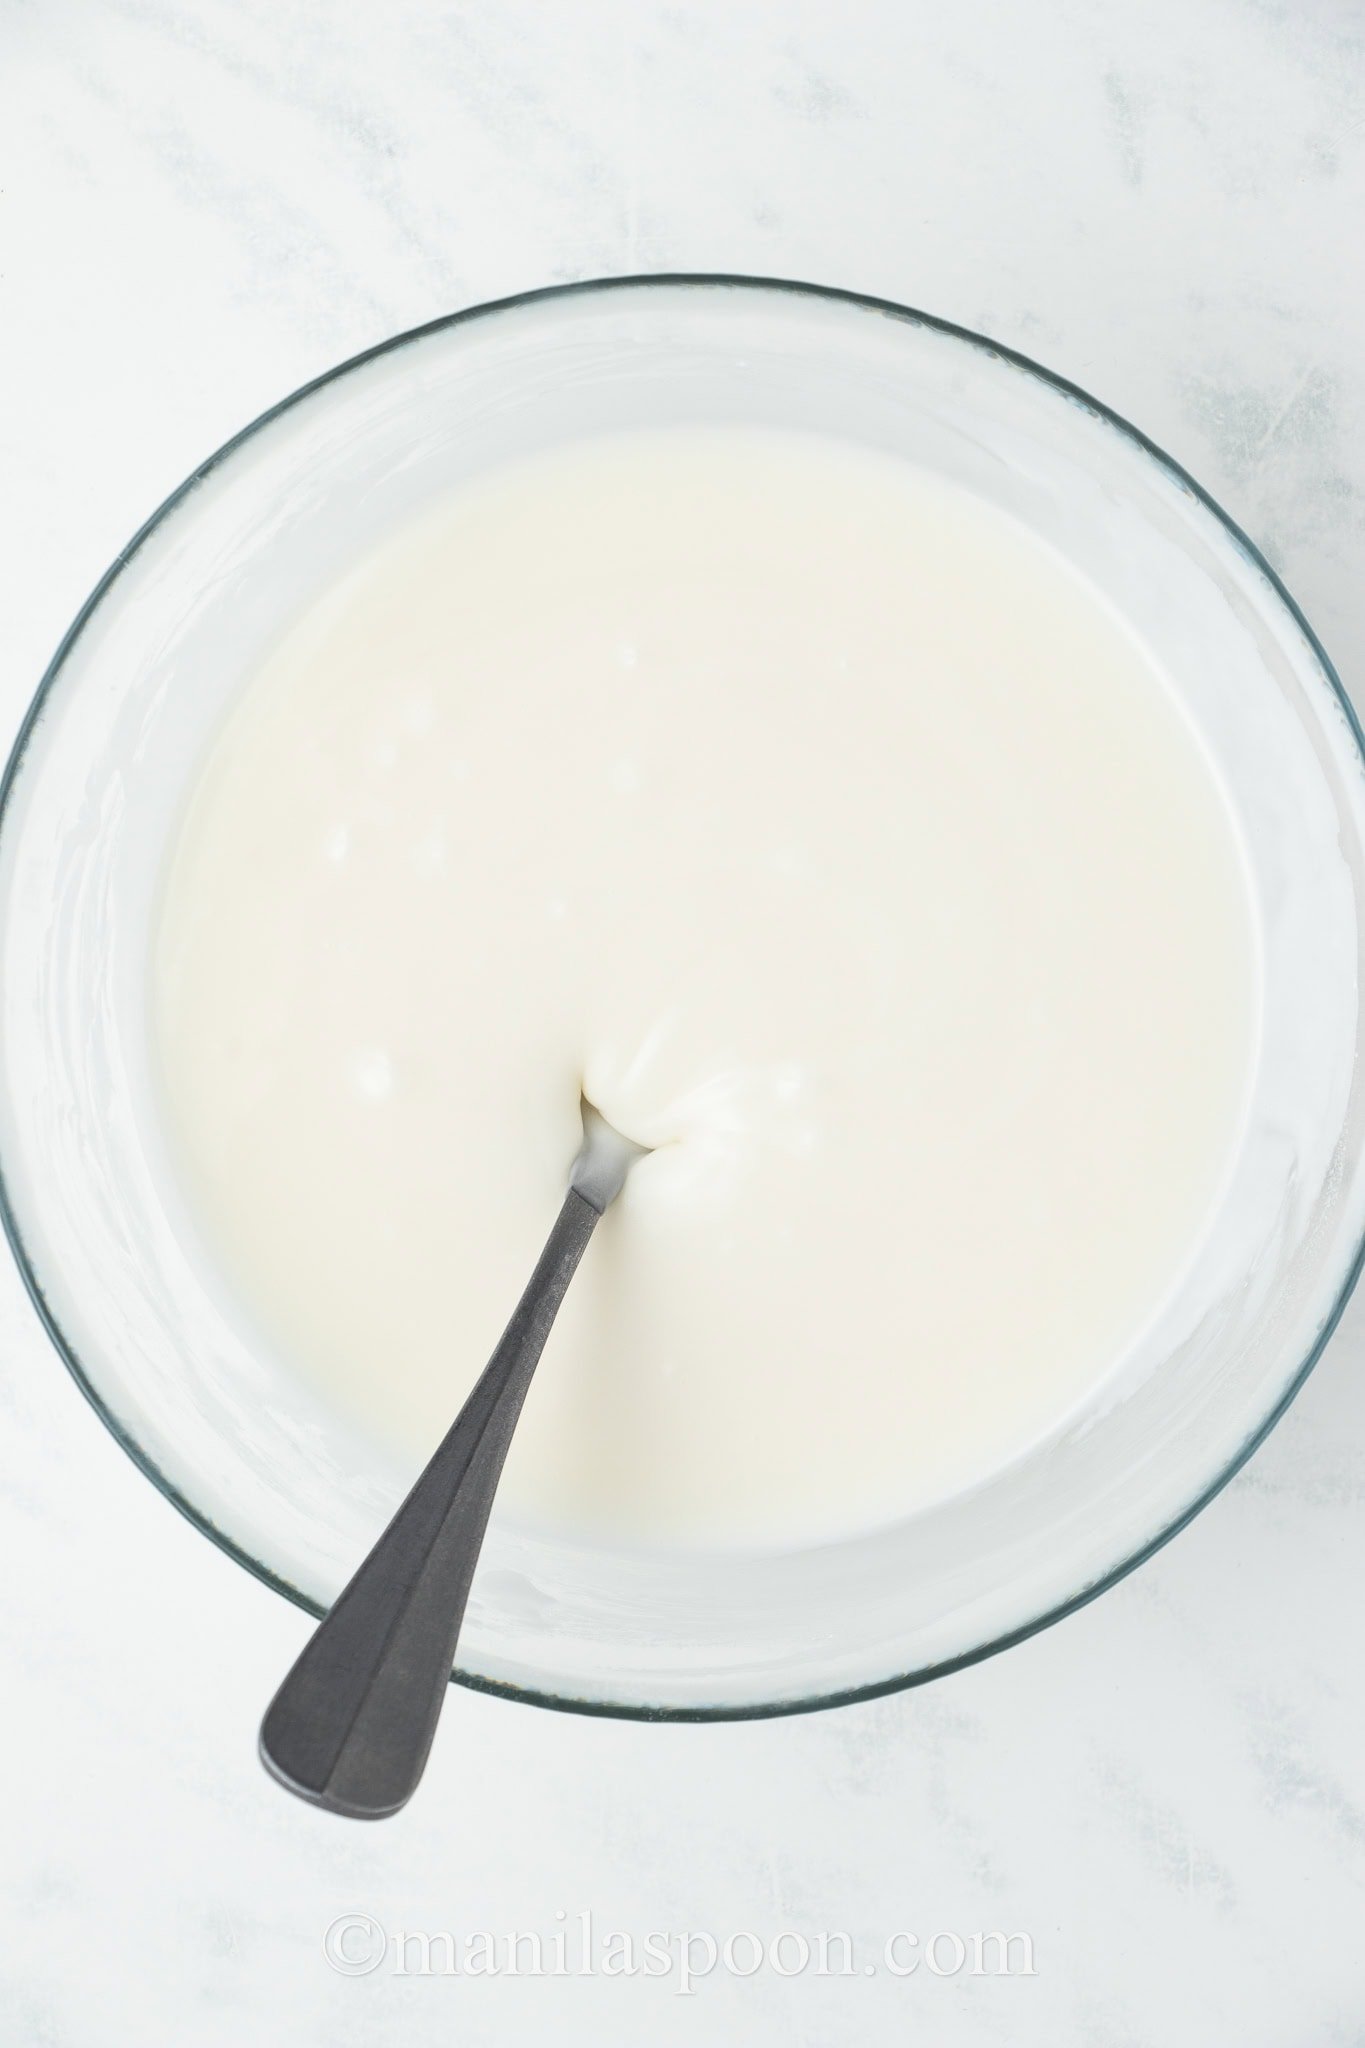
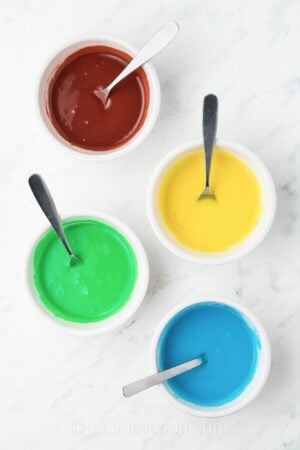
Mix together the powdered sugar and milk until you have a smooth icing. It should be thick enough to pipe but still pourable. To make the different colors, split between a few bowls and mix through a few drops of the food colorings.

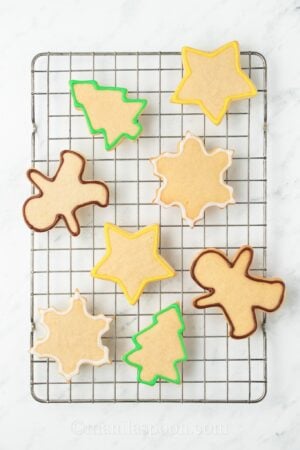
Using a piping bag and narrow nozzle, pipe lines around the edge of each cookie. Using a wider nozzle, flood the middle of the lines to fill them in. If you need to make the icing a little runnier, add a few more drops of milk.
If adding a second layer of icing, allow the cookies to dry for at least 30 minutes first. Leave the cookies to dry in the open air at room temperature for at least 6 hours or preferably overnight before touching or stacking.


Storage: The cookies can be stored at room temperature in an airtight container, and should keep well for up to 5 days.
Frequently Asked Questions (FAQs)
How do these cookies taste?
Sweet and buttery with plenty of vanilla and almond flavor. The perfect sweet treat to enjoy with a mulled wine or hot chocolate!
Can I make the cookie dough ahead of time?
Absolutely! Prepare the dough, shape it into a ball, and refrigerate it for up to 24 hours before rolling and baking.
Can I freeze the cookies after icing? Yes, you can freeze the cookies after they’ve fully dried. Make sure to separate each cookie with parchment paper to prevent sticking.
Can I use alternative extracts for flavoring? Certainly! Experiment with different extracts like peppermint or orange for a unique flavor twist.
Q4: How long do these cookies stay fresh? When stored in an airtight container, these cookies stay fresh for up to 5 days. For longer shelf life, freeze them.
So now let’s go and bake away!
Unleash your creativity and share the joy of the season by gifting or serving these Christmas sugar cookies. With their buttery goodness and eye-catching designs, they’re a festive treat that captures the essence of the holidays. Happy baking!

Christmas Sugar Cookies with Easy Icing
Ingredients
For the cookies
- ½ cup butter, softened
- 2/3 cup sugar
- 1 tsp vanilla extract
- ½ tsp almond extract
- 1 large egg
- 1 3/4 cups all purpose flour
- ¼ tsp salt
- 1 tbsp cornstarch
- ¼ tsp baking powder
For the icing/decoration
- 2 1/2 cups powdered sugar
- 2-3 tbsp milk
- Food colorings of your choice
Instructions
For the Cookies:
- Add the butter and sugar to a mixing bowl and beat until smooth and creamy.
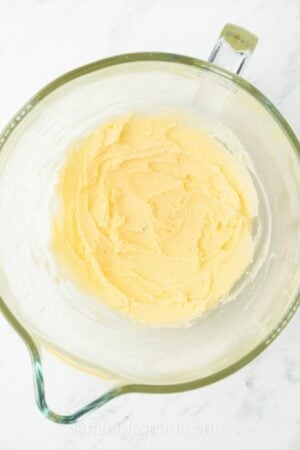
- Add the egg, vanilla extract, and almond extract and beat until combined.

- In a separate bowl, whisk together the flour, baking powder, cornstarch, and salt.
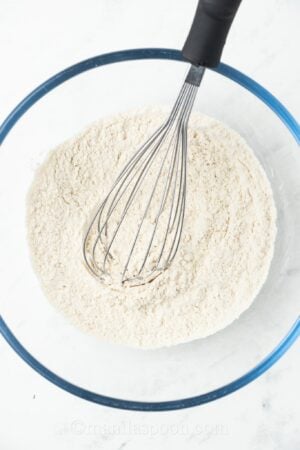
- Add the dry ingredients to the wet ingredients and stir together until combined into a smooth dough.
- Shape the dough into a ball with your hands, cover in plastic wrap, and place in the fridge to chill for 1 hour.
- Preheat the oven to 350F and line two baking sheets with parchment paper. Roll out the dough to approx. ¼” thickness and cut out shapes using Christmas-themed cookie cutters of your choice.
- Place the cookie shapes on the prepared baking sheets and bake for 10 minutes or until just starting to go golden around the edges.
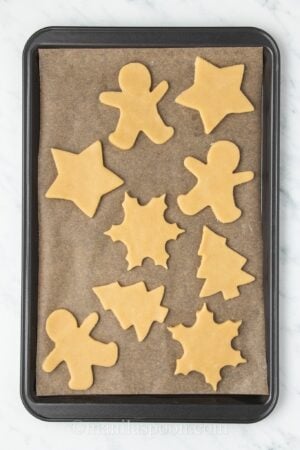
- Leave on the baking sheets for about 10 minutes, then transfer to a wire rack to cool completely.
For the icing/decoration:
- Mix together the powdered sugar and milk until you have a smooth icing. It should be thick enough to pipe but still pourable.

- To make the different colors, split between a few bowls and mix through a few drops of the food colorings.
- Using a piping bag and narrow nozzle, pipe lines around the edge of each cookie.
- Using a wider nozzle, flood the middle of the lines to fill them in. If you need to make the icing a little runnier, add a few more drops of milk.
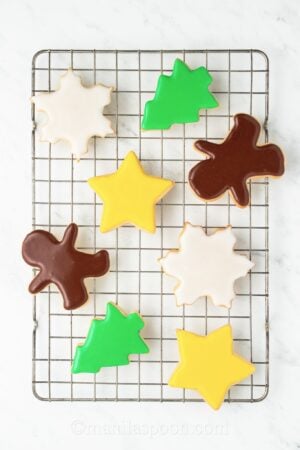
- If adding a second layer of icing, allow the cookies to dry for at least 30 minutes first.
- Leave the cookies to dry in the open air at room temperature for at least 6 hours or preferably overnight before touching or stacking.


