
No Bake Chocolate and Caramel Crunch Bars
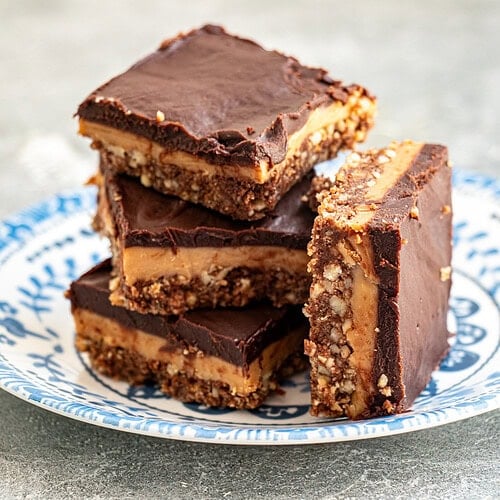
Indulgent no-bake chocolate caramel crunch bars with three irresistible layers—pecan biscuit crust, homemade golden caramel, and silky chocolate ganache. Ready in under 30 minutes active time, perfect for summer entertaining. Easy make-ahead dessert that serves a crowd!
Looking for more no-bake chocolate recipes? Do check out our healthy and tasty No Bake Chocolate and Coconut Energy Balls, the ultimate sweet treat for special occasions No Bake Chocolate Marquise, and our holiday-perfect Easy Raspberry Chocolate Truffles!
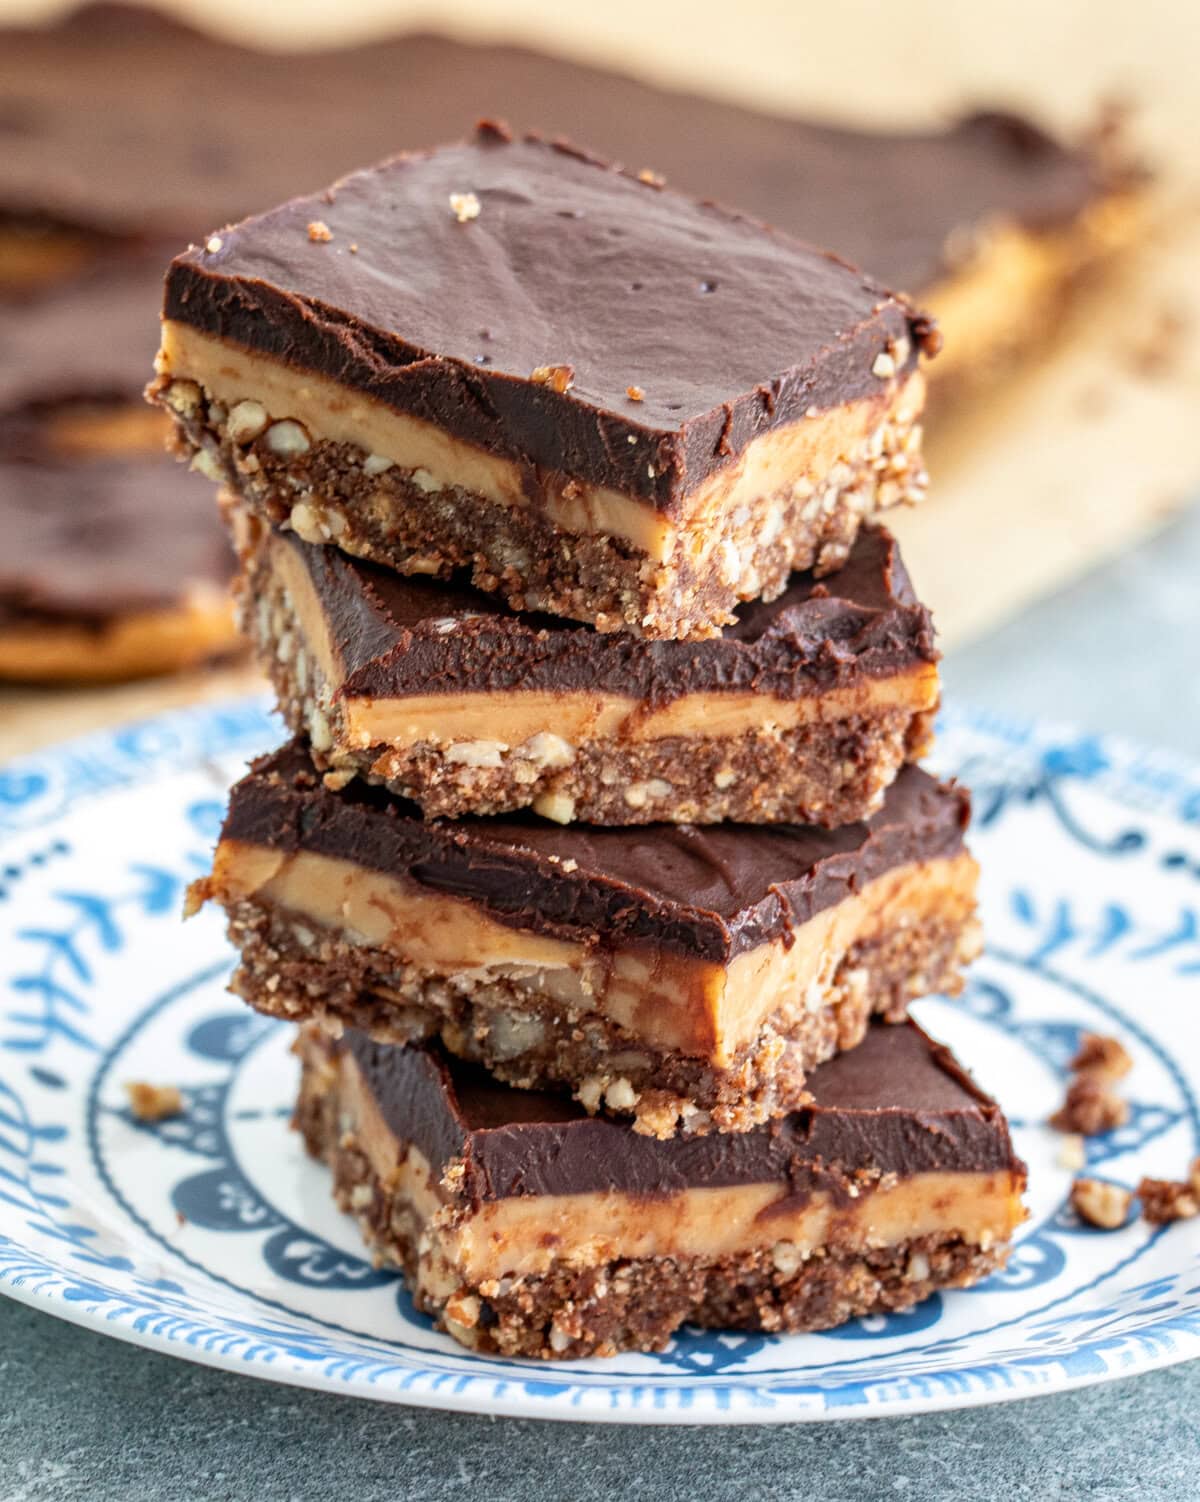
This is a wow recipe—simply wow! Not only because it’s a No-Bake, super-easy recipe, but also because it is totally scrumptious. Layers of pecan crumb crust, delicious caramel filling, then chocolate ganache top—how can you ever resist that?
Several people (not members of our family!) have tried this, and they have all given it rave reviews. I am so delighted because this yummy English dessert has now become our new favorite. Perfect for any summer get-together. Enjoy! 🙂
Why This Delicious Recipe Works
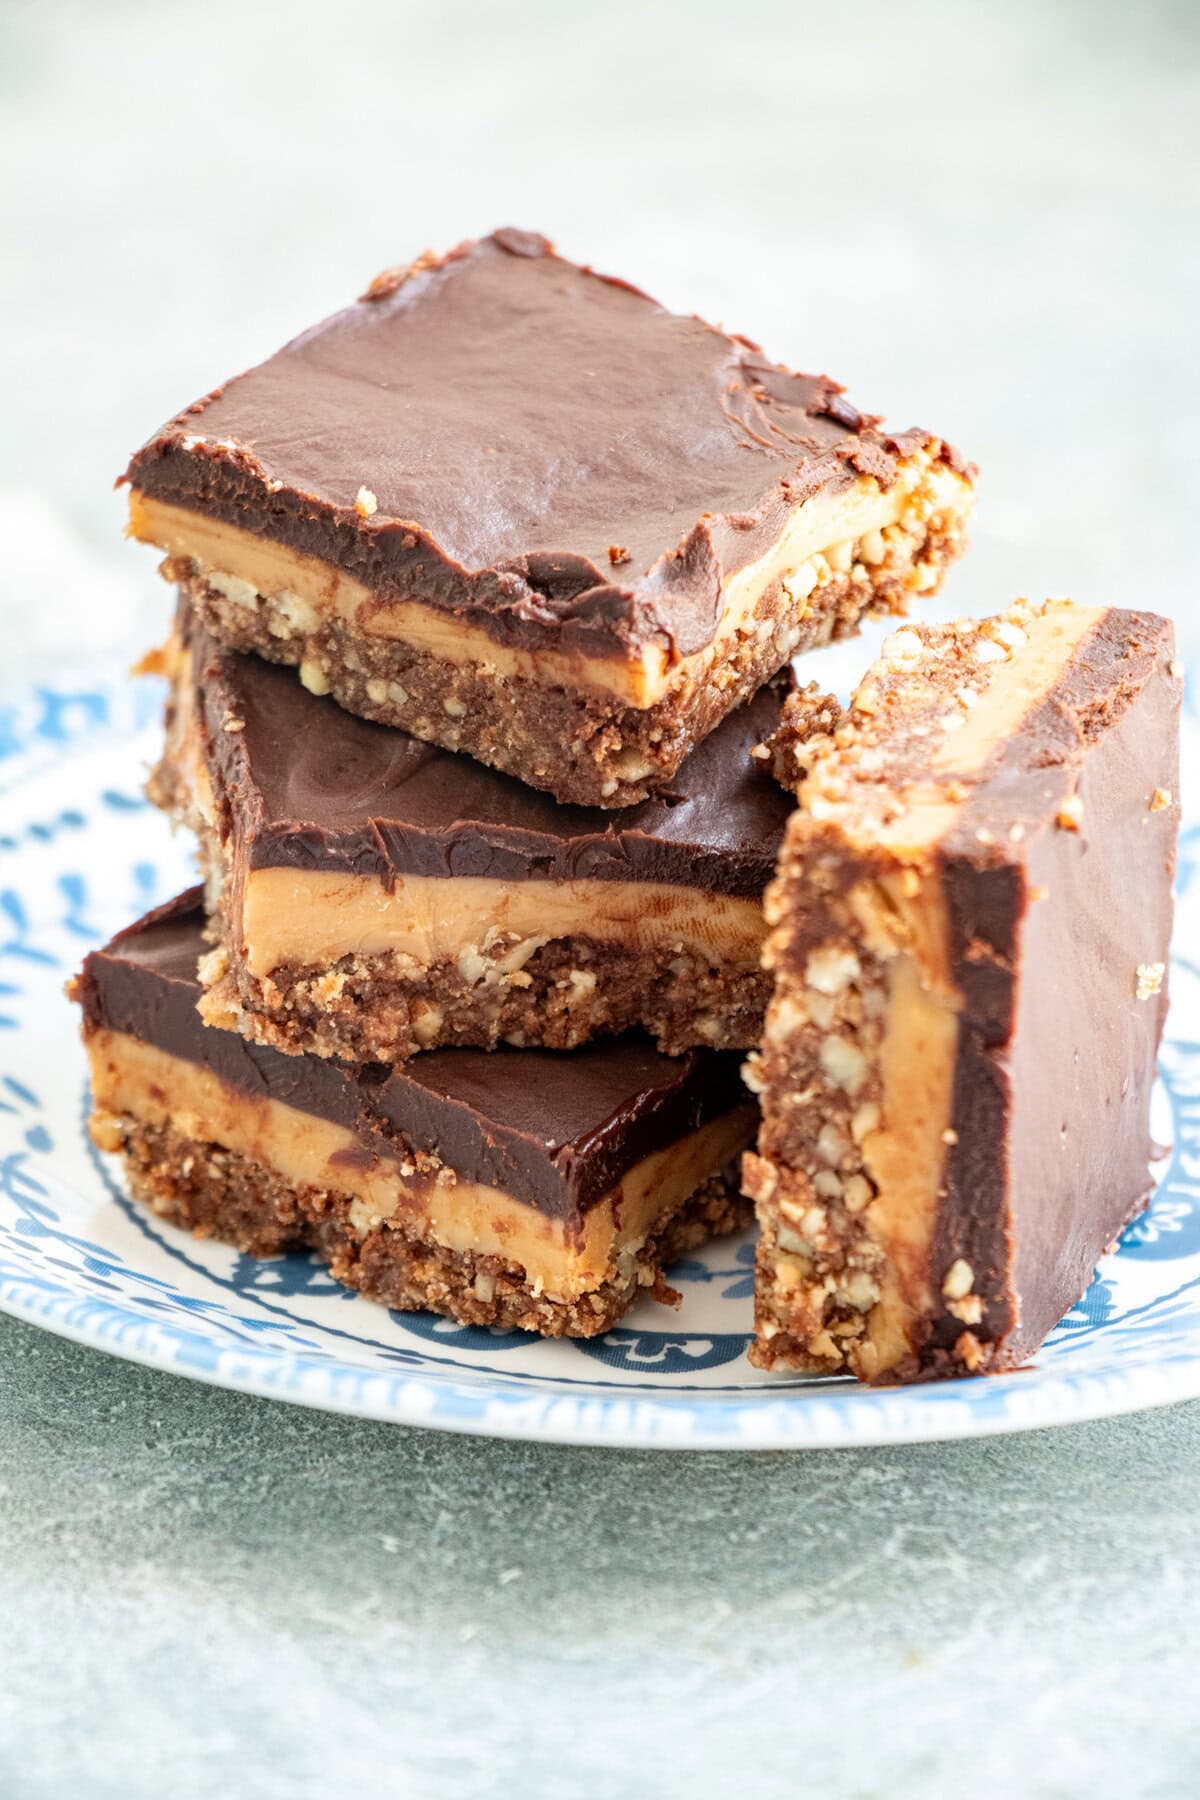
• No-bake chocolate and caramel crunch bars consist of three distinct layers: a pecan-digestive biscuit base, a homemade caramel filling made from condensed milk and golden syrup, and a chocolate ganache topping.
• The caramel filling requires continuous stirring for 6-8 minutes over low heat until it thickens, darkens to a golden color, and coats the back of a spoon without becoming too firm or chewy.
• These bars require multiple refrigeration stages for proper setting—15 minutes after forming the base, 45-60 minutes after adding the caramel layer, and 1-2 hours (or overnight) after spreading the chocolate ganache.
• The recipe can be adapted for various dietary needs, including gluten-free and vegan versions, by substituting appropriate ingredients while maintaining the three-layer structure.
• Storage in an airtight container in the refrigerator extends shelf life up to one week, or the bars can be frozen for up to three months.
The Science Behind Perfect Caramel Timing—Why 6-8 Minutes Changes Everything
Most no-bake bar recipes gloss over timing, but the caramel stage is where precision matters most. Here’s what’s actually happening during those critical 6-8 minutes:
Minute-by-Minute Caramel Transformation:
Minutes 0-2: Sugar dissolves, mixture bubbles lightly, color remains pale
Minutes 3-4: Proteins in condensed milk begin to brown, flavor deepens
Minutes 5-6: Maillard reaction intensifies, caramel darkens to golden
Minutes 7-8: Mixture thickens noticeably, coats spoon in visible trail
The Temperature Sweet Spot: 220-225°F
• Below 220°F = runny, sauce-like texture
• 220-225°F = perfect spreadable caramel that sets firm
• Above 230°F = overly chewy, candy-like texture
Visual Cue That Never Fails:
Run your spoon through the caramel—if the trail closes immediately, keep cooking. If it stays separated for 2-3 seconds before slowly filling in, you’ve hit perfection.
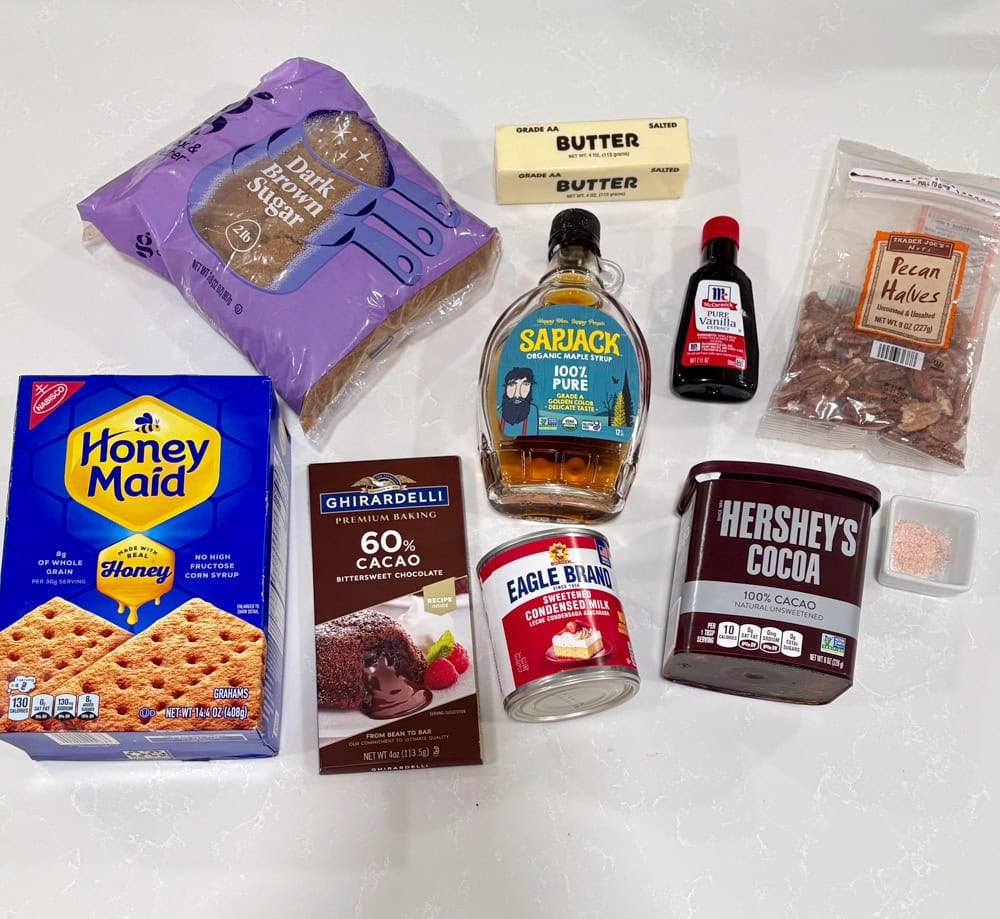
Ingredients for No Bake Chocolate and Caramel Crunch Bars
- Butter: Adds richness and helps bind the base and caramel filling.
- Sugar: Provides sweetness and helps caramelize the base.
- Cocoa Powder: Imparts a chocolate flavor to the biscuit base.
- Vanilla Extract: Enhances the overall flavor of both the base and caramel.
- Digestive Biscuits: Forms the crunchy foundation of the bars.
- Pecans/Walnuts: Adds texture and a nutty flavor to the base.
- Dark Chocolate: Creates a smooth, rich topping layer.
- Condensed Milk: Serves as the base for the creamy caramel filling.
- Golden Syrup: Contributes to the caramel’s smooth texture and sweetness.
- Heavy Cream: Adds a melt-in-your-mouth richness and glossy sheen to the chocolate.
Step-by-Step Instructions on How to Make These No-Bake Chocolate and Caramel Crunch Bars
Grease or line an 8×8 pan with parchment. Microwave or melt the butter, sugar, cocoa, and vanilla over low heat. Stir well. Mix in the crushed biscuits and chopped nuts until fully combined and sticky. Press the mixture evenly and firmly into the pan. Refrigerate while preparing the caramel (or at least 15 minutes).
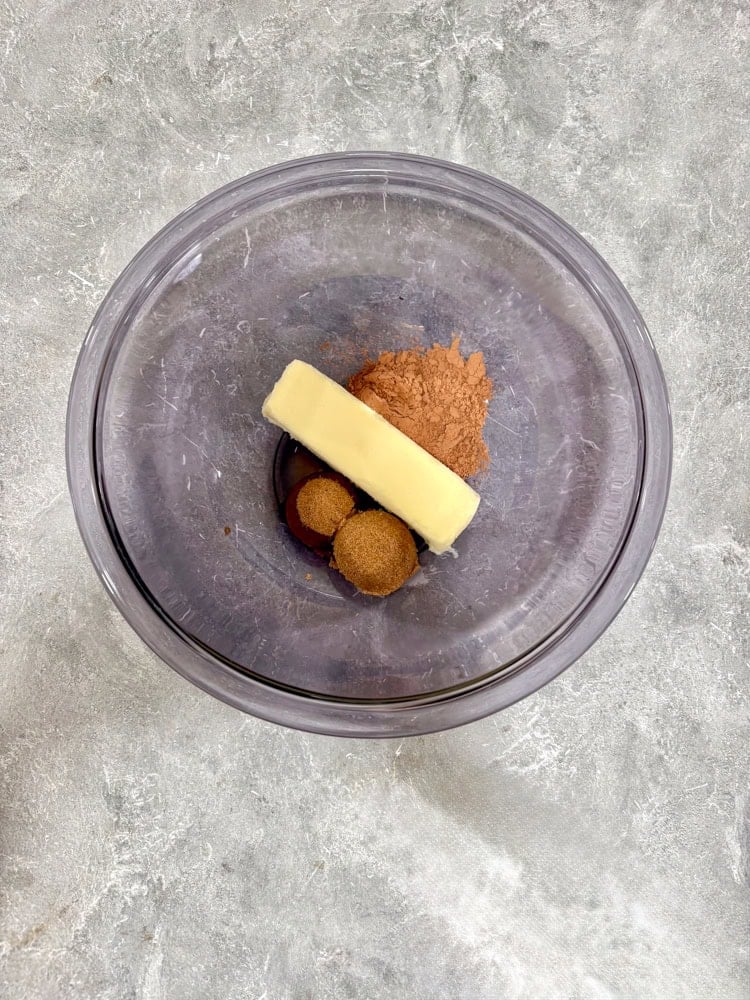
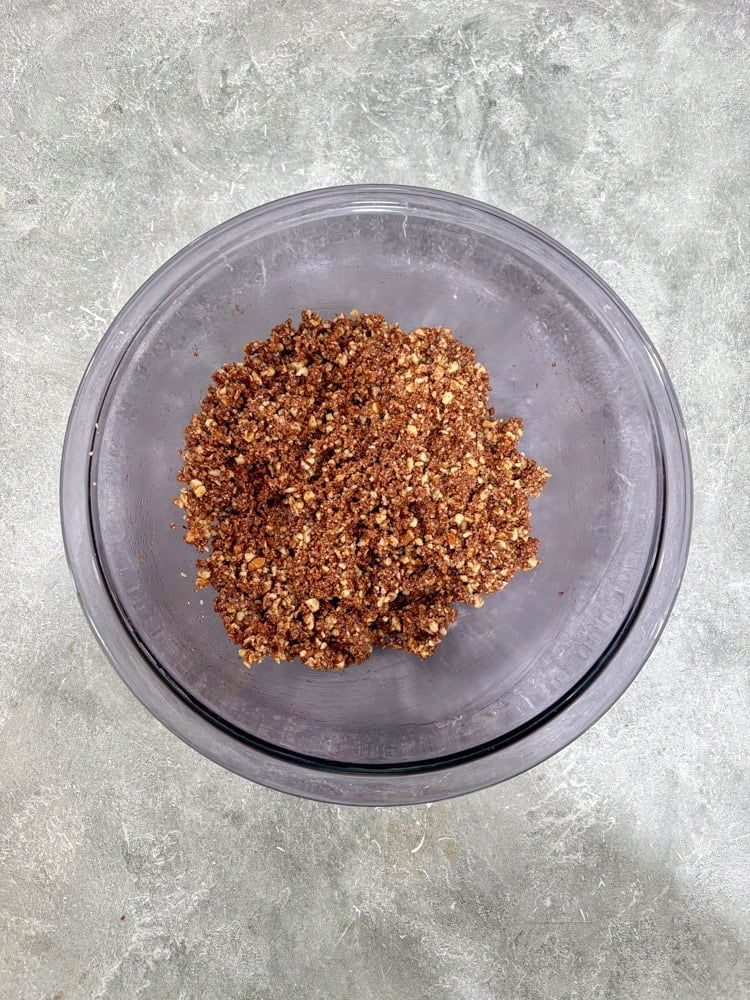
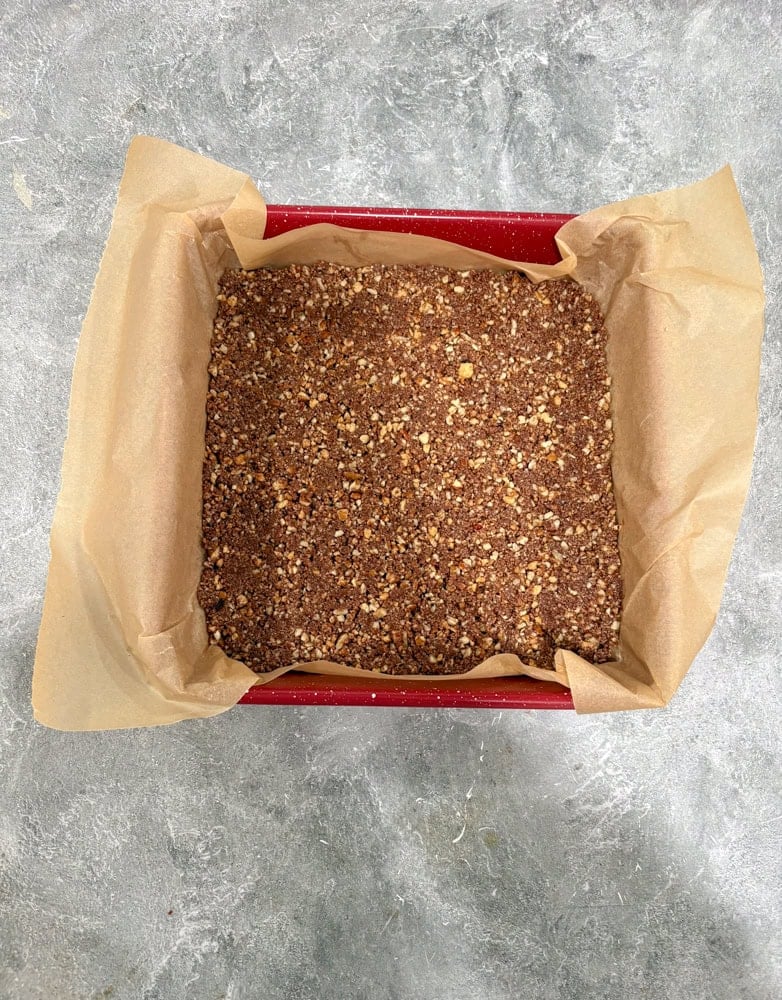
Combine all caramel filling ingredients in a heavy-bottomed saucepan. While stirring, heat over medium until bubbles form. Once bubbling, stir continuously for 6-8 minutes (use a timer) on low heat until it thickens, darkens slightly to a golden caramel color, and coats the back of a spoon (it should still be pourable but leaves a visible trail). Don’t overcook, or the caramel will be too chewy.
Pour immediately over the chilled crust and spread evenly. Tap the pan gently on the counter. Cool at room temperature for 10–15 minutes, then refrigerate until the caramel is firm to the touch and no longer sticky (about 45–60 minutes, or longer if needed).
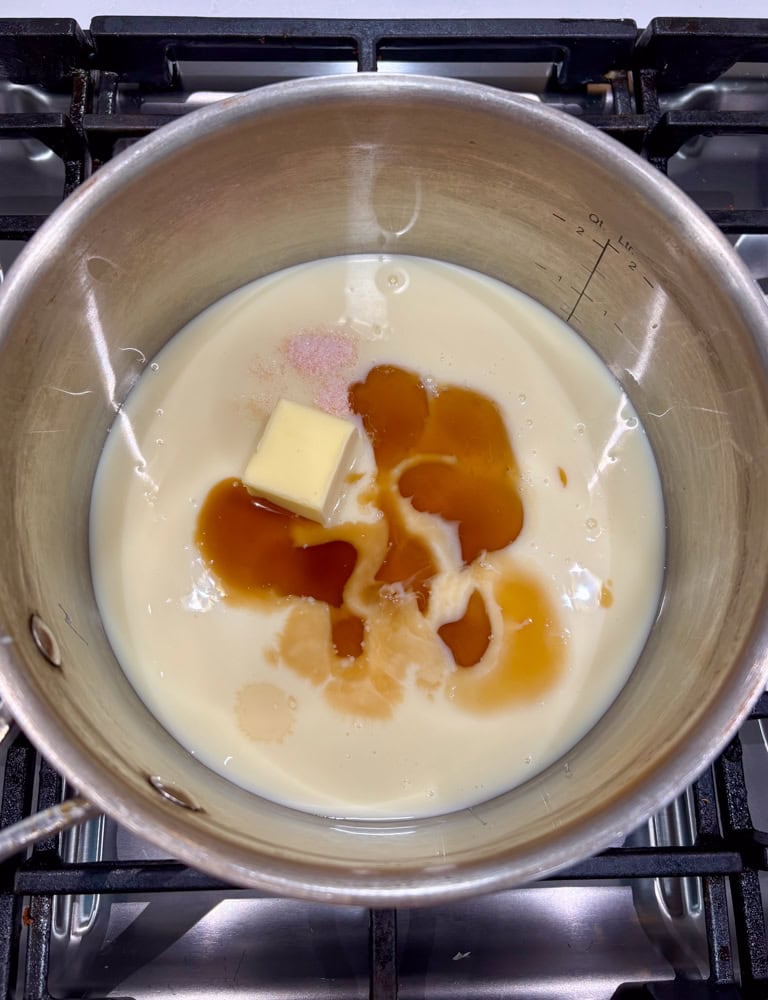
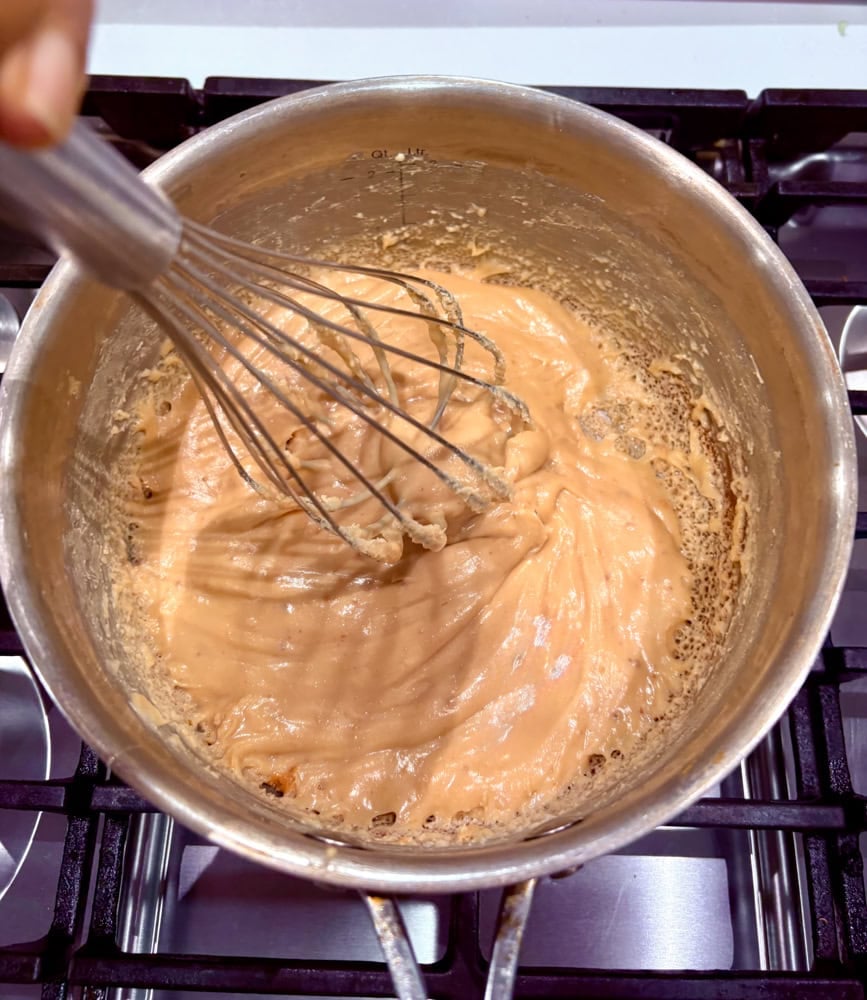
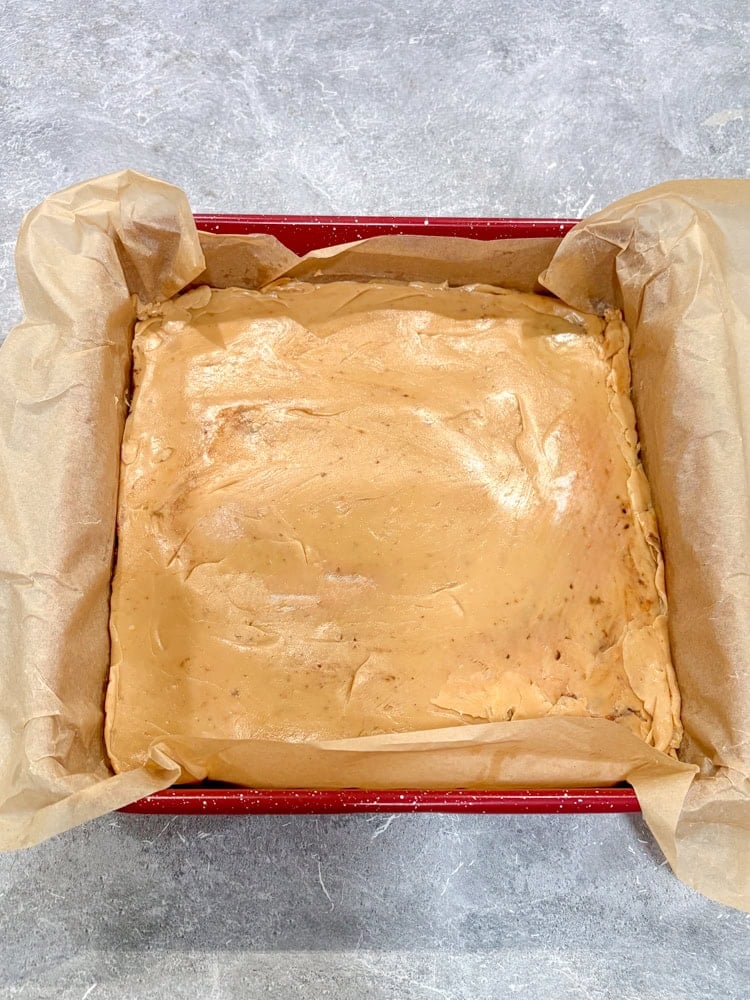
If you prefer, you can just use store-bought caramel, though this homemade one is delicious. If you want to make the caramel ahead of time and use the slow cooker, you can use this recipe: Easy Slow Cooker Caramel.
Once the caramel is firmly set, make the ganache. Heat the heavy cream, corn/maple syrup, and chocolate chips together in a small saucepan or microwave until hot and beginning to melt (do not boil). Stir gently until completely melted and smooth.
Pour the ganache over the chilled caramel layer. Tilt the pan or use an offset spatula to spread it evenly to the edges. Tap the pan gently to smooth and remove any bubbles.
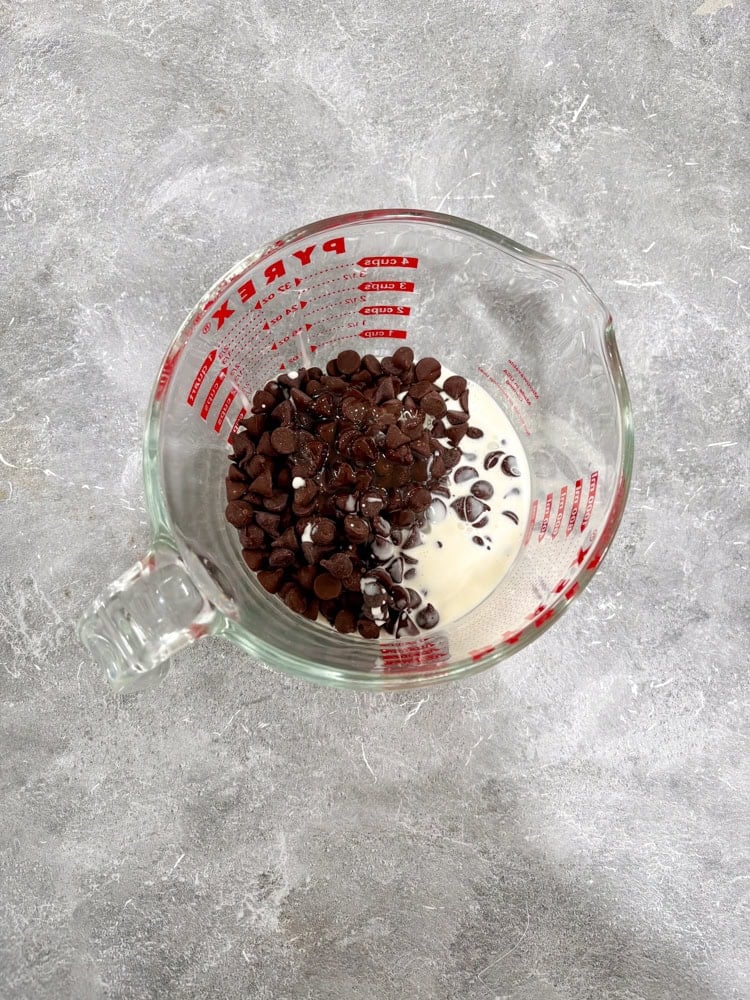
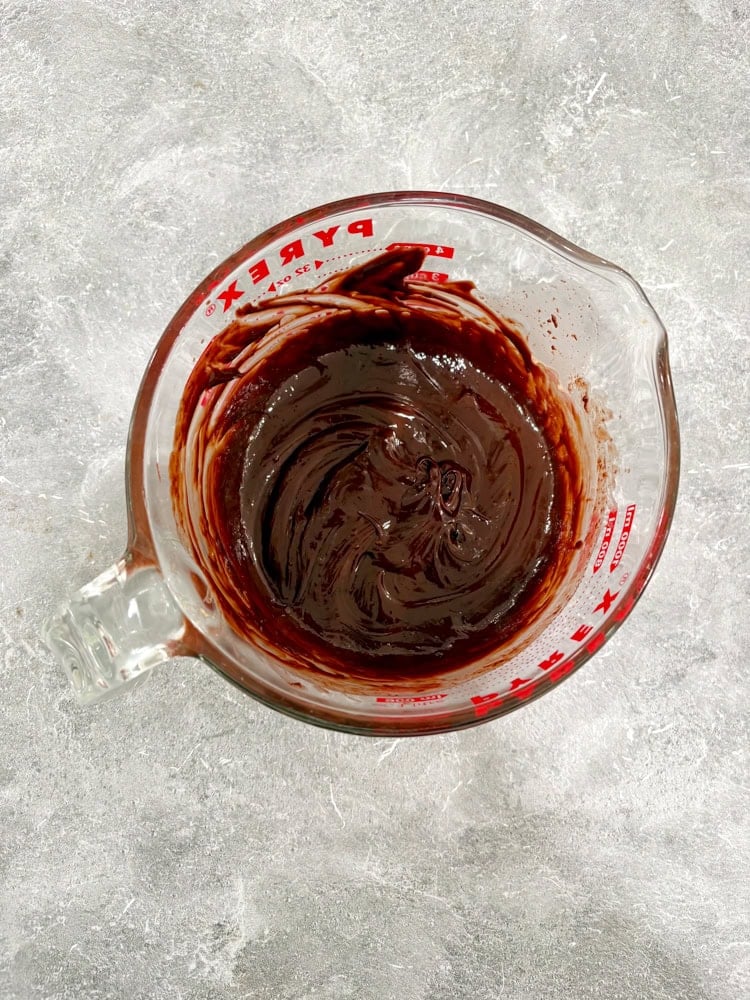
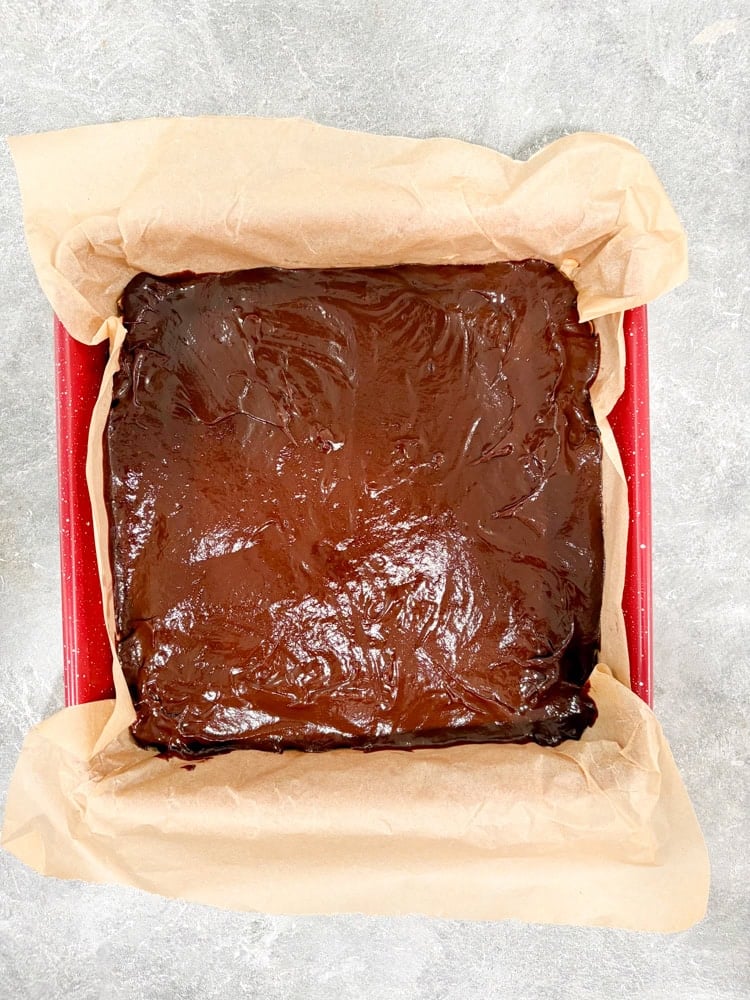
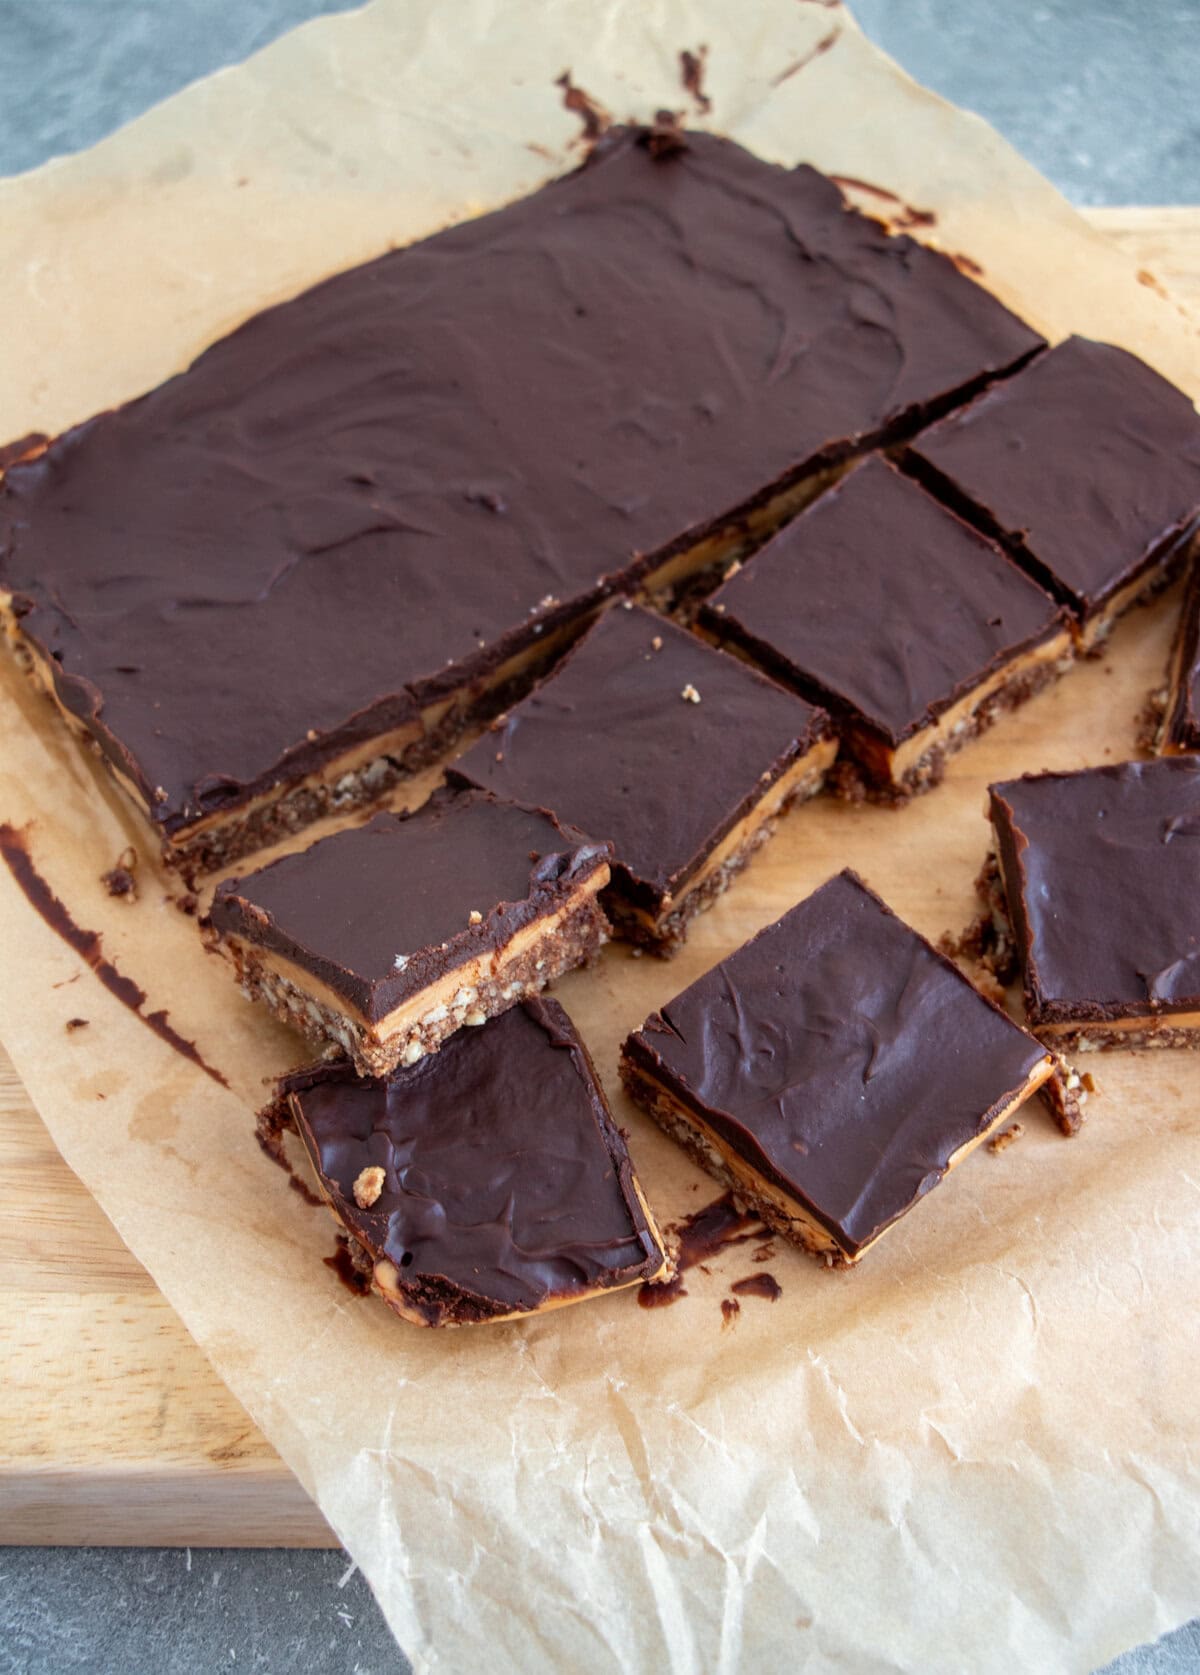
Refrigerate until the ganache is fully set (at least 1–2 hours, preferably 3+ hours or overnight). Slice into bars.
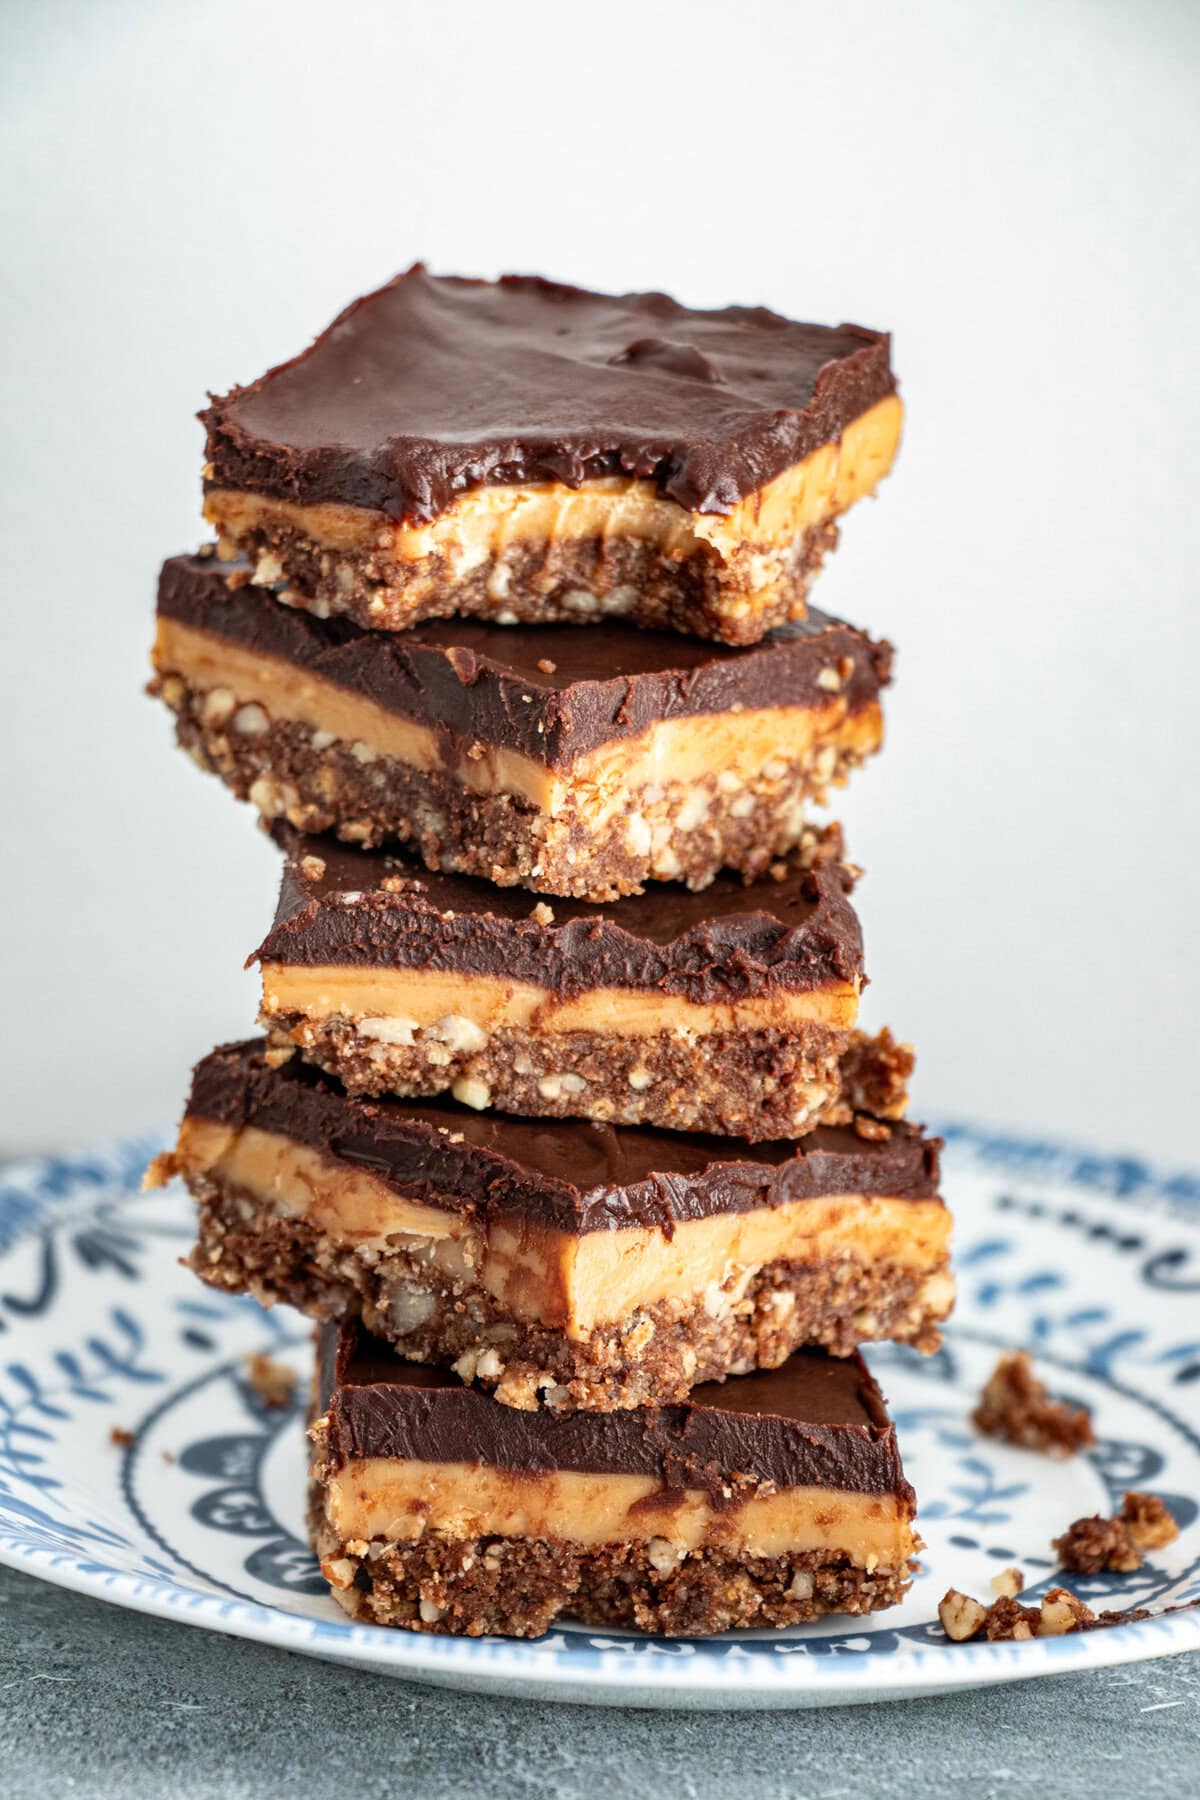
Tips for Perfect No-Bake Chocolate Caramel Crunch Bars
Storage: Store these bars in an airtight container in the refrigerator for up to a week.
Choose quality ingredients: Opt for high-quality chocolate and fresh nuts for the best flavor.
Customize your base: Experiment with different types of biscuits or crackers for varied textures and flavors.
Prevent burning: When making the caramel, use low heat and stir constantly to avoid scorching.
Create clean slices: For neat cuts, wipe your knife clean between slices and reheat it in hot water as needed.
Frequently Asked Questions (FAQs)
Why does my caramel layer separate or become grainy?
This typically happens when the caramel is cooked at too high a temperature or stirred too vigorously. The key is maintaining low, consistent heat and using a gentle stirring motion. If sugar crystals form on the sides of the pan, wipe them down with a wet pastry brush to prevent crystallization from spreading throughout the mixture.
Can I make these bars in a different pan size?
Yes, but you’ll need to adjust the thickness and chilling times accordingly. A 9×9 pan will create thinner bars that set faster (reduce chill time by 15-20 minutes per layer). A 7×11 pan works similarly to 8×8. For a 9×13 pan, consider making 1.5x the recipe to maintain good layer proportions, or accept thinner bars with shorter setting times.
What’s the best way to transport these bars to a party?
Keep them chilled until the last possible moment, then transport in a cooler with ice packs beneath the container (not directly touching). If traveling more than 30 minutes, place parchment paper between layers to prevent sticking. Let them sit at room temperature for just 5-10 minutes before serving for optimal texture—they should be firm but not rock-hard.
My chocolate layer cracked when I cut the bars—how do I prevent this?
Cracking occurs when the chocolate is too cold, or the knife isn’t warm enough. Let bars sit at room temperature for 5-7 minutes before cutting, use the hot-knife method (dipping in hot water between each cut), and avoid cutting straight from the freezer. A slightly softer chocolate layer will flex rather than crack when pressure is applied.
Can I add flavor variations to these bars without changing the texture?
Absolutely! Add 1-2 teaspoons of instant espresso powder to the chocolate layer, swap pecans for toasted hazelnuts or almonds, or add ½ teaspoon of sea salt to the caramel for salted caramel bars. You can also add 1 tablespoon of bourbon or rum to the caramel during cooking for depth, or press crushed pretzels into the base for a sweet-salty combination.
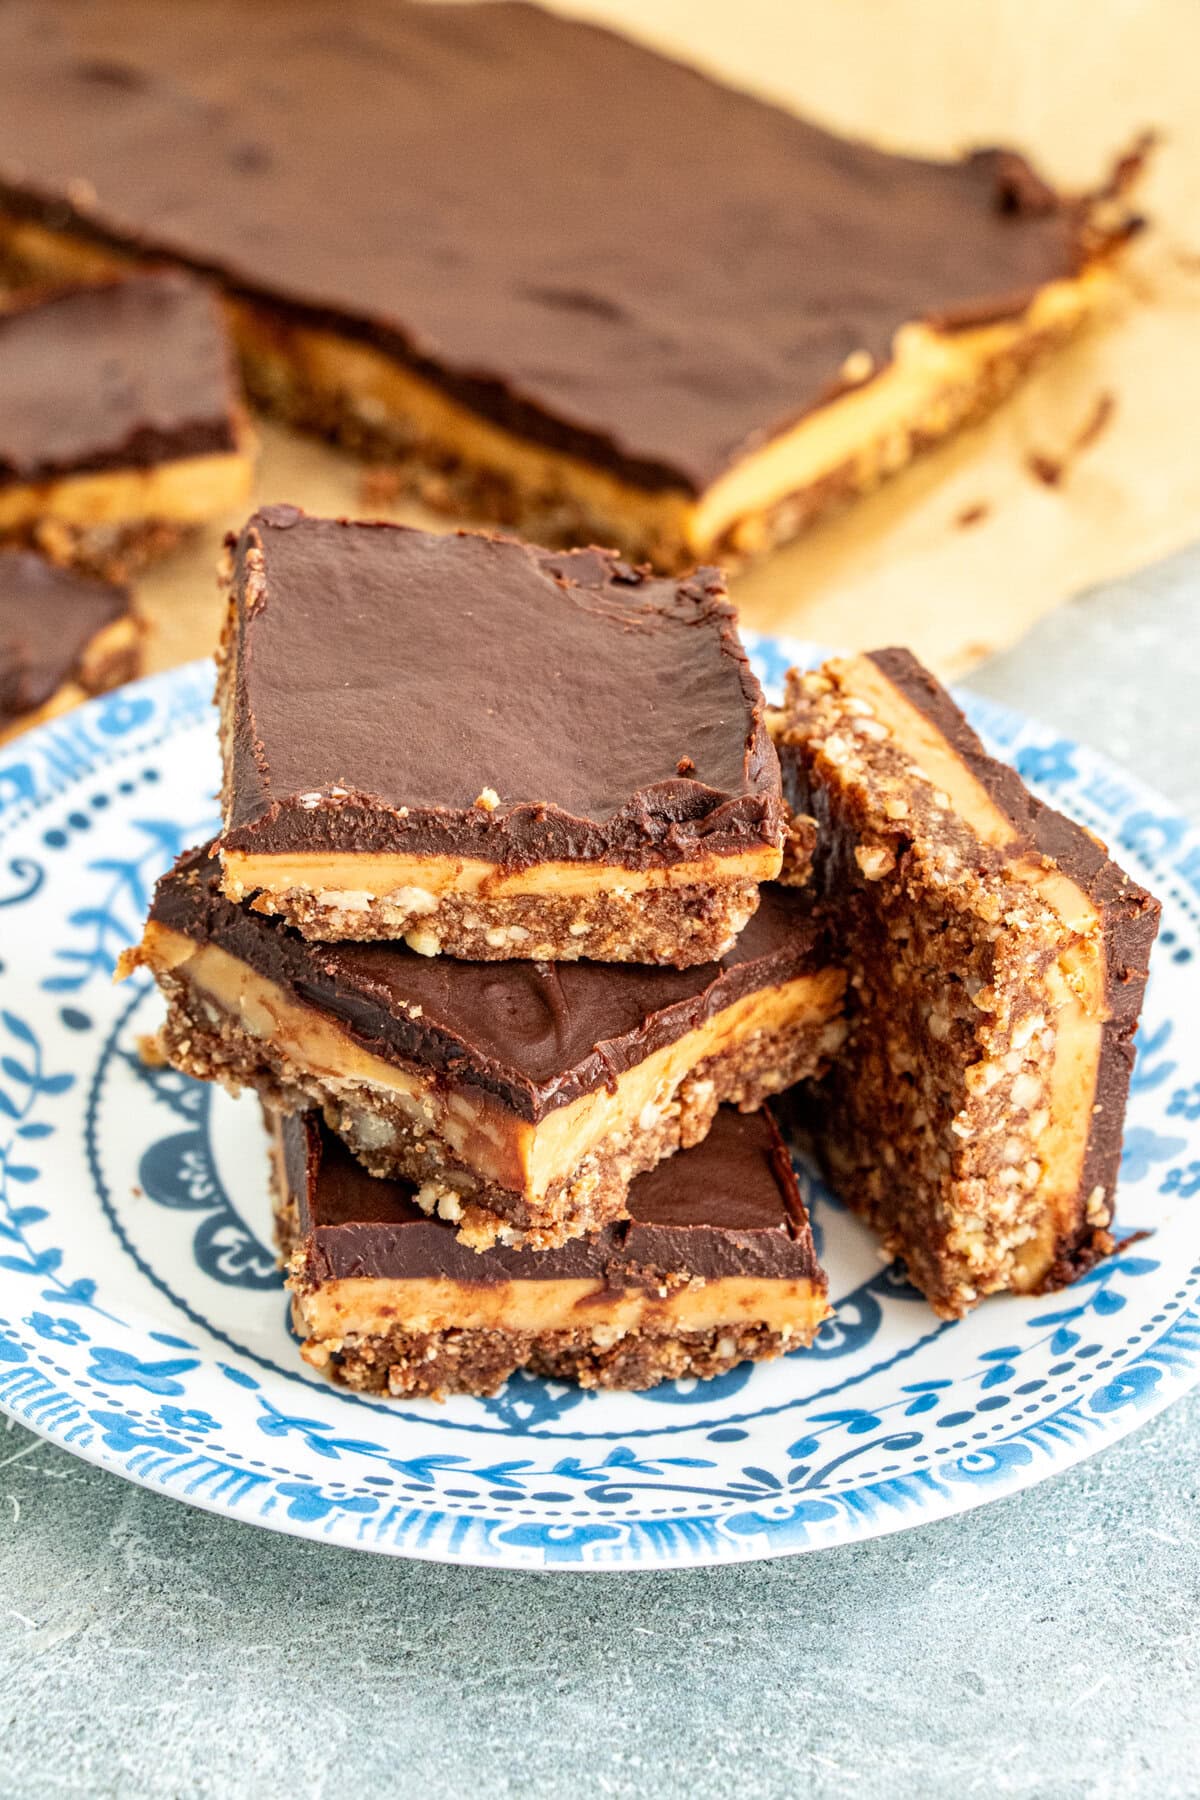
These No-Bake Chocolate Caramel Crunch Bars are a delightful treat that combines ease of preparation with an irresistible taste. Perfect for satisfying your sweet cravings or impressing guests, these bars are sure to become a staple in your dessert repertoire. So why wait? Gather your ingredients and get ready to indulge in these heavenly bars today!
No Bake Chocolate and Caramel Crunch Bars
Ingredients
For the Pecan and Biscuit Crust
- 4 oz (1 stick) regular Butter
- 2 Tablespoons Sugar
- 2 Tablespoons Cocoa powder
- 1 teaspoon Vanilla Extract
- 1 1/2 cups Digestive biscuits or graham crackers, finely crushed
- 2/3 cup Pecans or Walnuts, finely chopped
For the filling:
- 14 oz can of Condensed Milk
- 2 Tablespoons unsalted Butter
- 3 Tablespoons Golden syrup, Sugar Cane syrup or light Corn Syrup
- ½ teaspoon Vanilla Extract
- ¼ teaspoon salt
For the Topping:
- 4 oz Dark or semi-sweet Chocolate (chips or bar), use good quality chocolate for the best flavor
- ¼ cup heavy cream
- 1 tbsp light corn syrup or maple syrup
Instructions
For the Pecan and Biscuit Crust
- Grease or line an 8×8 pan with parchment. Melt the butter, sugar, cocoa, and vanilla together over low heat. Stir well. Mix in the crushed biscuits and chopped nuts until fully combined and sticky. Press the mixture evenly and firmly into the pan. Refrigerate while preparing the caramel (or at least 15 minutes).
For the filling:
- Combine all caramel filling ingredients in a heavy-bottomed saucepan. While stirring, heat over medium until bubbles form. Once bubbling, stir continuously for 6-8 minutes (use a timer) on low heat until it thickens, darkens slightly to a golden caramel color, and coats the back of a spoon (it should still be pourable but leaves a visible trail). Don't overcook, or the caramel will be too chewy.Pour immediately over the chilled crust and spread evenly. Tap the pan gently on the counter. Cool at room temperature for 10–15 minutes, then refrigerate until the caramel is firm to the touch and no longer sticky (about 45–60 minutes, or longer if needed).
For the Topping:
- Once the caramel is firmly set, make the ganache. Heat the heavy cream and corn/maple syrup together in a small saucepan or microwave until hot and just beginning to simmer (do not boil).Pour over the chocolate chips in a heat-safe bowl. Let sit for 1–2 minutes, then stir gently until completely melted and smooth.Pour the ganache over the chilled caramel layer. Tilt the pan or use an offset spatula to spread it evenly to the edges. Tap the pan gently to smooth and remove any bubbles.Refrigerate until the ganache is fully set (at least 1–2 hours, preferably 3+ hours or overnight). Slice into bars.
Notes
Nutrition



These look awesome! I can't wait to try them. I've pinned, stumbled and yummed them as well. Thanks for sharing your recipe!
Those look AMAZING!! Pinned…I have to try these!
I absolutely LOVE these bars! Not only do they combine so much deliciousness but they are NO BAKE! Thanks so much for sharing this. If you had a moment, I would be delighted if you'd pop on over to my blog and add this (and maybe 2 others!) to the #PureBlogLove link party 🙂
http://picnicnz.blogspot.co.nz
Thank you for sharing some fantastic recipes in the past on #PureBlogLove ! I just wanted to invite you to join us tonight to share some more wonderful recipes at the party! Starts at 8 PM EST-runs through Sunday! I am excited to see what you share!
XoXo
Heidy
These look wonderful!!!! Would satisfy MY sweet tooth for sure!
OMG these look AMAZING!! I would totally love to try this!