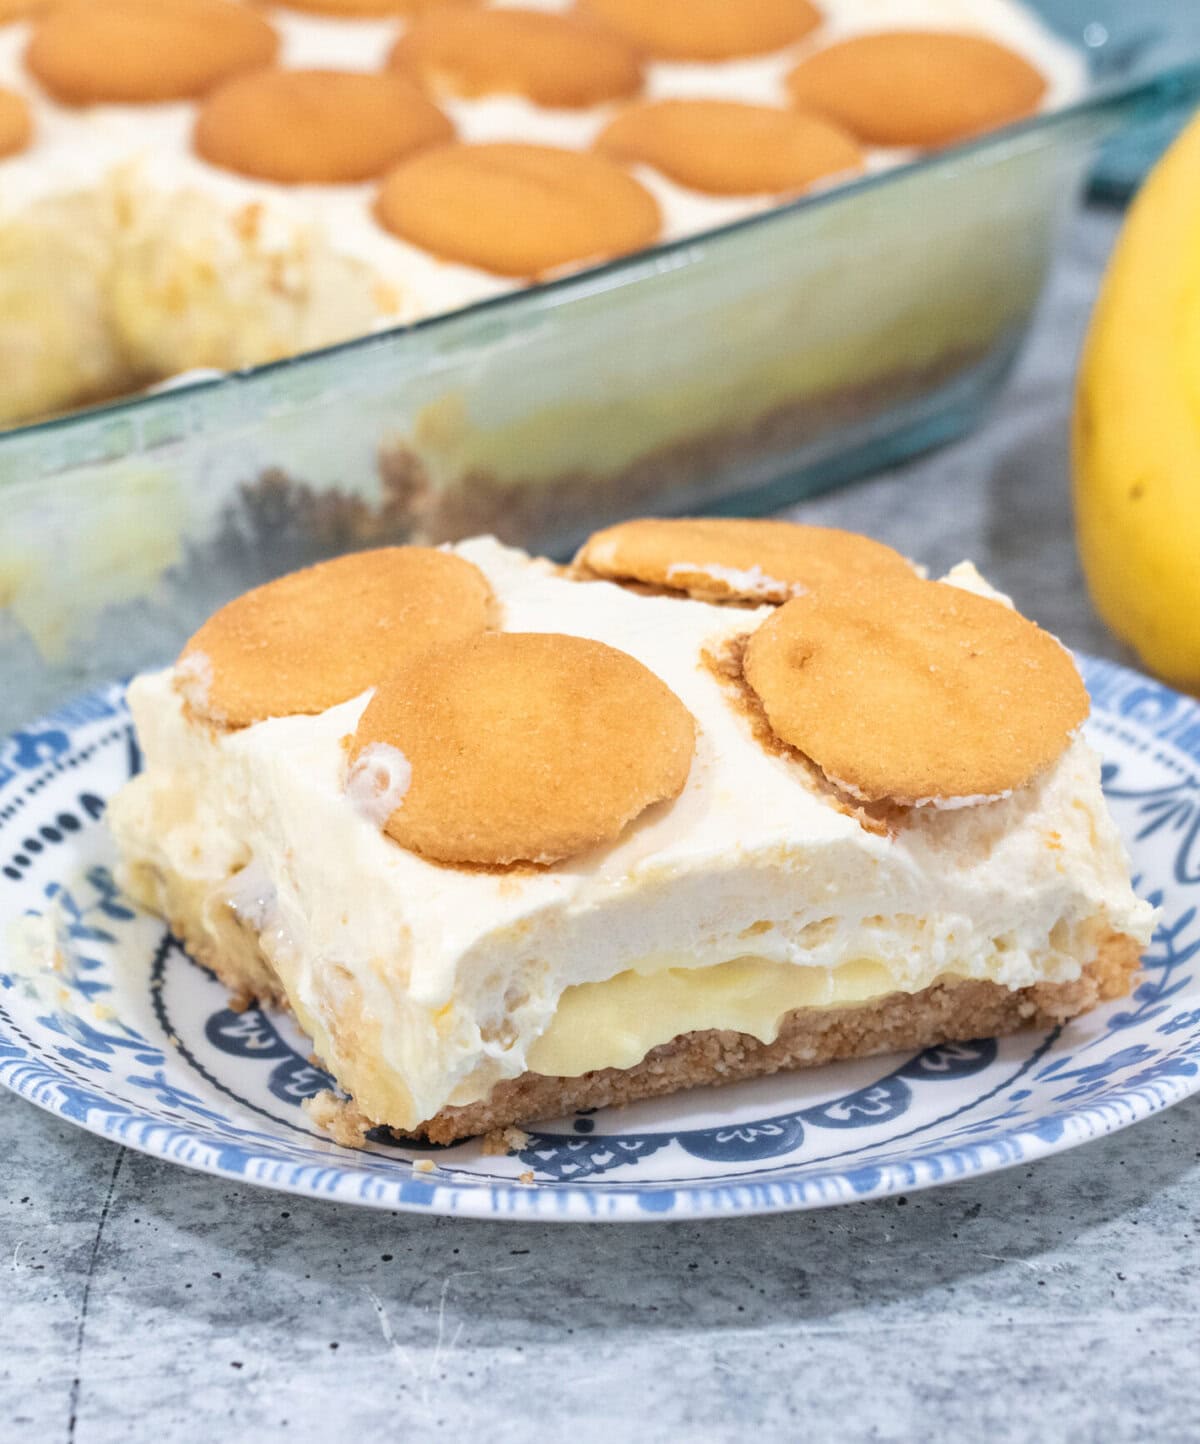
Easy Layered Banana Pudding

There is so much yumminess in each layer of this scrumptious banana pudding—a crunchy vanilla wafer crust, velvety banana pudding, and fresh banana slices in the middle, and a dreamy combination of cream cheese and condensed milk on top to elevate this dessert. And it’s NO BAKE, so no sweating to make this luscious spring, summer, or holiday dessert!
I just made this tonight, and although I should have allowed this yummy layered banana pudding to set a bit more (like waiting until tomorrow), I couldn’t wait. I took a slice and tried it! Wow! I was blown away with its creamy deliciousness and I can imagine, I will take so many more bites when I bring this to our church fellowship meal tomorrow.
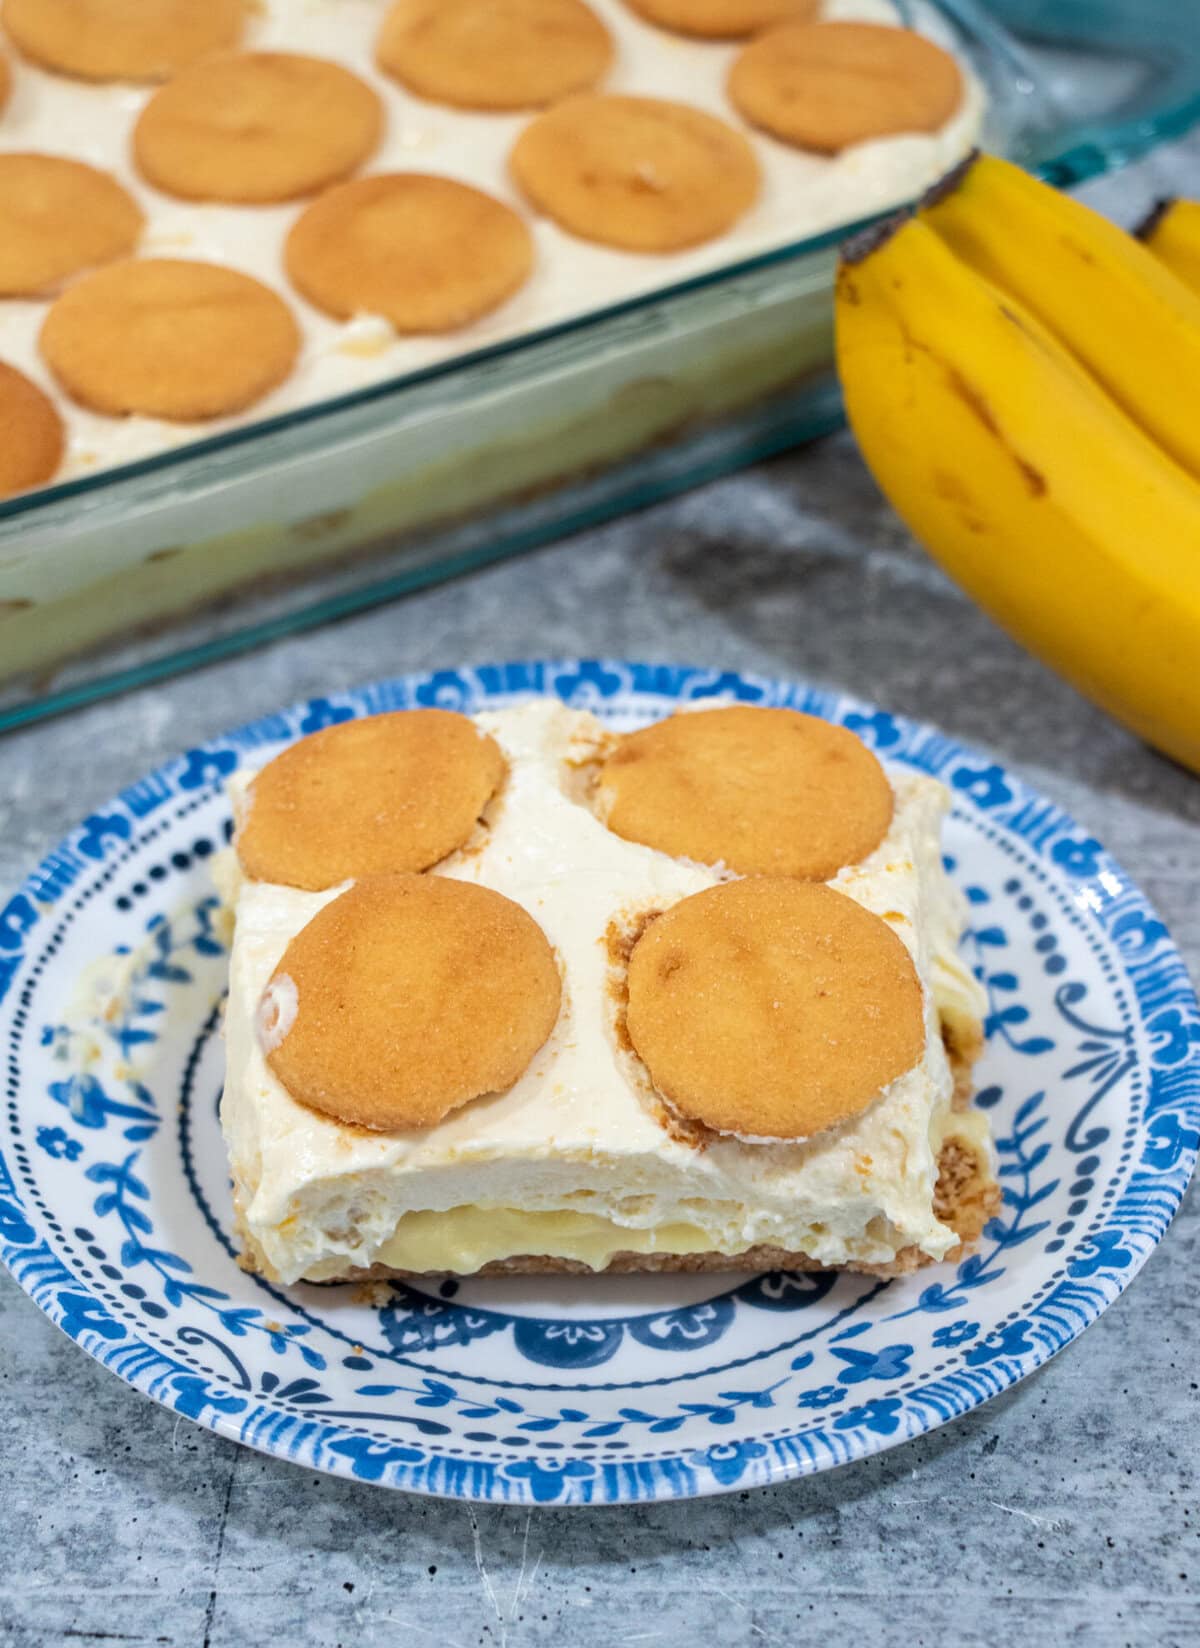
Inspired by my family’s favorite banana pudding, we present these delectable layered banana pudding bars to you! These Banana Pudding Bars are the epitome of dessert perfection, combining the sweetness of ripe bananas, the creaminess of a luscious filling, and the satisfying crunch of a vanilla wafer crust.
Why You’ll Love This Recipe
You’ll love this Banana Pudding Bars recipe for its irresistible combination of creamy banana pudding, crunchy vanilla wafer crust, and easy preparation. It offers a delightful and crowd-pleasing dessert experience that balances nostalgic comfort with a touch of culinary creativity.

Ingredients for Banana Pudding Bars
For the Vanilla Wafer Crust:
- 2 cups vanilla wafer crumbs
- 2 tablespoons brown sugar
- 8 tbsp unsalted butter, melted
For the Banana Pudding Layer:
- 1 (3.4-ounce) box of instant banana pudding mix
- 2 cups of milk
- ½ teaspoon vanilla extract
- 5-6 bananas, sliced (the amount of bananas depends on how big they are)
For the Whipped Filling:
- 8-ounce package of cream cheese, softened
- 14-ounce can of sweetened condensed milk
- 2 cups whole milk
- 5 oz vanilla pudding mix
- 8 ounces of Cool Whip, thawed (whipped cream of the same amount may be used)
- 1 box of vanilla wafers, for topping
Instructions
To make the crust, combine all the crust ingredients in a bowl and mix until evenly moistened.

Pour into the prepared baking dish and press evenly into the bottom of the pan. Place in the refrigerator while you prepare the remaining ingredients for banana pudding.

Follow the instructions in the pudding packet to make the banana pudding layer. Add the milk to the pudding as instructed and allow it to thicken. Mix in the vanilla extract. Let the pudding cool for 10 minutes in the refrigerator.

In another bowl, add the cream cheese. Use an electric mixer to beat the cream cheese until smooth, with no more lumps. Add the sweetened condensed milk and blend again until combined.

Add the whole milk, vanilla, and banana pudding mix. Blend once more until a thin mixture is created. Let this sit for 5 minutes to set the pudding.

Add the Cool Whip to the thickened mixture and fold with a rubber spatula.

Spoon the chilled banana pudding onto the wafer crust. Spread evenly.
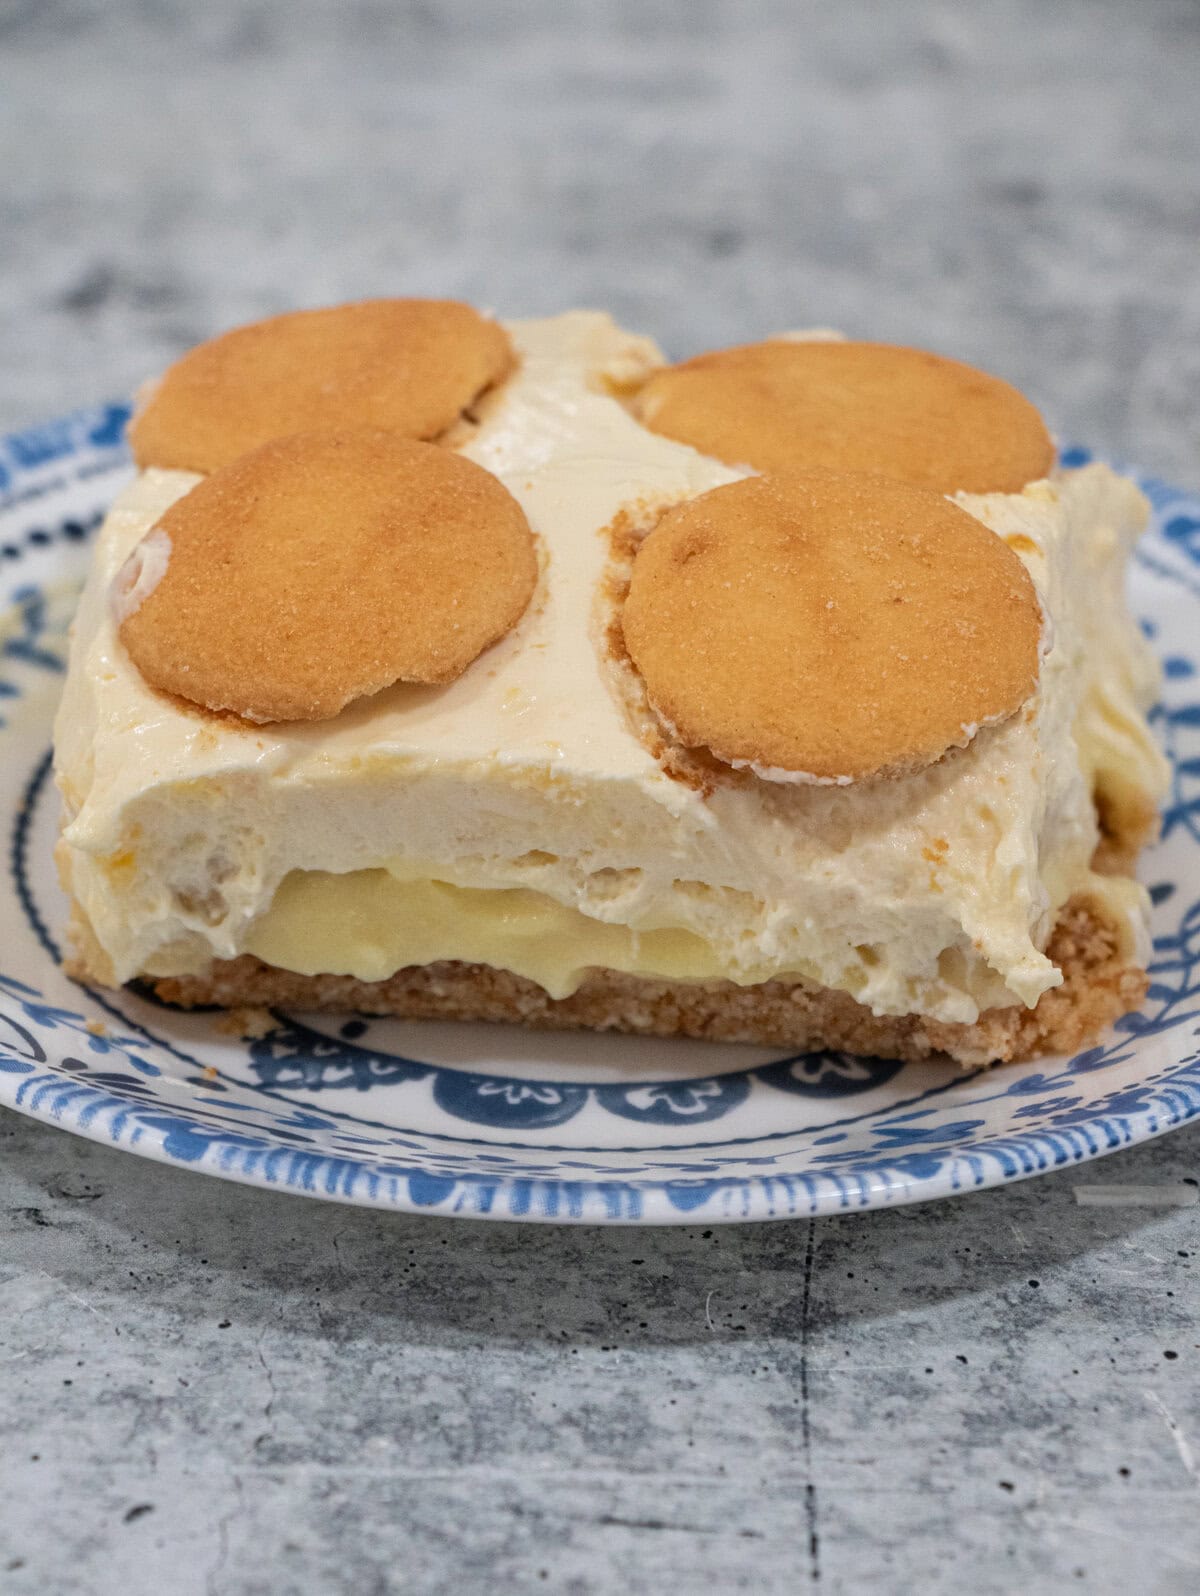
Layer on top with banana slices. Spread the Cool Whip (or whipped cream) mixture over the bananas.

Finish the dessert with a layer of vanilla wafers.

Refrigerate for 4 hours or overnight to allow the filling to set. Cut and enjoy!

Frequently Asked Questions (FAQs)
Can I use a different type of pudding mix for this recipe?
While the banana pudding mix adds a distinct flavor, feel free to experiment with your favorite pudding mix for a personalized touch.
Can I substitute the vanilla wafers with another type of cookie?
Absolutely! Get creative with your crust by trying different cookie varieties to suit your taste preferences.
How long can I store Banana Pudding Bars in the refrigerator?
These bars can be stored in the refrigerator for up to three days, maintaining their deliciousness and texture.
Indulge in the joy of creating Banana Pudding Bars that are not only a feast for the taste buds but also a testament to the delightful journey of culinary exploration. Share these bars with loved ones, and savor the sweet moments they bring. Here’s to many more years of delicious discoveries!

Banana Pudding Bars
Equipment
- 9×13 Rectangle Baking Dish
- Hand Mixer or Electric Mixer
Ingredients
Vanilla Wafer Crust
- 2 cups vanilla wafers crumbs,
- 2 tbsp brown sugar
- 8 tbsp unsalted butter, melted
Banana Pudding Layer
- 3.4 ounce box of instant banana pudding mix
- 2 cups of milk
- ½ teaspoon vanilla extract
- 5 bananas, sliced (the amount of bananas needed depends on the size of each banana so adjust accordingly)
Whipped Cream Cheese Filling
- 8 ounce package cream cheese, softened
- 14 ounce can sweetened condensed milk
- 2 cups whole milk
- 2 teaspoons vanilla extract
- 5 oz instant vanilla pudding mix
- 8 ounces of Cool whip, thawed (may also use freshly whipped cream of the same amount, if preferred)
- 11 ounce box of vanilla wafers, for topping
Instructions
For the Crust
- To make the crust, combine all the crust ingredients in a bowl and mix until evenly moistened. Press the crumb mixture into the bottom and side of a greased 9 x 13 baking dish.
For the Banana Pudding Layer
- Follow the instructions in the pudding packet to make the instant banana pudding layer. Add the milk to the pudding as instructed and allow to thicken. Mix in the vanilla extract. Let the pudding cool for 10 minutes in the refrigerator.
For the Whipped Cream Cheese Filling
- In another bowl, add the cream cheese. Use an electric mixer to beat the cream cheese until smooth and no more lumps appear. Add the sweetened condensed milk and blend again until combined.
- Add the whole milk, vanilla extract, and vanilla pudding mix. Blend once more until a thin mixture is created. Let this sit for 5 minutes to allow the pudding to set.
- Add the Cool Whip or whipped heavy cream to the thickened mixture and fold with a rubber spatula.
- Spoon the chilled banana pudding on top of the wafer crust. Spread evenly.
- Layer on top with slices of banana. Spread the Cool Whip (or whipped cream) mixture on top of the bananas.
- Finish the dessert with a layer of vanilla wafers.
- Refrigerate for at least 4 hours but preferably overnight to allow the filling to set. Slice and enjoy!
Nutrition
Last updated on November 22nd, 2025 at 11:11 am